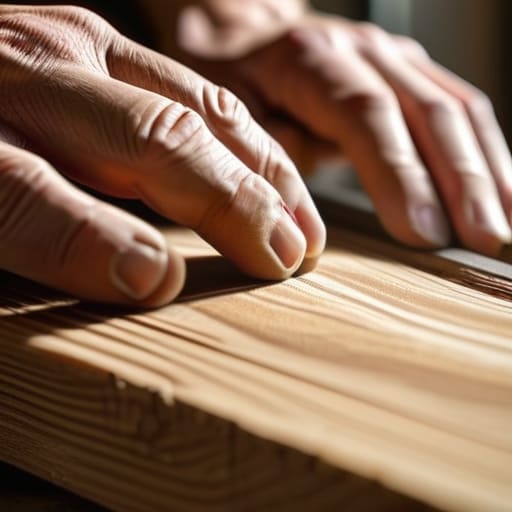
Surface Preparation Decides the Finish
I was staring at a walnut sideboard last Tuesday, a piece I’d spent three weeks perfecting, only to realize the oil finish was highlighting every single microscopic scratch I’d been too lazy to sand out. It was a gut punch. Most people think the magic happens when you open that tin of expensive lacquer or oil, but the truth is that the finish is just a magnifying glass for your mistakes. If you don’t master how to prepare a surface for finishing with absolute discipline, you aren’t actually designing a piece of furniture; you’re just decorating a disaster. I have a drawer full of rejected prototypes that failed for this exact reason—they looked fine in the workshop, but they died under the light of the final coat.
I’m not here to give you a sanitized, textbook list of steps that ignores the reality of wood grain and grit. Instead, I want to walk you through the uncomfortable, repetitive work that actually makes a surface ready. We’ll talk about the grit progressions that actually matter, how to spot the ghost of a sanding swirl before it ruins your week, and why the cleaning stage is where most makers lose the battle.
Guide Overview
Tools & Supplies
- Sandpaper (various grits for smoothing)
- Tack cloth (to remove fine dust)
- Microfiber cloth (for final cleaning)
- Screwdriver (to remove hardware)
- Sandpaper assortment (Pack of 10-20 sheets)
- Degreaser or mild soap (1 small bottle)
- Painter's tape (1 roll)
Step-by-Step Instructions
- 1. I usually start with a coarse grit, something around 80 or 100, just to strip away the initial imperfections. It’s easy to get impatient here and want to jump straight to the “pretty” grits, but if you don’t level the playing field first, you’re just polishing a mistake. I have a drawer full of prototypes where the grain looks “cloudy” because I tried to skip this aggressive first pass.
- 2. Once the surface is flat, you move into the mid-range grits—120 or 150 is my sweet spot. This is where you stop fighting the wood and start listening to it. You’ll feel the resistance change as the scratches from the previous grit begin to disappear. I always check my progress by running my hand across the grain; if it feels like it might snag a fingernail, you aren’t done yet.
- 3. This is the part where most people fail: the cleaning. Between every single grit change, you have to get the dust out. I use a vacuum with a soft brush attachment, followed by a tack cloth. If you leave a single grain of 80-grit sand sitting on the wood when you move to 150, you aren’t sanding anymore—you’re just creating tiny canyons that the finish will highlight like a crime scene.
- 4. Now, I perform what I call the “water pop.” I take a lightly dampened cloth and wipe down the entire surface. It feels counterintuitive to add moisture right before finishing, but it raises the grain. The wood fibers stand up, making the surface feel fuzzy. It’s a temporary annoyance, but it’s the only way to ensure the finish doesn’t feel like sandpaper once it dries.
- 5. After the wood has completely dried from the water pop, you do one final, very light pass with your highest grit—usually 220 or even 320. You aren’t trying to remove material here; you are simply knocking down those raised fibers that the water just woke up. It’s a delicate dance, and if you press too hard, you’ll burnish the wood and prevent the oil from penetrating.
- 6. The final check is the most important. I take a clean, lint-free cloth and wipe the surface one last time to ensure there is absolutely no residue. I look at the piece under a raking light—a lamp held at a low angle across the surface. If you see any shadows or scratches under that light, you go back to step three. The finish is only as good as the surface that holds it.
Understanding How to Prepare a Surface for Finishing
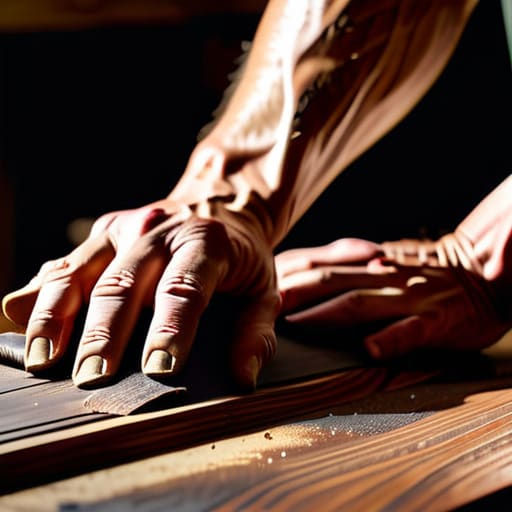
I have a shelf in the back of my studio filled with what I call “the ghosts”—pieces of walnut or oak that look perfect on the surface, but failed because I rushed the prep. Most people think the finish is where the magic happens, but the finish is actually just a witness. It reveals every mistake you made twenty minutes earlier. When I’m removing old finish, I’ve learned that it isn’t just about getting back to bare wood; it’s about understanding the history of the grain. If you leave even a microscopic film of wax or old lacquer, your new coat will bead up like water on a waxed car, and that’s a heartbreak you can’t easily undo.
The real discipline lies in your grit progression for sanding. It is incredibly tempting to jump from 120 to 220 just to save an hour, but that’s how you end up with swirl marks that only show up once the oil hits the wood. I’ve spent entire afternoons undoing a “shortcut” that left the surface feeling velvety but looking blotchy. You have to respect the increments. If you don’t bridge the gap between grits properly, you aren’t really preparing the wood; you’re just delaying the inevitable frustration.
Key Things to Know
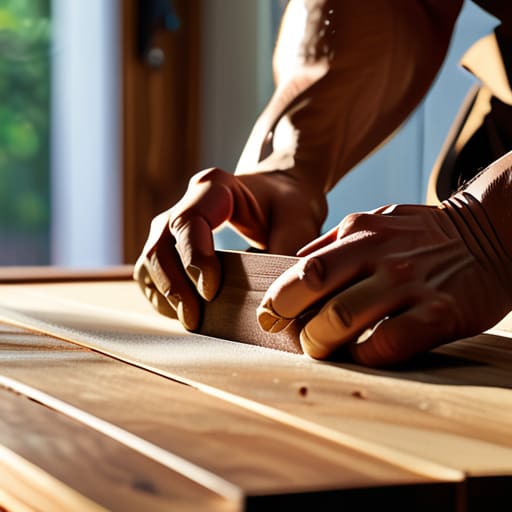
I’ve spent enough years in the shop to know that the most expensive mistakes aren’t usually the wrong choice of oil or stain, but the laziness that precedes them. I have a drawer full of offcuts where I thought I could skip a few grit progression for sanding steps, only to realize too late that the grain was screaming for attention. If you rush the prep, the finish won’t hide your shortcuts; it will highlight them with a clinical, unforgiving clarity.
One thing I’ve learned—often the hard way—is that removing old finish is an entirely different beast than simply sanding a fresh board. You can’t just plane your way through a thick layer of old polyurethane and expect a clean slate. You have to be methodical. If you leave even a microscopic trace of wax or old lacquer, you’ll face the nightmare of preventing finish imperfections like fish-eyes or blotchiness later on. I always tell my apprentices: the goal isn’t just to make it look good; it’s to make sure there’s nothing left to fight you when the real work begins.
Practical Tips and Steps
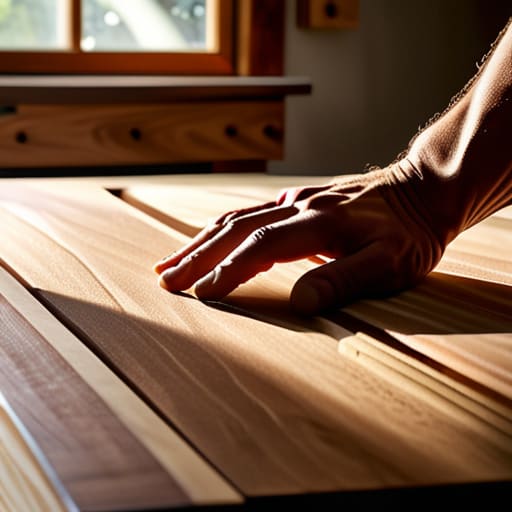
I’ve spent a lot of mornings staring at a piece of walnut, wondering if I’ve actually done enough work to justify the expensive oil I’m about to pour over it. One thing I’ve learned through years of failed prototypes is that you cannot rush the grit progression for sanding. I used to think jumping from 80 to 220 was efficient, but I’d end up with these tiny, maddening swirl marks that only became visible once the stain hit the wood. It’s a lesson in patience; you have to respect the increments.
Another thing to watch for is the dust. I once spent three hours meticulously cleaning a surface before staining, only to realize I’d missed a pocket of grit in a corner. When the finish went on, it looked like a topographical map of a mountain range. Now, I make it a habit to use a tack cloth and a vacuum in a way that feels almost obsessive. Preventing finish imperfections isn’t about being a perfectionist; it’s about realizing that the most frustrating part of the job is fixing a mistake that took five minutes to avoid.
The Ghost in the Grain
We tend to treat surface preparation like a chore to be finished, but I’ve learned it’s actually a conversation with the material. You aren’t just smoothing things over; you are deciding which flaws to invite to the party and which ones to banish. Most people think the finish provides the beauty, but the truth is, the finish just reveals the honesty of the work you did when no one was looking.
Jonathan Marin
The Ghost in the Grain
Looking back at the stack of rejected prototypes in the corner of my studio, I see a recurring theme: most failures didn’t happen during the actual finishing, but in the quiet, tedious hours spent on the preparation. We often want to rush straight to the oil or the lacquer, eager to see that deep, rich color pop, but you cannot cheat the physics of a surface. Whether it is the meticulous progression of sandpaper grits or the decision to pause and wipe away that last bit of dust, these steps are the actual work. If you skip the cleaning or rush the sanding, you aren’t just risking a blotchy finish; you are essentially building a beautiful house on a foundation of sand. Preparation is the silent partner of every successful piece of furniture.
At the end of the day, I’ve learned to stop viewing these preparatory steps as a chore to be completed before the “real” art begins. Instead, I try to see them as the moment where the object truly begins to take shape. There is a certain quiet dignity in the sanding, a way of listening to what the wood wants to be. When you finally apply that first coat, you shouldn’t feel like you are imposing something upon the material, but rather revealing something that was already there, waiting for you to do the hard work of clearing the way.
