Hide Glue and Why Some Makers Insist
I was staring at a seventeenth-century walnut chair in a workshop in Florence, watching a master restorer work with a small, steaming pot of animal protein, and it hit me: we’ve been lied to about modern adhesives. Most people think that because a PVA glue bottle is convenient, it’s superior, but they mistake simplicity for quality. I spent years in high-production environments where speed was the only metric that mattered, often overlooking the soul of a joint. Learning how to use hide glue isn’t about chasing a chemical miracle; it’s about understanding the temperamental rhythm of a material that demands your full attention.
This isn’t a sanitized, laboratory manual designed to make you feel like a scientist. Instead, I want to walk you through the messy, tactile reality of the process—the temperature swings, the window of opportunity, and the inevitable cleanup. I’m going to show you exactly how to use hide glue without the pretension, focusing on the practical constraints that actually dictate a successful bond. We’ll skip the fluff and get straight to the decisive movements that separate a rushed assembly from a piece built to outlive us both.
Guide Overview
Tools & Supplies
- Double boiler or glue pot to heat glue without burning
- Thermometer to monitor temperature (ideally 140°F)
- Small brush for application
- Clamps to hold joints under pressure
- Hide glue (liquid or granules) 1 bottle or container
- Distilled water for thinning if necessary
Step-by-Step Instructions
- 1. Preparation is less about cleaning and more about temperature management. If your wood is cold, the glue will seize before you’ve even made your first pass. I’ve spent many afternoons staring at a joint that refused to seat because I was too impatient to let the timber reach room temperature. Ensure your surfaces are bone-dry and free of any sawdust; even a microscopic layer of debris acts like a tiny, structural saboteur between your two pieces.
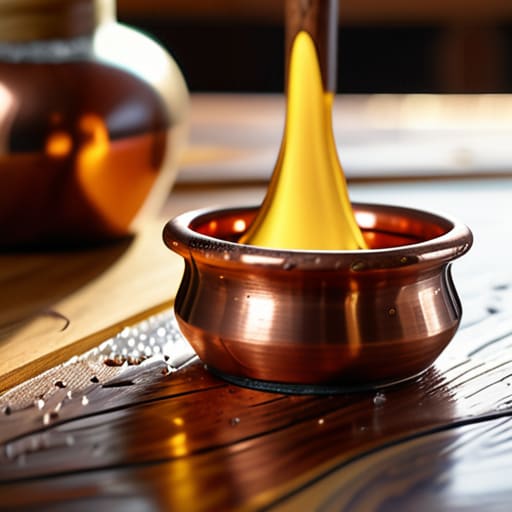
- 2. Heating the glue is where most people lose their nerve. You aren’t just warming it up; you are managing a living substance. I use a small electric glue pot, keeping it at a steady, low simmer. If you see it starting to bubble or smoke, you’ve gone too far and ruined the protein chains. It should be viscous and clear, behaving more like a liquid silk than the thick, milky resins we see in modern PVA bottles.
- 3. The application must be decisive and swift. Because hide glue has such a notoriously short “open time,” you cannot afford to hesitate. I use a small, stiff brush to work the glue into the end grain—it’s thirsty work for the wood. Don’t just smear it on the surface; you need to force it into the pores so that when the pieces meet, they are truly interlocking at a molecular level.
- 4. When you bring the two components together, do so with purposeful pressure. This isn’t the time for gentle nudging. I prefer using hand clamps for smaller joinery, feeling the resistance of the wood as the glue is squeezed out. You want to see a thin, even bead of amber liquid escaping the seam; this is your only real guarantee that the bond is complete.
- 5. Clean up the squeeze-out immediately, but do it with extreme caution. Unlike modern glues that you can just sand away later, hide glue is a nightmare if it dries into a hard, crusty ridge that you then accidentally sand into the surrounding grain. Use a warm, damp cloth to wipe the excess away while it is still tacky. It is a delicate balancing act between cleaning the joint and removing the glue you actually need.
- 6. Finally, you must commit to the wait. I have a shelf in my studio—part of my collection of “almosts”—where I keep pieces that failed because I tried to move them too soon. Hide glue needs time to set and, more importantly, time to develop its crystalline strength. Leave it undisturbed under even pressure for at least twenty-four hours. The patience required is often the hardest part of the craft.
Understanding How to Use Hide Glue
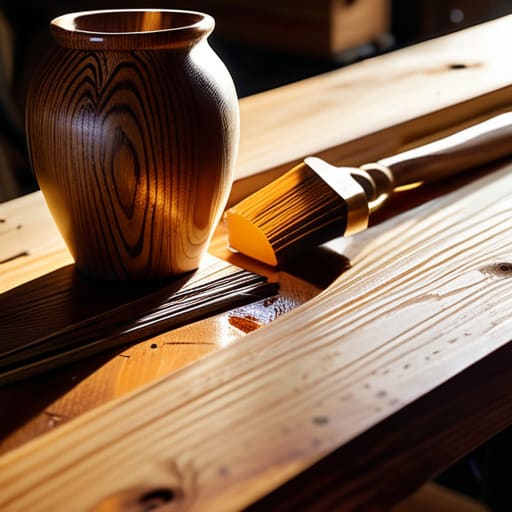
The thing about traditional woodworking adhesives is that they demand a level of presence that modern PVA just doesn’t. You can’t just squeeze a bottle and walk away to check your phone; hide glue is a living, breathing timeline. I remember a sideboard I was working on last autumn where I misjudged the ambient temperature of the shop. I thought I had all the time in the world, but the glue had already begun to set, turning my elegant tenon into a frustrating, permanent mistake.
Success here is really a matter of mastering glue pot temperature control. If you run too hot, you’re essentially cooking the proteins and ruining the bond; too cold, and you’re fighting a losing battle against physics. I’ve learned to treat the heat like a rhythm. It’s also worth noting that because this is an animal-based glue, the cleanup is surprisingly forgiving. Unlike the plastic-like smear of synthetic glues, you can manage cleaning up excess hide glue with nothing more than a warm, damp cloth. It’s a messy, tactile process, but that’s exactly why I find it so rewarding.
Key Things to Know
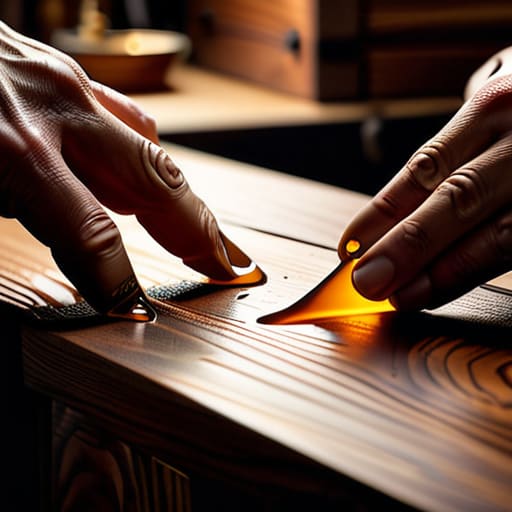
I’ve spent a lot of my career staring at the mistakes of my younger self, and most of them involve a lack of patience. When you’re working with traditional woodworking adhesives, you aren’t just applying a substance; you’re managing a chemical reaction that is actively trying to cool down. I once rushed a chair leg assembly, ignoring the fact that my glue pot temperature control was drifting, and ended up with a bond that felt more like a suggestion than a structural connection. You have to respect the thermal window—that brief, narrow moment where the glue is fluid enough to penetrate the fibers but hasn’t yet begun its retreat into a solid.
Another thing they don’t emphasize enough in the manuals is the sheer speed required for animal-based glue application. It’s a race against the clock. I’ve learned that the best way to handle the pressure is to have your clamps ready and your surfaces perfectly prepared before the heat even touches the pot. If you find yourself struggling with cleaning up excess hide glue, don’t fight it with a scraper; a warm, damp cloth is your best friend. It’s about working with the physics of the material, rather than trying to bully it into submission.
Practical Tips and Steps
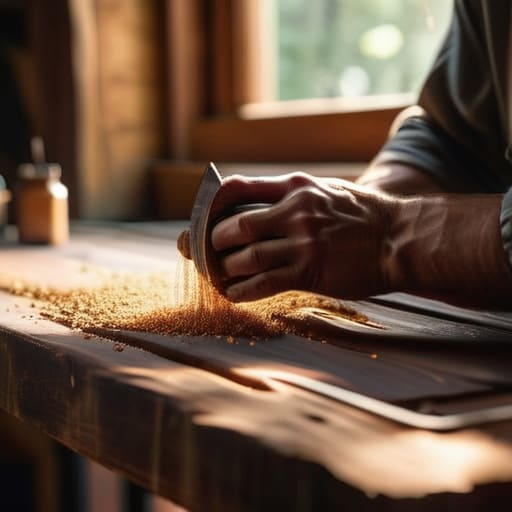
I’ve spent enough years in the studio to know that the biggest mistake isn’t the application itself, but the impatience that precedes it. When you’re working with traditional woodworking adhesives like this, you aren’t just fighting gravity; you’re fighting a clock that starts ticking the moment the glue leaves the heat. I used to rush the process, thinking I could outrun the set time, but I learned the hard way that precision requires a certain level of stillness. If your glue pot temperature control is off by even a few degrees, you’ll find yourself dealing with a bond that is either too runny to hold or too thick to penetrate the grain.
Another thing I’ve learned through a dozen failed joints is the importance of the “pre-squeeze.” Before you commit to the final clamp-up, do a dry fit with a tiny bit of warm water to see how the wood reacts. Once the real deal is on, don’t panic about the squeeze-out. Unlike modern synthetics, cleaning up excess hide glue is actually a blessing—a warm, damp cloth can wipe away the mess without leaving those stubborn, plastic-like residues that ruin a finish. It’s a delicate, rhythmic dance between the heat and the wood.
The Ghost in the Joint
I used to think the goal was a perfect, invisible bond, but there is a specific kind of honesty in hide glue; it demands you respect the temperature of the room and the speed of your hands, reminding you that a chair isn’t just an assembly of parts, but a series of timed, irreversible commitments.
Jonathan Marin
The Glue That Holds It All Together
Looking back at the process, it’s easy to view hide glue as just another messy necessity in the workshop, but it is actually a lesson in discipline. We’ve covered the temperature requirements, the necessity of a clean surface, and that narrow window of time before the bond sets into something permanent. It isn’t about finding the fastest way to stick two pieces of wood together; it’s about respecting the thermal window and the chemistry of the material. If you rush the application or ignore the heat, you aren’t just losing a bond—you’re losing the integrity of the entire assembly.
I have a shelf in my studio filled with those “almost” successes—joints that failed because I was too impatient with the glue pot or too careless with the clamping pressure. But those failures taught me more than any perfect build ever could. Using hide glue is a commitment to a specific kind of slow craft, a way of working that demands you stay present in the moment. Don’t be discouraged if your first few attempts feel finicky or frustrating. The beauty of this medium is that it rewards the patient, and eventually, the tension between the wood and the glue becomes a seamless conversation rather than a struggle.
