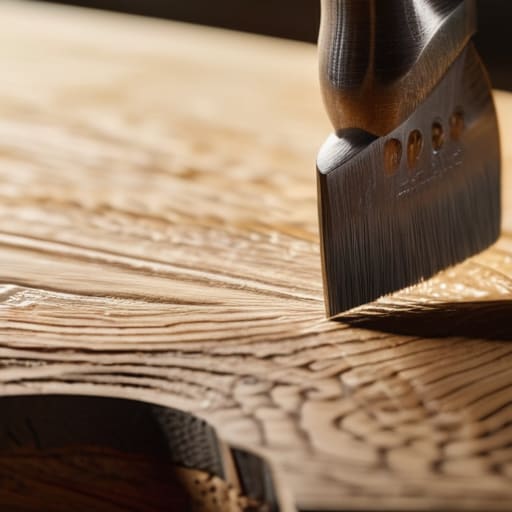
Scraping for a Clearer Surface
I was staring at a walnut tabletop last Tuesday, surrounded by a fine, suffocating cloud of dust that seemed to coat every single surface in my studio, when I realized I was fighting a losing battle. We’ve been conditioned to believe that a perfect finish requires endless cycles of grit, moving from coarse to fine until the wood feels like plastic, but that’s often just a way to erase the soul of the material. I almost reached for the orbital sander to smooth out a stubborn patch of old lacquer, but I stopped. Learning how to use a scraper instead of sandpaper isn’t just about saving time; it’s about choosing a different kind of dialogue with the grain—one that respects the fiber rather than grinding it into oblivion.
In this guide, I’m going to skip the theoretical fluff and get straight into the mechanics of the tool. I’ll show you how to calibrate your pressure, how to read the wood’s direction to avoid tear-out, and why the physical feedback of a sharp blade is something no machine can replicate. This isn’t about finding a shortcut; it’s about mastering a more intentional way to prepare a surface.
Guide Overview
Tools & Supplies
- Cabinet Scraper [Steel blade for smoothing wood grain]
- Scraper Handle [Wooden or plastic grip for the blade]
- Replacement Blades [3-5 sheets of high-carbon steel]
- Sharpening Stone [1 medium grit for honing edges]
Step-by-Step Instructions
- 1. First, you need to select a blade that doesn’t feel like an afterthought. I usually reach for a heavy-duty cabinet scraper with a replaceable steel strip, but if you’re working on something smaller, a sharp utility blade can do the job. The key is to ensure the edge is absolutely pristine; any nick in the metal will act like a plow rather than a plane, leaving deep gouges that no amount of sanding will ever truly fix.
- 2. Before you make your first pass, you have to find the “sweet spot” of your angle. I spent years thinking of tools as binary—on or off—but a scraper is all about the delicate tension between the steel and the grain. Hold the tool at about a 30 to 45-degree angle, and practice on a scrap piece of the same wood until you feel the blade start to bite just enough to lift the fibers without digging into the heartwood.
- 3. Once you’ve found your rhythm, begin with long, continuous strokes along the grain. It’s tempting to use short, frantic bursts when you’re nervous about the depth, but that’s how you end up with a surface that looks like a topographical map. You want to aim for uninterrupted movement, letting the weight of your hand do the work rather than trying to force the steel through the timber.
- 4. As the shavings start to pile up—they should look like thin, translucent curls rather than sawdust—you’ll need to periodically check your progress. This is where the “decision that nearly went the other way” happens; you’ll see a slight unevenness and feel the urge to grab the orbital sander to “even it out.” Resist that. Instead, adjust your pressure and go back over the low spots with a lighter touch to marry the two planes together.
- 5. Pay close attention to the edges and corners, which are the most frequent sites of failure. I keep a small pile of rejected prototypes in the corner of my studio specifically because I was too aggressive around a chamfer. When you reach a corner, slow your cadence significantly; the blade wants to skip or dive when the resistance changes, so you have to guide it with a level of intention that sandpaper simply doesn’t require.
- 6. Finally, once the surface feels smooth to the touch, you’ll need to “burnish” the wood to close up any microscopic disruptions. This involves flattening the blade almost entirely against the surface—nearly zero angle—and drawing it toward you with very light pressure. It’s a meditative, almost fussy way of working, but it’s the difference between a surface that looks sanded and a surface that looks like it was grown that way.
Understanding How to Use a Scraper Instead of Sandpaper
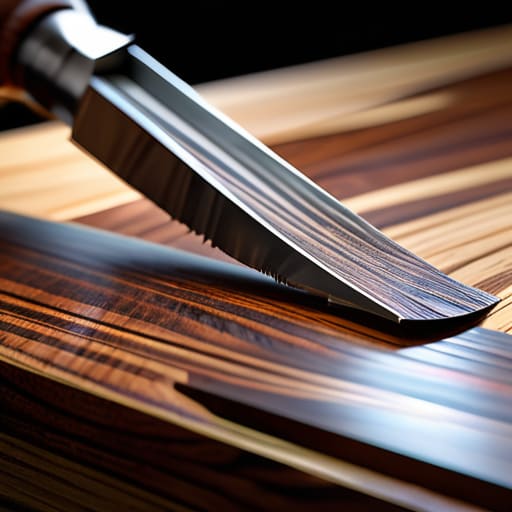
When I first started out in the studio, I viewed sandpaper as the inevitable equalizer—the thing you used when your technique failed. But there is a fundamental difference in the physics of the two. Sandpaper works by abrasion; it tears at the fibers, often leaving microscopic dust trapped in the grain that can muddy a finish later. A scraper, however, is about severing those fibers cleanly. When you are focused on achieving a glass-like wood finish, the scraper becomes less of a tool and more of a surgical instrument. It doesn’t just smooth the surface; it clarifies it.
I often find myself caught in the mental loop of a hand plane vs card scraper debate when approaching a tricky piece of figured walnut. While a plane is faster for bulk removal, the scraper allows for a level of nuance that feels more intentional. You aren’t just sanding away mistakes; you are actively refining the topography of the wood. It requires a bit more patience and a much sharper edge, but the result is a surface that feels alive under the hand, rather than something that has been mechanically pulverized into submission.
Key Things to Know
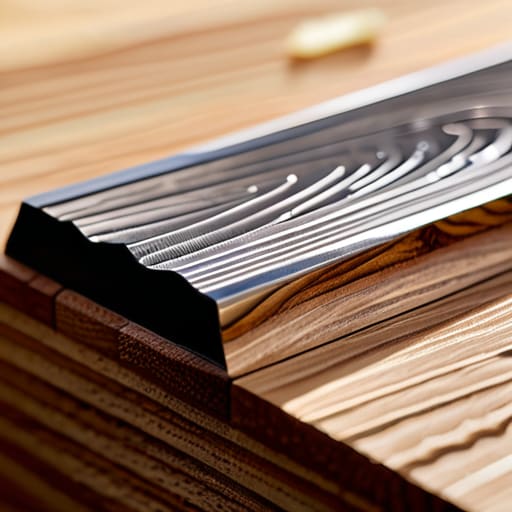
One thing I’ve learned from two decades of staring at grain is that a scraper isn’t just a tool; it’s a way of listening to the wood. When you’re weighing a card scraper vs sandpaper comparison, the real difference isn’t just the speed—it’s the debris. Sandpaper creates a fine, choking dust that settles into every pore, often masking the very texture you’re trying to reveal. A scraper, however, produces tiny, curled shavings that lift the surface clean. It requires a certain level of patience, but if you master the scraping wood grain technique, you aren’t just smoothing a surface; you’re uncovering it.
I have a drawer full of failed veneer samples where I relied too heavily on grit, only to realize I’d sanded away the character. If you want to move toward achieving a glass-like wood finish, you have to embrace the tension of the metal against the fiber. It’s a delicate dance of pressure and angle. Don’t rush the process. The goal isn’t to erase the history of the wood, but to refine it until the light hits it just right.
Practical Tips and Steps
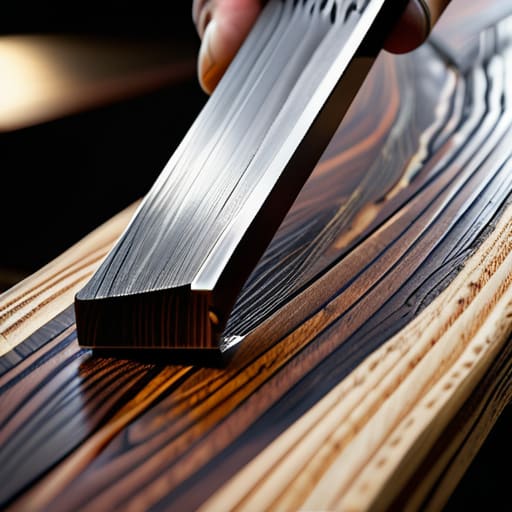
When I’m working through a piece, I find that the most common mistake is treating the scraper like a blunt instrument. It’s easy to lean into it too hard, thinking muscle will compensate for a dull edge. But if you’re looking for that elusive, achieving a glass-like wood finish, you have to treat the tool with a certain level of respect. I often find myself caught in a mental card scraper vs sandpaper comparison; while sandpaper feels safer, it often just fills the pores with dust. The scraper, if handled with a light touch and a steady angle, actually opens them up.
I also can’t stress enough the importance of the burnish. If you aren’t feeling that slight resistance, you aren’t ready to move to the next stage. I keep a small pile of my “failed” scrapers in the corner of the studio—mostly because I went too aggressive and gouged a walnut slab—but those mistakes taught me that removing tool marks with a scraper is more about listening to the grain than forcing your will upon it. It’s a conversation, not a conquest.
The Grain’s Resistance
Sandpaper is a polite way of asking the wood to change, but a scraper is a conversation. It’s a much more honest way of working—you aren’t just smoothing over the surface; you’re deciding exactly how much of the material’s history you’re willing to let remain.
Jonathan Marin
The Grain and the Choice
At the end of the day, moving away from the grit of sandpaper isn’t just about saving time or avoiding the fine dust that settles into every corner of a workshop. It’s about the tactile shift from grinding away material to intentionally shaving it. By mastering the scraper, you’re learning to respect the surface rather than just punishing it into submission. You have to keep that blade sharp, follow the natural direction of the wood, and accept that the tool requires a steady hand and a bit of patience. It is a more disciplined way to work, one that demands you understand the physicality of the wood before you even make the first pass.
I have a shelf in my studio filled with failed joinery and sanded-down mistakes, and looking at them reminds me that the best results usually come from the paths we almost didn’t take. Choosing the scraper over the sander is a small, quiet rebellion against the easy, automated way of doing things. It might feel slower at first, and your hands might feel the tension of the effort, but there is a profound reward in the texture that remains. Ultimately, the goal isn’t just a smooth surface; it is the integrity of the finish that tells the story of a maker who chose the harder, more thoughtful way.
