Five Thin Coats Over Four Days
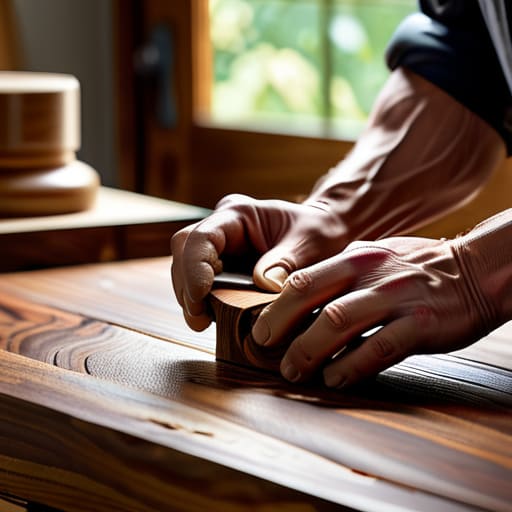
I remember sitting on a stool in my first studio, surrounded by the suffocating scent of solvent, staring at a walnut tabletop that looked more like plastic than wood. I had followed every “professional” tutorial to the letter, layering expensive polyurethane until the grain was buried under a lifeless, amber tomb. That was the moment I realized that most of the industry’s advice on how I build up a finish is actually just a way to hide poor preparation behind a chemical mask. We’ve been sold this lie that more product equals more protection, when in reality, the best finishes are often the ones that feel like they aren’t even there.
I’m not here to sell you on a specific brand of lacquer or a magic spray that promises perfection in one coat. Instead, I want to talk about the slow, sometimes frustrating process of layering texture and depth through deliberate restraint. I’ll show you how I navigate the tension between protection and tactility, sharing the specific, incremental steps I take to ensure the wood actually breathes. This isn’t about following a recipe; it’s about understanding the decisions that nearly went the other way.
The Near Miss the Risk in How I Build Up a Finish

I remember a walnut credenza I worked on last autumn that nearly ended up in the “reject” pile in my studio. I was deep into the wood stain application process, trying to find that specific depth of amber that felt honest rather than performative. I had reached a point where the grain looked alive, but the temptation to push it further—to add just one more layer to deepen the shadow—felt like a trap. I spent an hour sitting on my workbench, staring at the grain, terrified that my pursuit of perfection was actually just a slow way of suffocating the material.
The real danger isn’t the initial application; it’s the cumulative weight of the layers. I often find myself obsessing over sanding between coats, knowing that if I’m too aggressive, I’ll burn through the pigment, but if I’m too timid, the entire build-up becomes a muddy, textured mess. It’s a delicate dance of patience. You aren’t just adding a coating; you are building a lens through which the wood is viewed. One moment of impatience, one skipped step in the surface preparation for wood, and you’ve turned a piece of art into a cautionary tale.
Surface Preparation for Wood the Foundation That Almost Failed
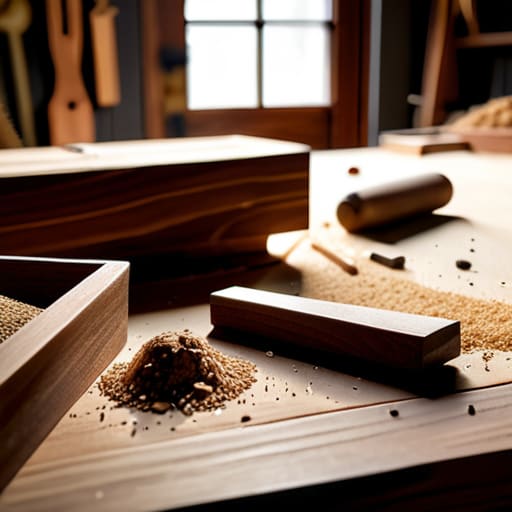
I have a drawer in my studio dedicated to “failed” samples—tiny scraps of walnut or oak that look perfect to the naked eye but carry a hidden flaw. Most of them died during the initial stages of surface preparation for wood. Last month, I was working on a side table that almost ended up in that drawer. I was so focused on the grain pattern that I rushed the sanding, convinced that the subsequent layers would mask my laziness.
It was a mistake. As I began the wood stain application process, the wood didn’t drink the pigment evenly; instead, it pooled in microscopic valleys I hadn’t even noticed. I realized then that the finish is only as honest as the surface beneath it. I spent the next four hours re-sanding, feeling that familiar frustration of undoing work just to get back to zero. It’s a tedious, unglamorous loop, but I’ve learned that preventing finish imperfections isn’t about the polish; it’s about the discipline of the preparation. If the foundation is dishonest, the final sheen is just a lie.
The Wood Stain Application Process a Delicate Pivot
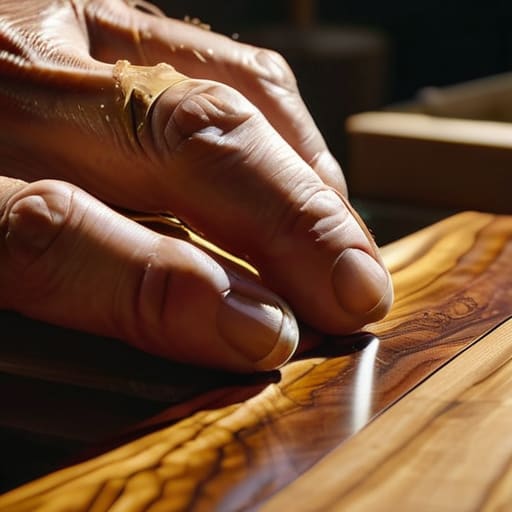
The moment of truth always arrives when the first tint hits the grain. I remember a walnut sideboard I was working on last autumn; I had reached a point where the wood looked almost too perfect, too sterile. I found myself hovering over the tray, debating whether to lean into a deep, espresso-heavy pigment or stay with something more transparent. It was a terrifying pivot. If I went too dark, I would bury the chatoyancy of the grain under a heavy shroud of color. If I stayed too light, the piece would lack the gravity it needed to anchor a room.
Ultimately, I chose the lighter path, but only after a frantic, half-hearted attempt to darken a scrap piece that nearly convinced me to ruin the whole project. The wood stain application process isn’t just about color; it’s about managing the tension between the material and the chemistry. I had to work with a sense of controlled urgency, knowing that even a slight hesitation could lead to uneven absorption. It felt less like painting and more like negotiating with the wood itself, trying to find a middle ground that didn’t exist until the very last stroke.
Sanding Between Coats the Friction That Defines Success
There is a specific kind of anxiety that sets in when the first layer of oil or varnish dries. You look at the surface, and it looks fine—perhaps even good—but you know it’s a lie. The grain has risen, the texture is slightly uneven, and if you don’t intervene now, you are merely trapping flaws under subsequent layers. This is where the real work of sanding between coats happens. It isn’t about smoothing out a mistake; it’s about managing the inevitable friction between the material and the medium.
I often find myself reaching for a higher grit than I think I actually need, driven by a neurotic need to ensure the surface is perfectly level. It’s a tedious, repetitive motion, but it is the only way of preventing finish imperfections that would otherwise catch the light like a scar. I remember a mid-career sideboard where I rushed this stage, thinking the first coat was “good enough.” The result was a tactile disaster that felt like sandpaper despite looking smooth. Now, I treat each sanding pass as a necessary negotiation, ensuring the foundation is ready for the next build.
Applying Multiple Layers of Varnish the Weight of Decision
By the time I reach the stage of applying multiple layers of varnish, the physical labor begins to feel more like a psychological battle. It isn’t about the brushstrokes anymore; it’s about the terrifying realization that each new layer of resin is a permanent commitment to the decisions I made hours, or even days, ago. I often find myself standing over the workbench, brush poised, paralyzed by the fear of trapping a single microscopic dust mote beneath a surface that is meant to be glass-like.
There is a specific tension in trying to achieve a high gloss sheen without crossing the line into something plastic and lifeless. I remember a sideboard from three years ago—one of the many pieces sitting in my “reject” pile—where I pushed the coats too far, chasing a depth that never materialized. I learned then that preventing finish imperfections isn’t about perfectionism; it’s about knowing when to stop. You have to respect the build-up, treating each layer not as a coating, but as a slow, deliberate accumulation of clarity and intent.
Preventing Finish Imperfections When Perfection Almost Wasnt
I have a small, wooden crate in the corner of my studio—one of the many rejects I keep. It’s there because of a single, microscopic speck of dust trapped under a layer of film, a tiny error that turned a centerpiece into a lesson. I used to think that preventing finish imperfections was about a sterile environment, a vacuum-sealed existence. But as I’ve learned over twenty years, it’s actually about the rhythm of the work. It’s about knowing when to stop, when to let the dust settle, and when the air in the room is too heavy with humidity to dare attempt another pass.
There was a moment last Tuesday, halfway through applying multiple layers of varnish to a walnut sideboard, where I almost rushed the drying time. The temptation to push through was immense, but the slightest tackiness would have ruined the entire surface. I had to step away, let the piece sit in the quiet, and trust the chemistry. It’s a strange, meditative discipline: realizing that the most important part of the process is often the deliberate act of doing nothing until the moment is exactly right.
Achieving a High Gloss Sheen the Final Hard Won Choice
There is a specific, almost violent tension that comes with the final stage of polishing. For days, I had been meticulously applying multiple layers of varnish, building a reservoir of depth that felt safe, even predictable. But as the final coat dried, I hit a crossroads. I could leave it with a soft, satin luster—something understated and polite—or I could push into the territory of a true mirror finish. It was a gamble; a high gloss can easily look cheap if the underlying layers aren’t flawless, turning a piece of fine furniture into something that looks like plastic.
I chose the gloss. I chose to lean into the risk. To get there, I had to go back to the basics of sanding between coats, moving through increasingly fine grits until the surface felt less like wood and more like silk. Achieving a high gloss sheen isn’t about adding more product; it’s about the discipline of removal. It is the process of stripping away the microscopic peaks and valleys until the light has no choice but to flow perfectly across the grain. It is an exhausting, repetitive labor, but that is where the character finally reveals itself.
The Cumulative Weight of a Surface
A finish isn’t something you apply to a piece of furniture; it’s a series of negotiations with the grain. You aren’t just adding layers of oil or varnish, you’re layering decisions—each one a small, quiet gamble that the next coat won’t undo the integrity of the last.
Jonathan Marin
The Residue of the Process
Looking back at the layers—from that initial, nerve-wracking sanding to the final, heavy application of varnish—it becomes clear that a finish isn’t something you simply “apply.” It is a cumulative history of corrections. Every coat was a negotiation between what I saw in the grain and what the chemistry of the oil allowed me to do. I think about those moments of near-disaster, the dust motes that almost ruined the sheen or the stain that almost went too dark, and I realize they weren’t interruptions to the work; they were the work. A finish is less about the surface level perfection and more about the calculated resilience required to keep building when the wood refuses to cooperate.
In my studio, I keep a shelf of rejected prototypes, each one a monument to a decision that didn’t land. We often talk about design as a series of inspired leaps, but the truth is much more granular. It is found in the friction of the sandpaper and the slow, rhythmic buildup of film. When you sit at a finished table, don’t just look at the glow; look for the depth that only comes from having nearly gone the other way. That is where the soul of the object lives—in the quiet tension between the mistake we avoided and the beauty we eventually forced into existence.
