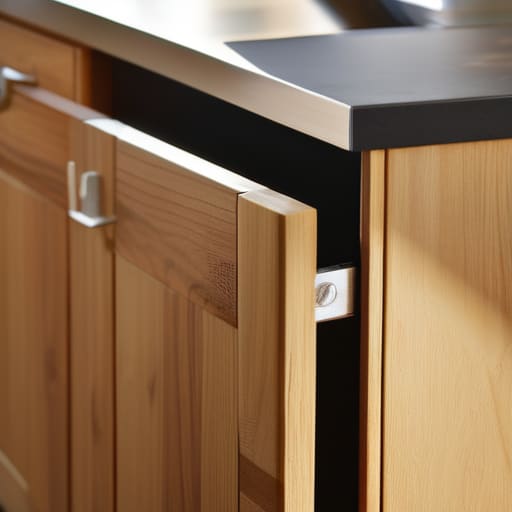
Hanging a Cabinet Door With Even Gaps
I was staring at a stack of cherry wood panels last Tuesday, wondering why the hinge on my latest prototype was screaming like a wounded animal every time the door closed. For years, I fell into the trap of thinking that learning how to hang a door in a cabinet was merely a matter of following a schematic or tightening a screw until your knuckles turned white. But the truth is, it’s actually a lesson in patience and micro-adjustments. Most people treat the hardware as the final step, but I’ve learned that the hardware is actually a conversation between the wood and the frame—one that requires you to listen rather than just force a fit.
In this guide, I’m going to strip away the jargon and show you the actual, tactile process of getting those lines straight. We aren’t going to talk about theoretical perfection; instead, I’ll walk you through the specific, frustrating moments where most people give up and how to navigate them. You’ll learn how to master the hinge tension, manage your gaps, and finally understand how to hang a door in a cabinet so that it stays exactly where you put it.
Guide Overview
Tools & Supplies
- Drill/Driver for driving screws
- Screwdriver for fine adjustments
- Level to ensure straightness
- Measuring tape for spacing
- Cabinet doors (as needed)
- Cabinet hinges (matching door type)
- Mounting screws (for cabinet frame)
- Hinge screws (for door attachment)
Step-by-Step Instructions
- 1. Before you even touch a screwdriver, you need to lay out your hardware. I’ve learned the hard way that there is nothing more soul-crushing than being halfway through a mounting process only to realize you’re missing a single, tiny mounting screw. Spread your hinges, the doors, and the screws out on a clean surface—ideally a piece of felt or a soft cloth—so you can see exactly what you’re working with. It’s about establishing a rhythm before the physical labor begins.
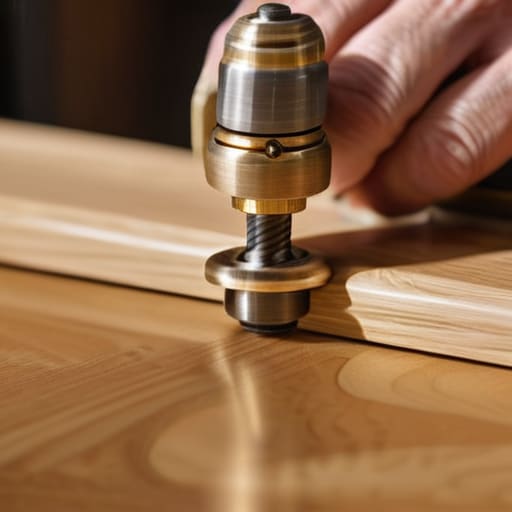
- 2. Most modern cabinets rely on European-style concealed hinges, which require a precise “cup” to be bored into the back of the door. If you’re working with pre-drilled doors, skip this, but if you aren’t, take your time with the Forstner bit. I used to rush this step back when I was working on high-volume production lines, but a shallow or off-center hole is a permanent mistake you can’t easily undo. Aim for that perfect depth where the hinge sits flush against the wood.
- 3. Once the cups are bored, it’s time to screw the hinge plates into the door itself. This is where the tension starts to build. Don’t tighten them all the way down immediately; leave them just a fraction of a millimeter loose. This gives you the “wiggle room” necessary to shift the door slightly once it’s actually hanging, which is where the real geometry happens.
- 4. Now, hold the door up to the cabinet carcass. If you’re working alone, this is the moment you’ll wish you had a second pair of hands or a steady jig. Align the hinge plates on the cabinet wall with the hinges on the door. I prefer to mark the screw holes with a pencil first rather than just “eyeballing it.” It feels a bit fussy and pedantic, but it prevents the hardware from being skewed, which would make the next step an absolute nightmare.
- 5. Drive your mounting screws into the cabinet frame. As you do this, the door will begin to find its weight. This is the most critical part of the process: watching how the door hangs in relation to the cabinet edges. If it looks even slightly crooked, don’t panic. This is exactly why those adjustment screws exist. We aren’t just attaching wood to wood; we are calibrating a mechanism.
- 6. Now comes the fine-tuning, which is where the “design” actually happens. Most concealed hinges have three adjustment points: one for depth, one for side-to-side movement, and one for height. Turn the screws slowly. I usually spend ten minutes just moving the door a hair’s breadth to the left, then a hair’s breadth to the right. You are looking for that perfect, consistent gap—the reveal—between the door and the frame.
- 7. The final test isn’t just looking at it; it’s the movement. Open and close the door repeatedly. Listen for any rubbing or clicking, and watch how the door settles when it closes. If it swings open on its own or refuses to stay shut, your alignment is still fighting you. Adjust one more time, tighten everything down firmly, and only then can you step back and consider the job done.
Understanding How to Hang a Door in a Cabinet
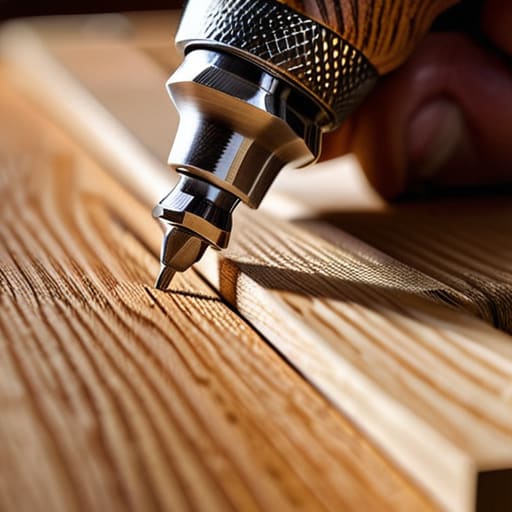
I’ve spent a fair amount of my career staring at the gap between a door and its frame, usually wondering if a millimeter of error was a mistake or a choice. When you’re mounting cabinet doors to frames, you aren’t just attaching wood to wood; you’re managing tolerances. Most people approach this as a binary—either it’s on or it’s off—but the reality is found in the tension of the hardware. I remember a prototype chair leg that looked perfect until the light hit it at a certain angle, revealing a misalignment that felt like a personal failure.
That’s why I’ve learned to stop viewing euro style hinge installation as a set-it-and-forget-it task. It’s a conversation between the screw and the metal. If you find yourself struggling with fixing uneven cabinet doors, don’t reach for a hammer; reach for the adjustment screws. Most of the frustration comes from trying to force a perfect fit on the first pass rather than embracing the iterative nature of adjusting concealed hinges. Precision isn’t about getting it right immediately; it’s about having the patience to nudge the geometry until it feels intentional.
Key Things to Know
I’ve spent a fair amount of time staring at my “graveyard” of prototypes, and more often than not, the failure wasn’t in the concept, but in the minute physics of the assembly. When you’re mounting cabinet doors to frames, it’s easy to fall into the trap of thinking once the screw is tight, the job is done. But a door that sits slightly askew is a constant, nagging reminder of a missed nuance. I’ve learned that the real work begins once the hardware is actually on the wood.
If you find yourself staring at a gap that refuses to close, don’t reach for the drill to make a new hole; reach for the adjustment screws. Most modern setups rely on adjusting concealed hinges, which offer a level of precision that my early career models lacked. It’s a game of millimeters. I used to think a perfectly level cabinet was a matter of luck, but it’s actually about the deliberate calibration of those tiny tension points. Even with the best cabinet hardware installation tips, you have to accept that the first attempt is rarely the final one.
Practical Tips and Steps
I have a shelf in my studio filled with door samples that failed because I rushed the mounting process. Most people think the work ends once the screws are tight, but that’s when the real tension begins. When you are mounting cabinet doors to frames, the margin for error is thinner than a piece of cardstock. I’ve learned that you shouldn’t fight the wood; you have to negotiate with it. If the frame is slightly out of square—and in my experience, it almost always is—you can’t expect a perfect fit by brute force.
This is where the nuance of adjusting concealed hinges comes into play. It’s a tedious, micro-mechanical dance. I used to think I could eye it, but I eventually realized that investing in proper cabinet door alignment tools saves hours of swearing at a crooked seam. Don’t treat the screws like a finality; treat them like a conversation. You turn, you check, you breathe, and you adjust again. The beauty of a well-fitted cabinet isn’t in the hardware itself, but in the invisible precision of those tiny, incremental shifts.
The Margin of Error
You can follow the manual to the letter, but the real work happens in that split second of tension when you realize the hinge is a fraction of a millimeter off; it’s not about the installation itself, but about the stubborn refusal to accept a door that merely works when you’re aiming for one that feels inevitable.
Jonathan Marin
The Final Adjustment
At the end of the day, hanging a cabinet door isn’t just about following a sequence of mechanical steps; it is about the patience required to manage the tension between the hardware and the wood. We’ve covered the necessity of marking your pilot holes with precision, the subtle dance of adjusting those tiny screws to find the perfect level, and the importance of checking your clearances so nothing scrapes when the door swings. It is easy to rush through the final tightening, thinking the job is done once the door is upright, but the real work lies in that micro-adjustment phase. If you skip the fine-tuning, you aren’t really finished; you’ve just stopped working.
I often look at my shelf of rejected prototypes—the ones with the doors that hung slightly crooked or the hinges that fought back—and I realize they taught me more than my successes ever did. There is a quiet, almost meditative satisfaction in finally seeing that gap close perfectly, knowing you fought the physics of the material to get there. Don’t be discouraged if the first three attempts feel like a battle against stubborn metal and uneven grain. The beauty of a well-fitted cabinet isn’t found in the ease of the assembly, but in the deliberate intention behind the final, perfect alignment.
