Drawer Slips and What They Do
I was standing in my workshop at three in the morning, staring at a pile of walnut shavings and a drawer that refused to move more than an inch without a violent, screeching protest. Most people will tell you that the secret to a smooth glide is buying expensive, high-end metal runners, but they’re wrong; that’s just buying your way out of a design problem. I spent years thinking I could mask poor joinery with hardware, until I realized that learning how to make a drawer slip perfectly relies on the friction between the wood itself and the precision of your tolerances. It isn’t about the gear you buy, but the way you respect the material constraints of the grain.
In this guide, I’m stripping away the marketing fluff and the “perfect” workshop illusions to show you how it’s actually done on a production line. I’ll walk you through the exact sanding sequences and the specific wax applications that transformed my failed prototypes into pieces that move with a weightless, silent grace. You aren’t going to find a list of fancy tools here, just the honest, tactile adjustments required to ensure your work doesn’t just function, but feels intentional.
Guide Overview
Tools & Supplies
- Measuring tape for accurate dimensions
- Utility knife for cutting liners
- Scissors for trimming edges
- Non-slip drawer liner (1 roll)
- Ruler for straight cuts
Step-by-Step Instructions
- 1. Start by selecting your material, and for heaven’s sake, don’t just grab whatever scrap is lying around. I spent three weeks on a prototype using a high-density polymer that looked great on paper but felt utterly lifeless once it actually met the wood. For a proper slip, you want a hard, low-friction material like HDPE or even a high-quality phenolic resin; something that won’t compress under the weight of a full drawer.
- 2. Measure your clearance with more precision than you think is necessary. I used to think a sixteenth of an inch was a safe buffer, but my “reject pile” is full of drawers that bind because I was too optimistic about my tolerances. You need to account for the natural expansion of the wood, so leave just enough room for the slip to sit flush without fighting the carcass.
- 3. Cut your strips to length using a fine-tooth saw, and try to keep your edges as straight as humanly possible. I once tried to hand-sand these strips into shape to save time, and it was a disaster; the slight irregularity in thickness caused the drawer to catch every third time I pulled it. A clean, machine cut is worth the extra setup time.
- 4. Sand the faces of the slip strips starting with 120 grit and working up to at least 320. It sounds tedious, but if the surface isn’t perfectly smooth, you’re just creating a microscopic landscape of unnecessary friction. I’ve learned the hard way that a rough surface doesn’t just make the drawer heavy—it makes it noisy, and nobody wants a drawer that screams.
- 5. Apply a thin, even layer of a dry lubricant, like PTFE powder or even just a bit of paraffin wax. I almost went the route of using a heavy silicone spray on a previous commission, but it ended up attracting every speck of dust in the workshop, turning the drawer mechanism into a gritty, sandpaper-like mess. Keep it dry, keep it clean.
- 6. Affix the strips to the runners using a high-quality contact cement or a very thin bead of construction adhesive. Don’t overdo the glue; if it oozes out of the sides, you’ll end up with a sticky nightmare that defeats the entire purpose of the slip. Press them down firmly and let them cure completely before you even think about sliding the drawer in.
- 7. Perform a test run with the empty drawer before you load it with anything substantial. This is where you catch the mistakes that didn’t make it into the final build. If it doesn’t move with a singular, fluid motion, don’t force it—stop, find where the friction is biting, and adjust the alignment before the glue sets for good.
Understanding How to Make a Drawer Slip
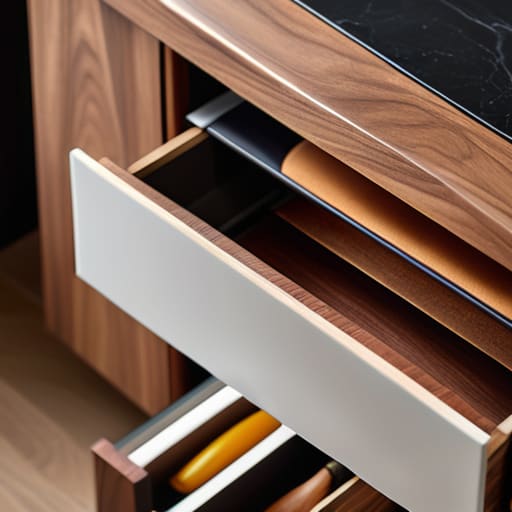
When I first started designing cabinetry, I thought a drawer was just a box with a bottom. I was wrong. A drawer is a living environment, and if you don’t account for the friction of daily use, you’re just designing for a showroom, not a home. Most people think a slip is just about aesthetics, but it’s actually a mechanical necessity for preventing drawer scratches that occur when heavy tools or ceramic plates migrate during a pull. I once spent three weeks on a walnut sideboard only to realize the interior finish was too aggressive; every time the drawer moved, it sounded like sandpaper on grit.
The real trick lies in choosing the right substrate. If you’re leaning into a custom drawer liner diy approach, don’t just grab whatever felt is on sale at the craft store. You have to consider the compression. A liner that is too thick will bow the bottom panel, while one that is too thin offers no dampening. I’ve found that the best results come from a material that offers structural resilience—something that protects the wood without becoming a permanent part of the drawer’s geometry.
Key Things to Know
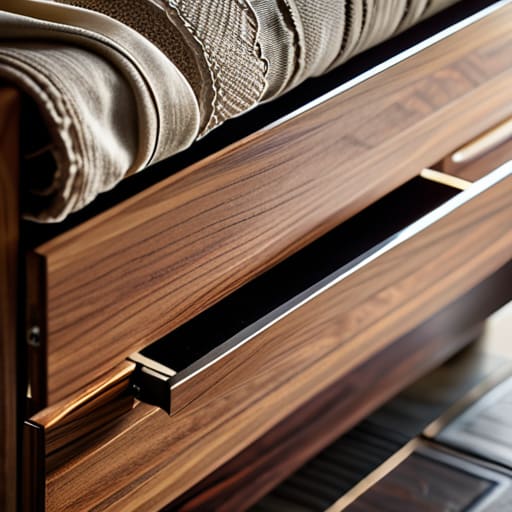
One thing I’ve learned from two decades of prototyping is that people often overthink the material. They assume that a high-end piece of furniture requires something equally complex, but in reality, the goal is simply preventing drawer scratches without introducing a layer of friction that makes the drawer feel sluggish. I once spent three weeks trying to engineer a complex felt-and-rubber composite, only to realize that a simple, well-cut piece of heavy-duty linen did the job better. It’s about finding that sweet spot where the object feels substantial but doesn’t fight the user.
If you are venturing into a custom drawer liner diy approach, pay close attention to the edge treatment. I have a shelf in my studio dedicated to “failed” liners—pieces that were too thick, too slick, or simply too loud when the drawer closed. If you’re using various drawer organizer materials, remember that the thickness of your choice dictates the clearance of your runners. A millimeter too much, and you’ve turned a smooth glide into a constant struggle against physics.
Practical Tips and Steps
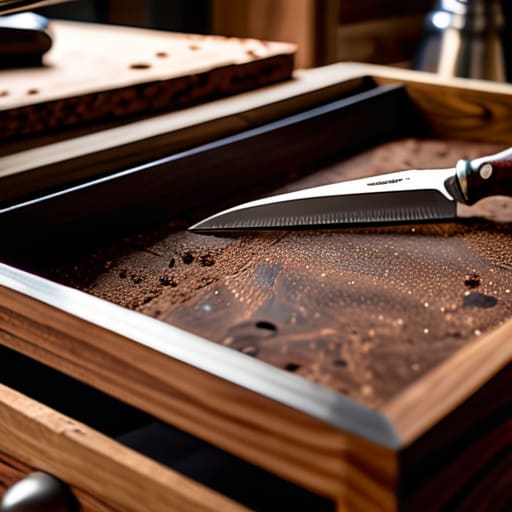
When I’m working on a piece, I tend to obsess over the friction. It’s easy to focus on the joinery, but the real longevity of a piece often lies in the quiet contact points. If you’re looking into a custom drawer liner diy approach, don’t just grab the first roll of felt you see at the craft store. I once spent three weeks designing a sideboard only to realize the weight of the silver would eventually mar the wood. I ended up using a heavy-duty, non-slip cork composite. It’s a small detail, but protecting furniture surfaces is really about anticipating how the object will be used ten years from now, not just how it looks today.
I also find that people often overcomplicate the material choice. You don’t need a complex fabric drawer liners tutorial to get decent results; sometimes, the most effective solution is a simple, high-density foam or a heavy-weight linen. The trick is to ensure the material has enough “tooth” to hold items in place without being so thick that it compromises the drawer’s clearance. I keep a small bin of these scraps in my studio—each one a lesson in what didn’t work.
The Friction of Choice
People think a drawer slip is about achieving effortless motion, but a truly good one is actually about managing the tension between the wood and the air; I spent three weeks fighting a design that was too smooth, only to realize that a little bit of intentional resistance is what makes a piece of furniture feel like it actually belongs in a room.
Jonathan Marin
The Final Friction
In the end, getting a drawer to slip isn’t about following a rigid blueprint; it’s about managing the tension between material and movement. We’ve looked at the necessity of precise tolerances, the importance of grain direction, and why that extra pass with the fine-grit sandpaper is rarely a waste of time. I’ve spent years looking at failed joints in my workshop, and I can tell you that most “smooth” finishes are actually just the result of correcting a mistake before it becomes permanent. Whether you are adjusting the runners or fine-tuning the clearance, remember that the goal is a controlled glide, not a loose fit that rattles every time you move.
As you close the lid on this project, I hope you find yourself looking at the drawer not just as a functional component, but as a series of intentional choices. There is a quiet satisfaction in a mechanism that works because you respected its limits. Don’t be afraid when a piece feels tight or a slide feels sluggish at first; those moments of frustration are usually where the real design happens. Most people see a finished piece of furniture and think of the aesthetics, but I prefer to think about the invisible adjustments that keep it from failing. The beauty is in the precision of the restraint.
