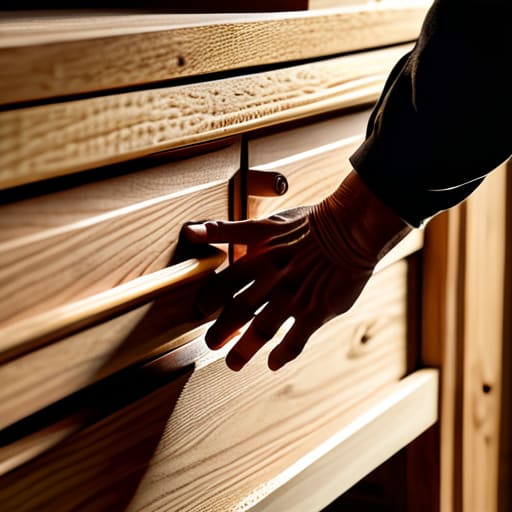
Fitting a Drawer by Hand
I was staring at a pile of expensive walnut scraps in my studio three years ago, wondering why the drawer I’d spent all morning assembling felt like it was fighting me every time I tried to pull it shut. Most tutorials will tell you that precision is a matter of following a blueprint to the millimeter, but they ignore the reality of wood moving under its own weight. The truth about how to make and fit a drawer isn’t found in a mathematical equation; it’s found in the tolerance you leave for error. I learned the hard way that if you aim for a perfect, tight fit on a Tuesday, you’ll likely have a jammed, useless box by Friday.
In this guide, I’m stripping away the polished, theoretical nonsense you see in glossy magazines. I want to walk you through the actual, messy mechanics of getting the clearances right and ensuring the slides don’t bind. We’ll cover the specific, small adjustments that make the difference between a drawer that sticks and one that has that effortless, weighted glide that defines good design. No fluff, just the practical constraints you need to master to get it right the first time.
Guide Overview
Tools & Supplies
- Tape measure and pencil for precise marking
- Saw (hand saw or circular saw) for cutting wood
- Drill and driver for assembly and mounting
- Screwdriver for hardware installation
- Sandpaper for smoothing edges
- Plywood or pine boards for drawer sides and bottom
- Drawer slides (one pair)
- Wood glue for structural integrity
- Wood screws of various lengths
- Drawer handle or knob
Step-by-Step Instructions
- 1. I always start with the carcass, not the drawer. It’s tempting to rush into the fun part—the joinery—but if your cabinet isn’t perfectly square, you’re essentially designing a headache. I take my framing square and check both diagonals; if they don’t match, I shim the base before a single piece of drawer stock is even touched. You have to respect the existing constraints of the box, or the drawer will never behave.
- 2. Once the opening is verified, I map out the clearances. This is where most people fail by being too optimistic. I leave a minimum of 1/8th of an inch on all sides, though I often find myself adding a fraction more if I’m working with a particularly finicky hardwood that might move with the seasons. I mark these lines in pencil—lightly, mind you—to create a visual boundary that tells me exactly where the “safe zone” ends.
- 3. Cutting the drawer sides is a lesson in discipline. I prefer using a table saw for the long runs to ensure the edges are dead straight, but I never skip the sanity check of measuring the width twice before the blade even touches the wood. I once spent three days mourning a drawer that was two millimeters too wide because I was too impatient to double-check my fence setting. It’s a mistake that lives in my “rejected” bin, a permanent reminder to slow down.
- 4. For the bottom, I don’t just nail a thin sheet of ply to the base. I cut a groove—a dado—about a half-inch up from the bottom of the drawer sides. This allows the bottom panel to “float” inside the walls. If you glue the bottom in tight, the wood will eventually buckle and crack as the humidity shifts. You have to give the material room to breathe, even if it feels counterintuitive to leave a gap.
- 5. The front panel is where the soul of the piece resides. I usually make the drawer front slightly larger than the actual drawer box so it can overlap the cabinet frame, hiding those messy gaps. I spend a disproportionate amount of time deciding whether to use a simple butt joint or a more formal mitre. In the end, I usually opt for the mitre; it’s harder to execute, but the way the grain wraps around the corner makes the whole piece feel intentional rather than assembled.
- 6. Fitting the drawer into the housing is the moment of truth. I slide it in, feeling for any resistance or “chatter.” If it sticks, I don’t force it; I look for the high spot. Usually, it’s a tiny bit of unevenness in the bottom or a slight twist in one of the sides. I’ll take a hand plane to the offending area, taking off shavings thin as onion skin, until the movement feels effortless.
- 7. Finally, I address the hardware. Whether it’s vintage brass pulls or something more minimal, the placement has to be dead-on. I use a template, but I always eye it one last time to ensure the weight of the pull doesn’t feel unbalanced against the drawer’s center of gravity. A drawer that fits perfectly but feels awkward to pull is a failure of design, not a failure of mechanics.
Understanding How to Make and Fit a Drawer
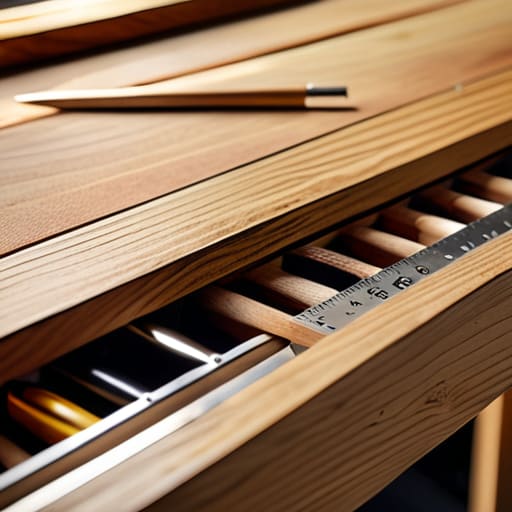
There is a certain kind of anxiety that sets in when you move from the drawing board to the actual assembly. I have a shelf in my studio filled with drawer boxes that failed because I treated the math as a suggestion rather than a law. When you are looking at measuring drawer clearance, it is easy to get seduced by the idea of a tight, seamless fit. But in my experience, a drawer that is too snug is a drawer that will eventually bind the moment the humidity shifts. I’ve learned to leave a fraction of breathing room—not because I’m lazy with my measurements, but because wood is a living thing that needs to move.
The real soul of the piece, however, lies in the drawer box assembly techniques you choose. You can go the route of modern, clinical precision, or you can lean into traditional woodworking joinery for drawers like dovetails that actually grow stronger with age. I often find myself caught between the two. I’ll spend an hour debating whether to use a standard mechanical slide or a hand-cut runner, knowing that the decision I settle on will dictate whether the drawer feels like a piece of machinery or a piece of furniture.
Key Things to Know
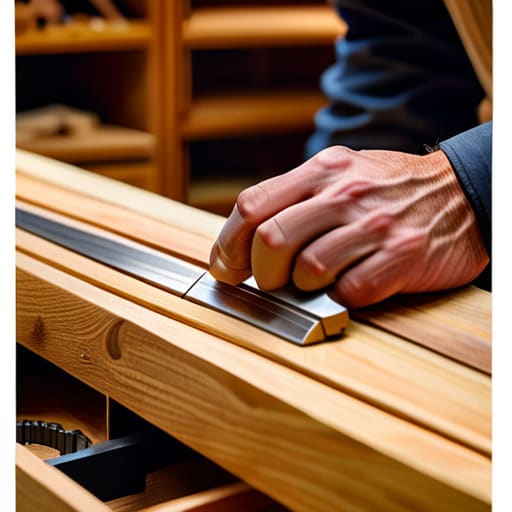
I have a shelf in my studio dedicated to what I call “the ghosts”—prototypes that failed because I ignored a fundamental truth about material movement. When you’re deep into the process, it is easy to get seduced by the math of a blueprint, but you have to account for the reality of the wood. I’ve learned the hard way that measuring drawer clearance isn’t just about the gap between the box and the frame; it’s about anticipating how that wood will swell in a humid July or shrink in a dry January. If you don’t leave that breathing room, your smooth glide will turn into a stubborn, sticking mess within six months.
Then there is the matter of the hardware. I used to think that as long as the screws were tight, the job was done. But I’ve found that the real soul of the piece lies in the subtle nuances of drawer slide installation tips, like ensuring your mounting points are perfectly indexed. If your alignment is off by even a fraction of a millimeter, the drawer will always feel “heavy” or uneven. It isn’t just about mechanical function; it’s about that unspoken sense of quality that occurs when a drawer moves with almost zero perceived resistance.
Practical Tips and Steps
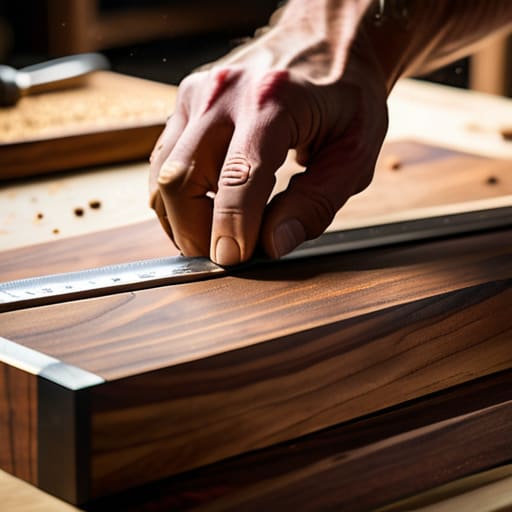
I’ve spent a good portion of my career staring at piles of failed joints, and if there is one thing I’ve learned, it’s that you cannot negotiate with a millimeter. When you’re working through your drawer box assembly techniques, the temptation is to aim for perfection on the first pass, but I’ve found that leaving a tiny margin for error is actually the more professional move. I once spent three days on a walnut chest only to realize my clearance was so tight the wood expanded in the humidity and seized the whole thing. Now, I obsess over measuring drawer clearance with a level of paranoia that my clients would likely find exhausting.
It’s also worth noting that your tools are only as good as your patience. You can own the most expensive precision woodworking tools in the shop, but if you rush the mounting, the hardware will tell on you. I always suggest dry-fitting everything twice before a single screw touches the wood. It feels like wasted time until you’re standing there, watching a drawer glide with that effortless, silent weight that defines a piece worth keeping.
The Ghost of a Millimeter
You spend hours obsessing over the joinery and the finish, but the real soul of the drawer lives in that fraction of a millimeter you almost cut away—the tiny, invisible margin between a piece of furniture that works and one that breathes.
Jonathan Marin
The Ghost in the Joinery
At the end of the day, fitting a drawer isn’t really about the math, though the math is what keeps you from a disaster. It’s about the constant, quiet negotiation between the wood and the carcass. You’ve spent the last few hours obsessing over clearances, checking your squareness, and making sure those runners don’t bind when the humidity shifts. You learn quickly that a millimeter is a vast distance in this trade, and that precision is often found in the gaps you leave behind. If you’ve managed to balance the tension between a snug fit and a smooth slide, you’ve done the heavy lifting.
I often look at my shelf of failed prototypes—the drawers that were too shallow, the ones that stuck like glue—and I realize they weren’t mistakes so much as they were necessary corrections. We tend to think of a successful build as a straight line from blueprint to finished product, but the real craft lives in the moments you had to pivot. Don’t be too precious about a perfect execution; instead, find pride in the fact that you navigated the friction. The most honest pieces of furniture aren’t the ones that were easy to make, but the ones that survived the maker’s doubt.
