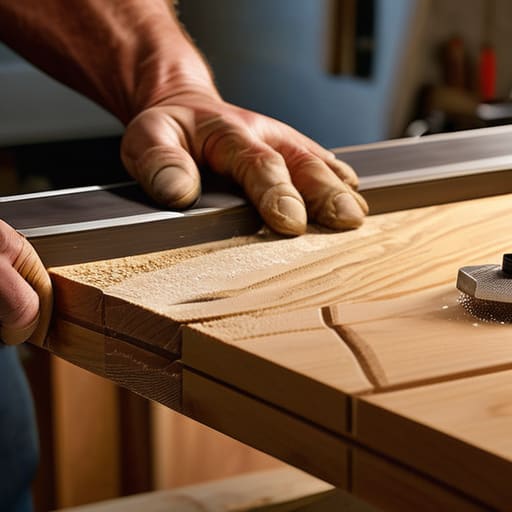
A Groove That Fits the Panel
I was staring at a piece of walnut last Tuesday, my hand hovering over the router, paralyzed by the realization that I had planned the wrong depth for a sliding dovetail. Most tutorials will tell you that precision is about the tool, but they’re lying; precision is actually about the moment of hesitation before you make the first pass. We are taught that knowing how to cut a groove is a matter of following a preset guide or a template, but that’s a sanitized version of the truth. In reality, it’s a constant, quiet negotiation between your intended design and the stubborn, unpredictable grain of the wood right in front of you.
I’m not here to give you a sterile, factory-perfect manual that ignores the reality of a workshop. Instead, I want to show you the practical, slightly messy truth of how to cut a groove that actually holds, stays true, and feels intentional. We’re going to move past the “perfect” settings and talk about how to manage the unavoidable wobbles and the tiny, corrective adjustments that separate a piece of furniture from a mere assembly of parts. This is about the work, not the inspiration.
Guide Overview
Tools & Supplies
- Router and bit (for precise, consistent depth and width)
- Hand saw (for manual cutting or roughing out)
- Wood workpiece (1 piece)
- Sandpaper (1 pack)
Step-by-Step Instructions
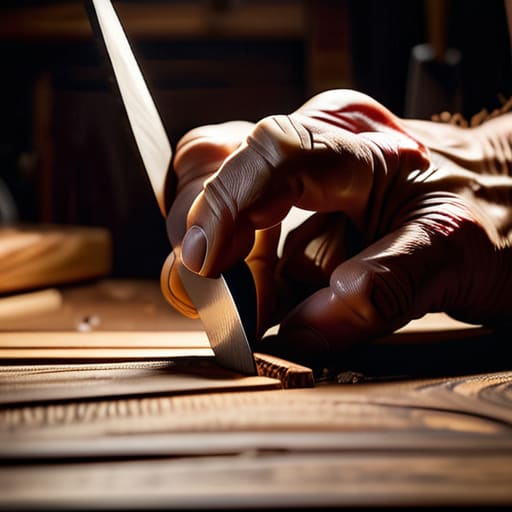
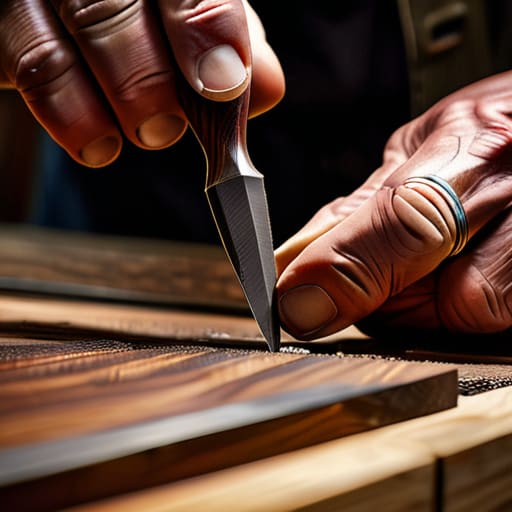
- 1. I always start by marking the line, but not with a pencil. A pencil is too forgiving, too easy to erase the mistake you’ve actually made. I reach for a marking knife instead. There is a specific, tactile resistance when the blade bites into the grain, and that physical indentation becomes a permanent truth that your saw or router has to respect.
- 2. Once the line is set, I spend a frustrating amount of time checking my reference edge. If your stock isn’t perfectly square, the groove will be a lie from the very first cut. I use a cabinet scraper to take off those microscopic high spots, because in furniture design, precision is a slow process of subtraction rather than a single moment of action.
- 3. If I’m using a router, I don’t just trust the jig. I set the depth, move the tool, and then immediately stop to look at the waste. I’ve learned the hard way that a bit can wander if the wood has a particularly aggressive grain pattern. I always make a test pass on a scrap piece of the exact same species; you need to feel how the tool reacts to the density before you commit to the actual workpiece.
- 4. Now comes the actual cutting, where the tension in my shoulders usually starts to climb. I move the router with a steady, rhythmic pace—never too fast, never so slow that you burn the wood. I tend to think of it as negotiating with the material rather than forcing a path through it. If you feel the tool start to skip or chatter, you’ve lost the rhythm, and you need to back off.
- 5. After the initial pass, the groove often looks a bit ragged, a bit too raw. I go back in with a lighter depth, taking multiple shallow passes rather than trying to win the battle in one go. It’s much easier to remove more material later than it is to fix a gouge that went too deep because you were being impatient.
- 6. The final step is the cleaning, which is where the real character emerges. I take a sharp chisel and a wooden mallet to the corners of the groove, squaring them up and removing any fuzz left by the bit. It’s a delicate bit of work, but that clean, sharp corner is the difference between a piece that looks manufactured and one that looks deliberately crafted.
Understanding How to Cut a Groove
I’ve spent a good portion of my career staring at the difference between a piece that works and one that merely exists. Often, that distinction lies in the nuance of the joinery. People often conflate the two, but when you are actually at the bench, the distinction between cutting a dado vs groove is the difference between structural integrity and a decorative afterthought. A groove is a narrow channel, usually meant to house a panel, while a dado spans the entire width of the stock. If you treat them as interchangeable, you’ll find your joinery feels loose, or worse, structurally dishonest.
When I’m working on a tight deadline, I find myself oscillating between different tools based on the level of tolerance required. Using a table saw for grooves offers a certain brutal efficiency, but it lacks the finesse of a router when you need to manage machining groove depth accuracy across a complex curve. I once ruined a beautiful slab of walnut because I relied too heavily on a standard woodworking router bit guide without accounting for the slight vibration of the motor. It taught me that precision isn’t about the tool; it’s about how you compensate for its imperfections.
Key Things to Know
I’ve spent enough years staring at failed joints to know that most mistakes aren’t born from a lack of skill, but from a lack of foresight. When you’re deciding between cutting a dado vs groove, the distinction isn’t just academic; it’s the difference between a structural connection and a decorative slot. A dado is meant to carry a load, whereas a groove is often just a path for a panel to sit in. I once ruined a walnut sideboard because I treated a structural housing like a mere aesthetic recess, forgetting that the physics of the joint matters far more than the visual line.
Precision isn’t about perfection; it’s about managing the variables you can’t control. If you are using a table saw, your biggest enemy is the slight, almost imperceptible drift of the blade. I’ve learned to rely on a dedicated woodworking router bit guide to maintain consistency, rather than trusting my eyes to stay true to a pencil line. It’s about creating a repeatable process so that when you reach for the final piece, the fit feels inevitable rather than forced.
Practical Tips and Steps
I’ve spent enough time in the studio to know that the difference between a professional joint and a frustrating mistake usually comes down to how you handle the transition from theory to tool. When I’m working on a piece, I find myself constantly weighing the merits of cutting a dado vs groove; it’s a distinction that seems academic until you’re staring at a piece of walnut that’s just a fraction of a millimeter off. If you’re leaning toward using a table saw for grooves, my advice is to never trust the factory fence blindly. I always make a sacrificial scrap piece first. It sounds tedious, but that extra five minutes of checking your depth is what prevents the heartache of a loose fit later.
Precision isn’t about perfection; it’s about control. If you are opting for a router, investing in a decent woodworking router bit guide is the only way to maintain sanity when the grain starts to fight you. I’ve learned the hard way that machining groove depth accuracy isn’t just about the setting on the machine, but about how you listen to the motor and feel the resistance in your hands.
The Margin of Error
A perfect groove is a mathematical triumph, but a meaningful one is born in that split second of doubt—the moment you realize the wood is fighting your tool, and you have to decide whether to force the precision or respect the grain.
Jonathan Marin
The Ghost in the Joinery
At the end of the day, cutting a groove isn’t just about the technical precision of a router bit or the steady hand required to follow a line. It’s about the cumulative weight of your preparation—the way you checked your depth, the patience you showed when the wood grain fought back, and the decision to slow down when the tool felt too eager. We’ve covered the mechanics and the necessary precautions, but the real work lies in the discipline of the execution. If you respect the material enough to account for its idiosyncrasies, the groove ceases to be a mere channel and becomes a functional necessity that holds the entire logic of the piece together.
I often look at my shelf of rejected prototypes, those wooden skeletons of failed ideas, and I realize that the most successful joints are rarely the ones that went perfectly according to the blueprint. They are the ones where I felt that momentary flicker of doubt—the split second where I wondered if I had gone too deep or if the shoulder was too shallow. That tension is where the craft actually lives. Don’t aim for a sterile, machine-like perfection that leaves no room for the maker. Instead, strive for that deliberate precision that acknowledges the struggle. The most beautiful part of the finished object isn’t the groove itself, but the quiet confidence of a cut made with intention.
