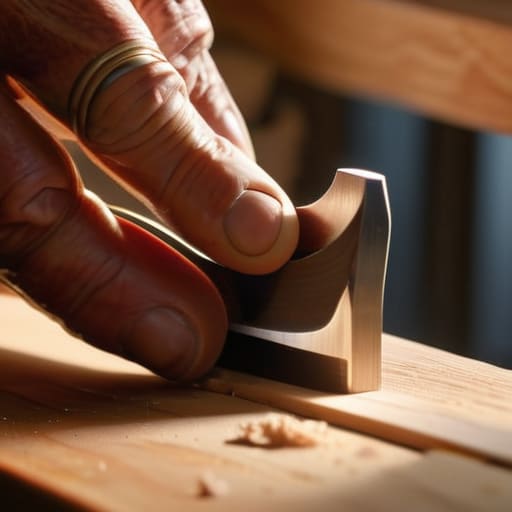
Rebates With a Shoulder Plane
I was staring at a piece of walnut last Tuesday, the kind of grain that makes you want to hold your breath, and I realized I was about to ruin it. I had spent twenty minutes obsessing over the line, convinced that the only way to get it right was to use a complex jig I’d spent half a morning building. But as I stood there with the router humming, I felt that familiar, nagging doubt: I was overcomplicating a fundamental movement. We often treat technical skills like a series of grand, sweeping gestures, but learning how to cut a rebate is actually about the quiet, disciplined management of a single, steady edge. It isn’t about the most expensive tool in your shop; it’s about understanding the resistance of the wood before you even touch the trigger.
In this guide, I’m stripping away the academic fluff and the “perfect” workshop setups you see in glossy magazines. I want to show you the actual, tactile reality of the process—the mistakes I’ve made in my own studio and the small, decisive adjustments that turn a messy notch into a seamless joint. We’ll walk through the setup, the depth control, and the precise way to navigate the corners without blowing out the grain. This isn’t about perfection; it’s about mastering the constraint so the tool does exactly what you intended, not what it wants to do.
Guide Overview
Tools & Supplies
- Router with a straight bit or rabbeting bit
- Tape measure for precise marking
- Pencil for layout lines
- Wood workpiece (1 unit)
- Sandpaper (1 pack of varying grits)
Step-by-Step Instructions
- 1. I usually start by marking everything out with a sharp, heavy-duty pencil, but for a rebate, a mechanical pencil is the only way to go if you want actual precision. I once spent three days on a walnut sideboard because I trusted a carpenter’s pencil that was half a millimeter too blunt, and let me tell you, that error haunted every subsequent joint. Once you have your lines, use a marking knife to score the wood; it severs the fibers and gives your saw or router a physical track to follow.
- 2. Setting up the router is where most people rush, and where most people fail. If you’re using a straight bit, check your depth gauge three times before you even touch the power switch. I have a drawer full of discarded oak scraps that are ruined because I set the bit just a hair too deep, turning a clean rebate into a clumsy trench. Set it, test it on a scrap piece of the same species, and look at the grain—it should feel intentional, not accidental.
- 3. Now, you have to decide on your approach: the “step-by-step” or the “single pass.” If you’re working with a harder wood like maple, I always recommend taking multiple shallow passes rather than trying to hog out the entire depth at once. It’s much easier to remove a little more than it is to fix a blowout, and your motor will thank you for not forcing it.
- 4. When you actually move the tool, don’t just push it blindly. Keep your body positioned so you can see the leading edge of the bit, and maintain a constant, unwavering pressure. If you hesitate or if your hand slips for even a second, you’ll leave a “chatter mark” in the wood that no amount of sanding is ever going to truly erase.
- 5. As you reach the end of the cut, this is the moment of highest risk. Most people try to whip the router out of the cut quickly, but that’s how you get those ugly, ragged gouges at the corners. Slow your movement down to a crawl as you approach the terminus, letting the bit exit the wood smoothly so the edge remains crisp and architectural.
- 6. Once the cut is done, take a chisel and a mallet to the corners. Even with a steady hand, a router bit can’t always get into the absolute tightest vertex of a corner. I find that a quick, clean tap with a wide chisel is the best way to square things up and ensure that when you eventually join this piece to another, there isn’t a single microscopic gap staring back at you.
Understanding How to Cut a Rebate
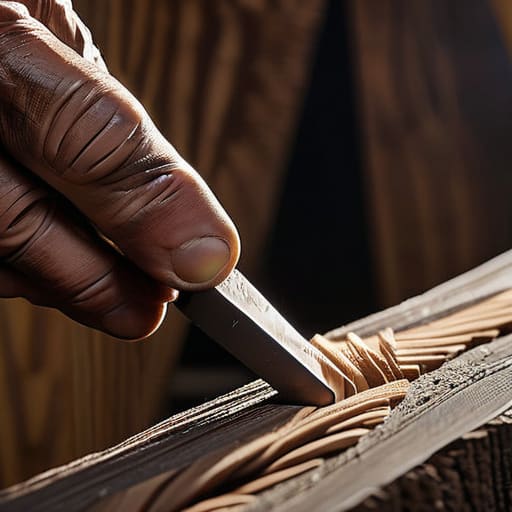
I’ve spent most of my career staring at the junction where two pieces of wood meet, and I’ve learned that a rebate isn’t just a notch; it’s a commitment. When I was working on the walnut sideboard prototype that currently sits in my “failed” pile—the one with the slightly too shallow grooves—I realized that the physics of the cut matters more than the tool itself. Most people focus on the depth, but I find myself obsessing over the grain direction. If you aren’t mindful of how the fibers are oriented, you’ll find yourself fighting the wood rather than shaping it.
The real trick to achieving clean rebate edges isn’t about having the most expensive setup, though a sharp bit certainly helps. It’s about managing the tension. I often find that adjusting my router settings for rebates to take multiple shallow passes, rather than one aggressive plunge, is the difference between a professional finish and a disaster. It’s a slower, more tedious way to work, but in my experience, the time you save by rushing is usually lost tenfold when you’re trying to sand out a jagged edge that shouldn’t be there in the first place.
Key Things to Know
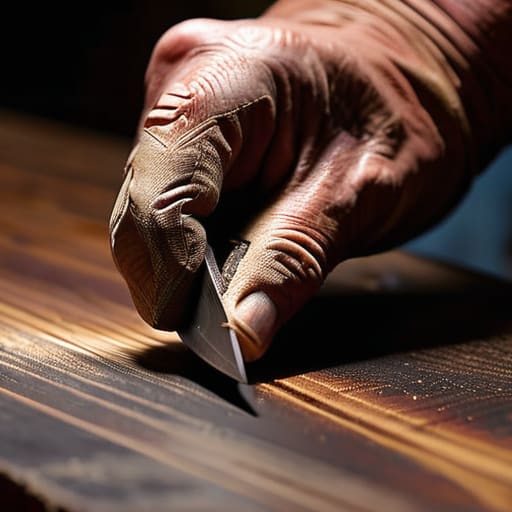
I have a shelf in the back of my studio—a graveyard of walnut and cherry—filled with pieces that failed because I was too impatient with the setup. Most of those failures came down to a lack of respect for the grain. If you aren’t careful, you’ll find yourself fighting the wood rather than guiding it. To ensure you’re achieving clean rebate edges, I’ve learned that a sacrificial backing piece is non-negotiable. It’s a small, seemingly tedious extra step, but it’s the only way to truly support the fibers and prevent that heartbreaking splintering at the exit point.
Beyond the physical wood, there is the matter of your equipment. I used to think a sharper bit was the only variable that mattered, but I was wrong. It’s actually about the relationship between your router settings for rebates and your walking speed. If you rush the pass, you’re asking for vibration, and vibration is the enemy of a crisp corner. I once spent three days trying to fix a joint that was ruined in three seconds because I thought I could “muscle” the machine through a heavy cut. Slow down. The machine should feel like it’s gliding, not fighting.
Practical Tips and Steps
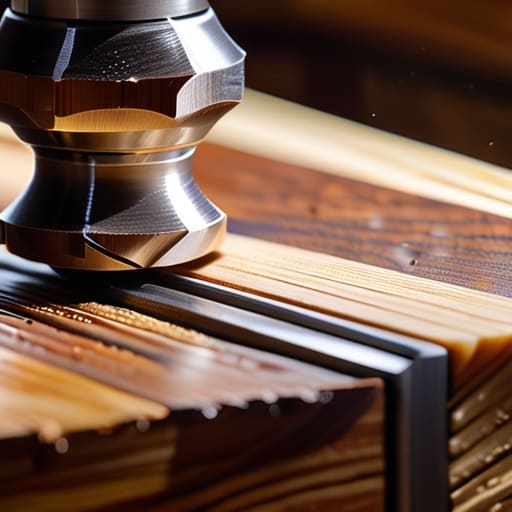
I’ve spent enough years in the studio to know that the difference between a piece that feels intentional and one that feels accidental often comes down to the last millimeter. When I’m setting up my workspace, I don’t just grab the first bit that fits. I find myself obsessing over my router settings for rebates, adjusting the depth by fractions of a hair. It’s a tedious ritual, but it’s the only way to ensure that when the two pieces finally meet, there isn’t a hairline gap screaming about my lack of discipline.
One thing I learned the hard way—and there is a graveyard of ruined walnut in my workshop that proves it—is the importance of grain direction. If you aren’t careful, you’ll end up fighting the wood rather than guiding it. I always make it a point to prioritize avoiding tearout when cutting rebates by using a sacrificial backing board or a very sharp scoring knife. It’s not about speed; it’s about the quiet satisfaction of a joint that seats itself perfectly without a single splinter of protest.
The Ghost in the Joint
A rebate isn’t just a notch taken out of a board; it’s a commitment to a specific alignment. I’ve spent years looking at my scrap pile, realizing that the most elegant pieces weren’t the ones where I followed the blueprint perfectly, but the ones where I adjusted the depth by a hair because the wood demanded it. You don’t just cut a rebate to fit a piece; you cut it to resolve a tension.
Jonathan Marin
The Final Cut
At the end of the day, cutting a rebate isn’t just about following a measurement or keeping a blade straight; it’s about the discipline of the setup. We’ve talked about the necessity of a sharp bit, the importance of a steady fence, and why you should never, ever rush that first pass. If you respect the grain and take the time to double-check your depth, the tool does most of the heavy lifting for you. It really comes down to minimizing the variables before you ever flip the switch. I’ve spent enough years looking at botched joints to know that a mistake in the planning phase is almost impossible to fix once the wood starts flying.
I have a shelf in my studio filled with scrap wood—pieces where the rebate was too shallow or the corner was blown out. They serve as a constant reminder that precision is a choice we make every single time we pick up a tool. Don’t be afraid of the trial runs or the extra pencil marks; those are just the safety nets for your craft. Ultimately, the goal isn’t just a seamless joint, but the quiet confidence that comes from knowing you didn’t leave it to chance. The best work happens when you stop fighting the material and start listening to what the cut is actually telling you.
