Cutting a Hinge Recess by Hand
I was staring at a walnut cabinet door in my studio last Tuesday, watching it sag by a fraction of a degree, when I realized I’d fallen into the oldest trap in furniture making. Most people think that learning how to fit a hinge accurately is about having the most expensive jig or a steady hand, but they’re wrong. It’s actually about the uncomfortable patience required to respect the wood before you ever touch a screwdriver. I have a shelf in the back of my workshop filled with “failures”—pieces where I rushed the layout by a single hair, only to watch the entire geometry of the piece collapse under its own weight.
In this guide, I’m stripping away the glossy, idealized tutorials you see online to give you the grit of actual practice. I’ll show you the specific marking techniques I use to ensure alignment, how to manage the inevitable micro-adjustments, and why your choice of pilot hole depth matters more than you think. This isn’t about perfectionism for the sake of ego; it’s about the quiet satisfaction of a door that closes with a silent, intentional weight.
Guide Overview
Tools & Supplies
- Tape measure for precise spacing
- Pencil for marking hinge outlines
- Screwdriver or drill for securing screws
- Chisel for creating the hinge recess
- Hinges (matching the door thickness)
- Wood screws (appropriate length for the door/frame)
Step-by-Step Instructions
- 1. I’ve learned the hard way that you never, ever start by drilling. You begin with a template or a physical guide, because once the steel meets the wood, the conversation changes. I usually take a scrap piece of the same material—something with the same grain density—and mark the exact center of where the hinge plate will sit. If you’re working with something expensive like walnut or oak, that scrap piece isn’t just a practice run; it’s your insurance policy.
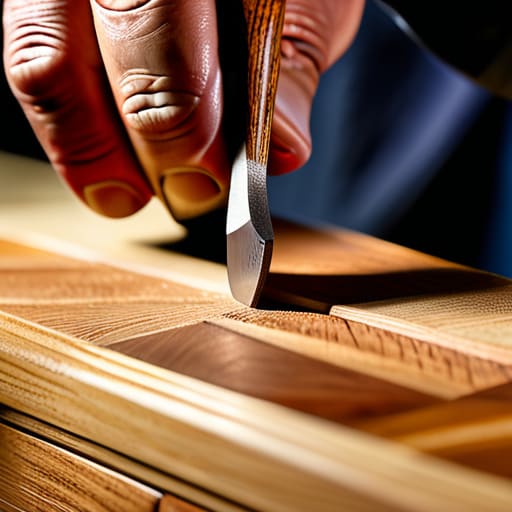
- 2. Once you’ve marked your spots, it’s time for the shallowest relief work you’ll ever do. Instead of diving in with a heavy bit, I use a small, sharp chisel to create a tiny “V” groove where the edge of the hinge will rest. This isn’t about being deep; it’s about creating a physical boundary for your drill bit. It prevents the tool from wandering, which is the most common way to turn a clean installation into a jagged, expensive mistake.
- 3. Now comes the part that makes my hands sweat: the pilot holes. I don’t just grab the largest bit in the drawer; I select a bit that is slightly smaller than the screw’s shank. If the hole is too wide, the screw will strip the wood and the hinge will eventually sag; if it’s too tight, you risk splitting the grain. I tend to drill about two millimeters deeper than the screw will actually go, just to give the wood some room to breathe.
- 4. Before you drive a single screw, you need to “dry fit” the hinge. Lay it into the recess and check the alignment against your door frame. This is where I often catch myself—I’ll realize the hinge is a hair too high, which would make the door strike the frame. I’ve spent hours in my studio staring at a piece of wood because I refused to settle for a gap that was off by a fraction of a degree.
- 5. When you finally start driving the screws, do it in a cross-pattern. Don’t tighten the first screw all the way down immediately. Instead, tighten it just enough to hold the metal in place, then move to the opposite corner. This equalizes the tension across the hinge plate. If you tighten one side completely first, you’ll almost certainly pull the hinge slightly out of alignment, creating that annoying, uneven gap that haunts your sleep.
- 6. The final check is the most humbling. Close the door slowly—very slowly—and watch the gap between the door and the frame. If you see a “light leak” or a sudden pinch, don’t panic and don’t start drilling new holes. Usually, it’s just a matter of backing the screws out a quarter turn to let the hinge find its natural seat. It’s a delicate negotiation between the metal and the timber, and you have to be willing to listen to what the material is telling you.
Understanding How to Fit a Hinge Accurately
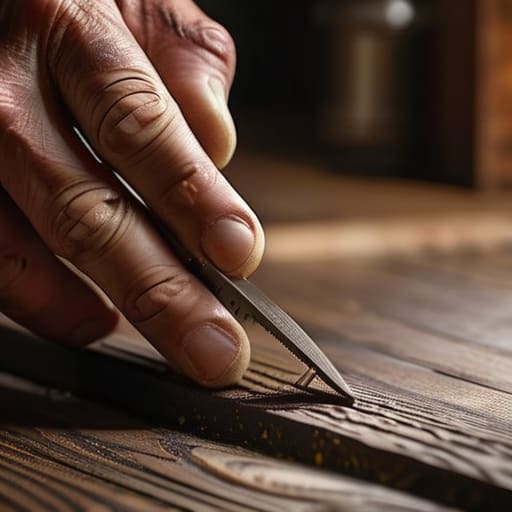
I’ve spent enough time staring at failed joinery to know that precision isn’t just about following a diagram; it’s about understanding the physics of the weight you’re asking the hardware to carry. When I’m working on a new piece, I find myself obsessing over the marking out hinge positions long before a tool actually touches the wood. If your lines are even a hair off, you aren’t just looking at a gap; you’re looking at a structural failure waiting to happen. I once spent three days on a walnut sideboard only to realize my measurements were off by a fraction, leading to a permanent lean that no amount of adjustment could fix.
The real trick lies in the depth of the recess. If you aren’t comfortable using a hinge jig, you’ll likely find yourself fighting the grain with a manual chisel. I’ve learned that mastering specific mortise chisel techniques—specifically how you control the angle of your strike—is what separates a professional fit from a DIY patch job. It’s about creating a seat that is flush, not just “close enough.” If the hinge sits even slightly proud of the surface, you’ve essentially invited the door to sag, and once that gravity takes hold, the piece is never quite the same.
Key Things to Know
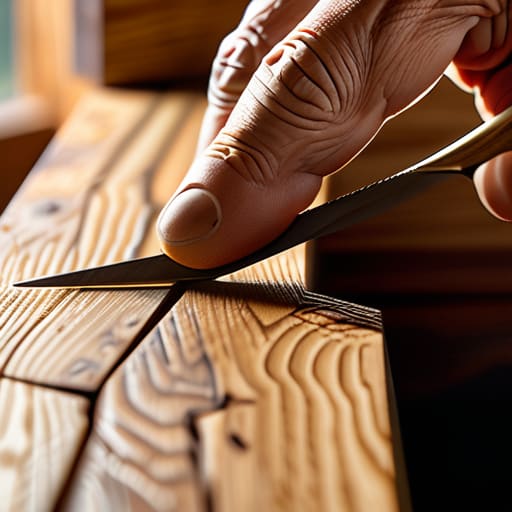
I’ve spent enough time staring at failed joinery to know that most mistakes aren’t born from a lack of effort, but from a lack of patience during the preparation. When you’re marking out hinge positions, the temptation to rush straight to the saw is immense. I used to think a pencil line was enough, but a sharp, thin knife wall is what actually dictates success. If your lines are thick and fuzzy, your hinge will never sit flush, and you’ll spend the next hour trying to sand away a mistake that shouldn’t have happened in the first place.
Another thing I’ve learned through years of prototyping is that the tool you choose defines the margin for error. While using a hinge jig can save your sanity on a production run, there is a certain tactile intelligence in mastering manual mortise chisel techniques. It’s about the depth of the cut; if you go even a fraction too deep, you lose the structural integrity of the wood, which is the primary culprit behind preventing door sag in the long run. It’s a delicate balance between aggression and restraint.
Practical Tips and Steps
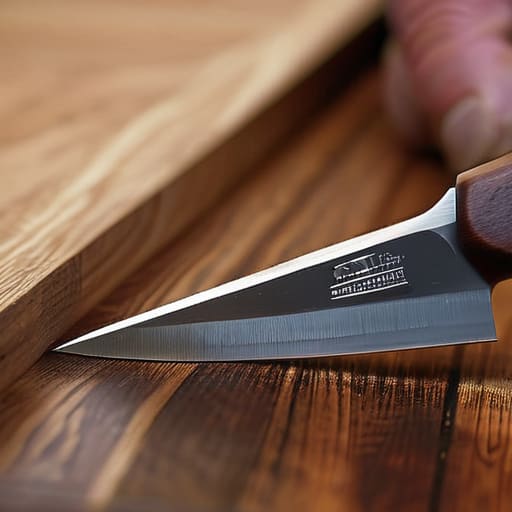
I have a shelf in my studio dedicated to the “almosts”—the pieces where a single miscalculation turned a functional object into a lesson in humility. When it comes to the actual labor of marking out hinge positions, I’ve learned that your eyes will lie to you, but your tools won’t. I used to rely on a standard pencil, but a sharp, thin mechanical pencil or a marking knife is what actually matters. A thick graphite line can easily throw your alignment off by a fraction of a degree, and in my experience, that’s exactly how you end up preventing door sag from ever actually happening.
If you are working on something more complex than a simple gate, I cannot stress enough the value of using a hinge jig. I once spent three hours hand-cutting mortises for a sideboard, only to realize the third hinge was sitting two millimeters too low because my reference point shifted. It was a frustrating waste of good walnut. A jig isn’t “cheating”; it’s a way to respect the material by ensuring the mechanical reality matches your intent. Precision isn’t about being perfect; it’s about minimizing the margin for error before the blade ever touches the wood.
The Margin of Error
We spend so much time obsessing over the final alignment that we forget the real work happens in the hesitation; a hinge isn’t truly fitted until you’ve felt that split second of doubt where a single millimeter of error threatens to turn a piece of furniture into a collection of mistakes.
Jonathan Marin
The Weight of a Good Fit
Looking back at the process, it’s rarely the hardware itself that dictates the success of a piece, but rather the patience applied during those quiet, repetitive moments of measurement. We’ve covered the necessity of marking your lines with a steady hand, the importance of choosing the right drill bit for a clean bore, and why that extra millimeter of clearance is often the difference between a smooth swing and a grinding failure. If you’ve managed to resist the urge to rush the pilot holes or skip the final adjustment phase, you’ve already done the heavy lifting. Accuracy isn’t about a single stroke of luck; it is the result of disciplined repetition and a refusal to accept close enough as a standard.
I have a shelf in my studio filled with hinges that were mounted slightly off-center or recessed just a hair too deep. They serve as a constant, tactile reminder that design isn’t just about the beautiful sketch on the page, but about the physical reality of how things move and meet. When you finally close that door and hear the silent, seamless glide of a perfectly seated hinge, you aren’t just celebrating a mechanical success. You are celebrating the decision to slow down. In a world obsessed with the finished result, remember that the true integrity of your work lives in the precision of the parts no one will ever see.
