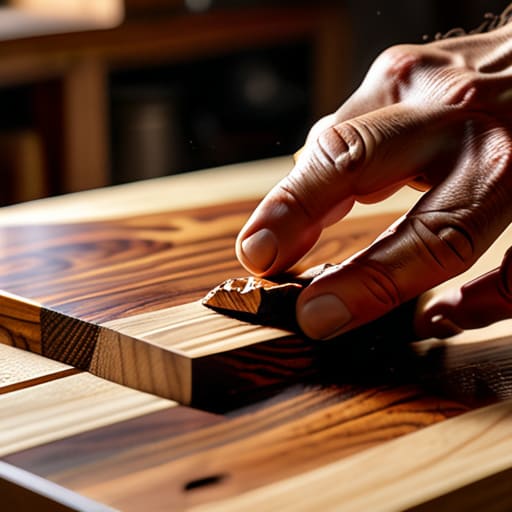
A Test Piece From the Same Board
I can still smell the sharp, chemical sting of that walnut oil from 1998, a scent that still triggers a mild sense of dread whenever I walk into a workshop. I had spent three weeks carving a chair that I thought was my masterpiece, only to realize—too late—that the finish had turned the grain a muddy, suffocating shade of bruised purple. There is a specific kind of hollow silence that follows a mistake like that, the kind where you realize you’ve just wasted forty hours of labor on a piece of furniture that now looks like a bad joke. Most people will tell you to just read the label or trust your gut, but if you want to know how to test a finish before using it, you have to learn to stop trusting your eyes and start trusting your failures.
I’m not here to give you a sanitized, textbook manual that ignores the messy reality of wood grain and humidity. Instead, I want to share the uncomfortable truths of the process—the way a finish actually behaves once it hits the fiber, not just how it looks in a clean sample jar. We’re going to talk about the small, ugly test patches and the discarded scraps that actually teach you something, because the most important lesson in design isn’t knowing what works; it’s knowing exactly how much it costs to be wrong.
The Ghost of a Bad Decision Why We Test
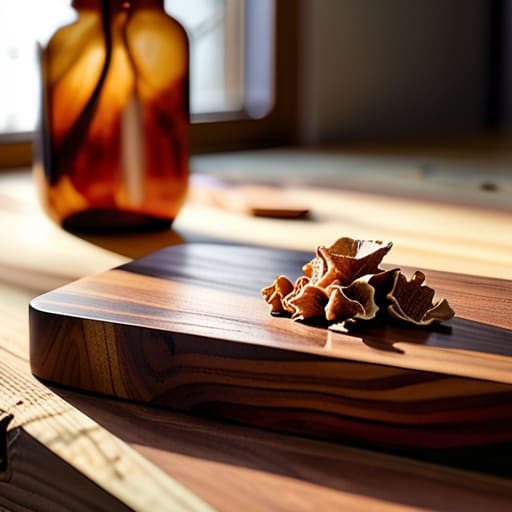
In my studio, there is a shelf in the corner—a graveyard of failed experiments. I keep them there, not out of sentimentality, but as a reminder of the gap between what we imagine and what the material actually does. When I’m working on a new piece, I’m often haunted by the fear of a single, irreversible choice. You can spend weeks perfecting the joinery, only to have the entire project undermined by a shade of walnut that looks more like muddy tea than rich timber.
This is why I am obsessive about testing finish on scrap wood from the exact same batch. It isn’t just about checking a color swatch; it’s about witnessing the wood grain reaction to stain in real-time. Every species has its own temperament, its own way of drinking the pigment or pushing it to the surface. If I don’t account for that personality early on, I’m not designing; I’m just gambling. I’d much rather spend an extra hour troubleshooting a sample than spend a month regretting a finished table that looks nothing like the vision in my head.
Finding Truth in Testing Finish on Scrap Wood
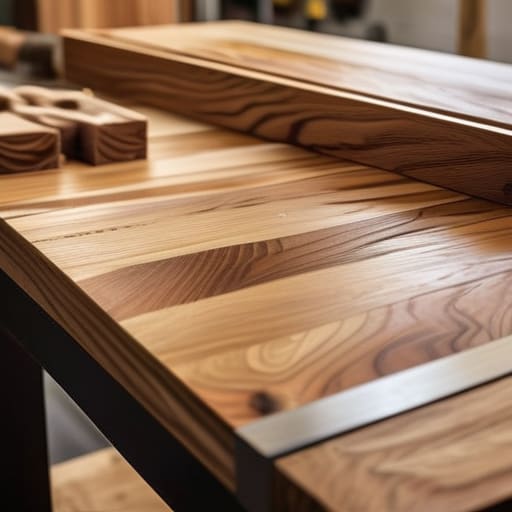
I’ve learned the hard way that you can’t trust a swatch card or a tiny drop on a finger. To get any real sense of what’s coming, you need to be testing finish on scrap wood that actually matches your project—same species, same moisture content, and ideally, the same grain orientation. I keep a drawer full of these offcuts, some from walnut, others from white oak, specifically for this purpose. It’s not just about the color; it’s about how the fibers behave. I’ve seen a beautiful amber oil turn into a muddy, bruised mess because I didn’t account for how the wood grain reaction to stain would shift once the liquid actually soaked in.
When I set up my test pieces, I don’t just slap the finish on. I follow the exact same sanding schedule I’ve planned for the final piece. If I’m going to use a 220 grit, I test with 220. This level of surface preparation for testing is the only way to truly see how the light will hit the surface later. It’s a tedious bit of extra work, but it’s the only way to see if the sheen is going to look like a professional satin or a cheap, plastic gloss.
The Unseen Foundation Surface Preparation for Testing
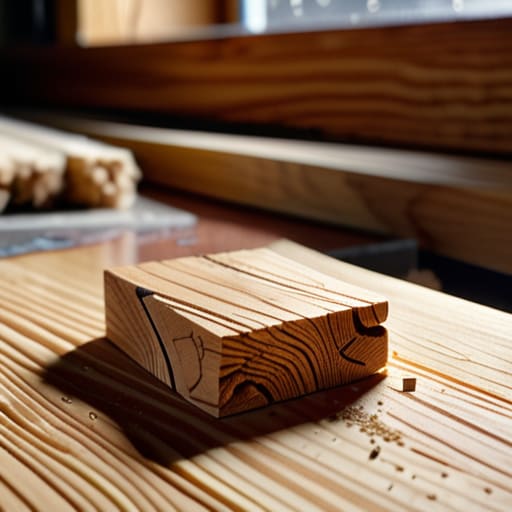
If you’re testing on a piece of scrap that’s still sitting in a pile of sawdust, you’re essentially lying to yourself. I’ve seen too many designers skip this step, only to realize later that their “perfect” sample was actually a fluke. Proper surface preparation for testing is the only way to get a real reading. If your scrap isn’t sanded to the same grit as your actual project, the way the liquid sits in the fibers will be a total fabrication.
I tend to treat my test pieces with the same reverence as the final piece. This means cleaning off every trace of shop dust and ensuring the moisture content is consistent. If you don’t account for how the wood was prepared, you’ll never truly understand the wood grain reaction to stain. You might think you’ve found the right tone, but you’re actually just seeing the result of a coarse sanding job. I’d rather spend twenty minutes prepping a scrap block than spend twenty hours regretting a finished table that looks nothing like my sample.
Chasing the Truth of Wood Grain Reaction to Stain
There is a specific kind of anxiety that sets in when you realize the wood in your hands isn’t behaving like the sample in the tin. I’ve spent enough years in the studio to know that a stain is never just a color; it is a chemical negotiation with the biology of the tree. You might expect a deep walnut, but the tannins in a particular piece of cherry decide to stage a coup, pulling the pigment into the pores until you’re left with something blotchy and unintentional. This is why wood grain reaction to stain is the most unpredictable variable in the entire process.
I’ve learned to stop fighting the wood and start listening to it through my scrap pieces. I don’t just look at the hue; I look at how the pigment settles into the latewood versus the earlywood. If you aren’t evaluating sheen and gloss alongside the color, you’re only seeing half the story. A stain might look perfect in a shallow puddle on a workbench, but once it dries and catches the light, you might realize the depth you were chasing has vanished entirely.
The Divergent Path Achieving Wood Stain Color Accuracy
There is a specific kind of anxiety that sets in when you’re staring at a can of walnut stain, wondering if it will actually look like walnut or if it’s going to turn your project into something resembling burnt toast. Achieving true wood stain color accuracy isn’t just about following the instructions on the back of the tin; it’s about understanding how that specific pigment interacts with the cellular structure of your timber. I’ve spent many afternoons in the studio staring at my “reject” shelf, looking at pieces where I thought I had the tone right, only to realize the color shifted drastically once the topcoat hit the surface.
This is why I treat my scrap pieces like a laboratory. I don’t just swipe a bit of stain on and call it a day. I apply multiple layers, waiting for the wood to breathe between coats, because the way the pigment settles into the grain can change the entire personality of the piece. You have to be willing to chase the nuance between a warm amber and a muddy brown. It’s a slow, often tedious process, but it’s the only way to ensure that the final piece reflects the vision in your head rather than a mistake you can’t undo.
The Subtle Pivot Evaluating Sheen and Gloss
Once you’ve wrestled with the color, you hit the next layer of the problem: the light. I’ve spent many late afternoons in the studio staring at a scrap piece, trying to discern whether a finish is truly satin or if it’s just a semi-gloss masquerading under the fluorescent lights. It’s a deceptive stage. You can achieve perfect wood stain color accuracy, but if the sheen is too aggressive, the piece will look like something pulled from a big-box showroom rather than a custom workshop. I always say that the sheen is the emotional temperature of the furniture; too much gloss feels clinical and loud, while too little can make a premium hardwood look dusty and unfinished.
When I’m evaluating sheen and gloss, I don’t just look at the sample on the workbench. I move it. I take that piece of scrap wood and carry it toward the window, then back into the shadows of the shop. You need to see how the light breaks across the surface at different angles to truly understand the depth. It’s about preventing finish mistakes that are impossible to sand out once the final coat is dry. If the reflection feels “plastic,” you’ve gone too far.
How to Test a Finish Before Using It Properly
It isn’t enough to just slap a sample on a random block of pine and call it a day. If you want to actually prevent finish mistakes, you have to treat the test piece like it’s the final product. I’ve learned the hard way that your scrap wood needs to be a true representative of the actual piece. This means using the exact same species, the same grain orientation, and—most importantly—the same level of sanding. If your tabletop is sanded to 220 grit but you’re testing on a piece that’s still rough at 120, the results are essentially a lie.
Once the setup is honest, I approach the application with a bit of ritual. I don’t just do one thick coat; I replicate the actual build I plan for the furniture. This is where you really begin evaluating sheen and gloss under different lighting. I’ll move the scrap piece from the workbench to the window, then back into the shadows of the studio, because a finish that looks sophisticated under a halogen lamp might look tragically plastic in natural afternoon light. You aren’t just looking for color; you’re looking for how the light lives on the surface.
The Cost of Certainty
A test patch isn’t just about checking a color; it’s about the quiet, necessary humility of admitting you don’t actually know how the wood will react until you’ve let it fail on a piece of scrap first.
Jonathan Marin
The Cost of Certainty
At the end of the day, testing a finish isn’t just about avoiding a blotchy mess or a sheen that looks like cheap plastic; it is about respecting the material. We’ve walked through the necessity of using actual scrap from the same batch, the non-negotiable ritual of surface prep, and the way a stain can take on a life of its own once it hits the grain. If you skip the test patch, you aren’t being efficient—you are simply gambling with your time. I’ve spent far too many late nights staring at a dining table that looked nothing like the sample, realizing that the difference between a masterpiece and a mistake was often just ten minutes of due diligence on a piece of offcut.
I often look at the pile of rejected prototypes in the corner of my studio, each one a monument to a choice that didn’t quite land. They remind me that design isn’t about getting it right on the first try; it’s about the discipline of finding the right path through trial and error. Testing your finish is how you bridge the gap between the vision in your head and the reality of the wood in your hands. It is a quiet, perhaps even tedious, act of creative integrity. Embrace the scrap wood, lean into the process, and remember that the most beautiful results usually come from the decisions that almost went the other way.
