Water Based Lacquer and Grain Raise
I was staring at a walnut sideboard last Tuesday, the kind of piece that should have been a triumph, but instead looked like it had been sprayed with a cheap, cloudy film. I had spent six hours meticulously sanding, only to realize that I had completely misunderstood how to apply a water based lacquer in my haste to reach the finish line. Most people will tell you that the secret lies in the brand of the product or the quality of the brush, but they’re wrong. The real battle isn’t with the chemistry; it’s with your own impatience. I have a shelf in my studio dedicated to these exact failures—the ones where I thought I could skip a step or rush the drying time—and they serve as a constant, stinging reminder that the finish is won in the quiet, boring moments of preparation.
In this guide, I’m stripping away the marketing fluff to show you the actual, unvarnished process. I won’t give you a sanitized manual; instead, I’ll walk you through the grit of the work, from managing the humidity in your shop to the specific, uncomfortable rhythm of the brush stroke. You’ll learn how to avoid the dreaded cloudiness and how to build a finish that actually honors the wood rather than masking it.
Guide Overview
Tools & Supplies
- Synthetic bristle brush for smooth application
- Fine-grit sandpaper (220-400 grit) for smoothing
- Microfiber cloth for dust removal
- Paint tray or small container
- Water-based lacquer (1 quart/liter)
- Sandpaper assortment (various grits)
- Tack cloth or damp lint-free cloth
- Painter's tape for masking edges
Step-by-Step Instructions
- 1. Before you even crack the seal on the can, you need to look at your surface with a level of scrutiny that borders on the obsessive. I spent three hours last Tuesday just running my hands over a walnut tabletop, looking for the tiny, microscopic imperfections that a quick glance would miss. You have to sand through the grits—starting at 120 and working your way up to 220—but the real trick is ensuring you don’t sand through the grain itself. If you leave a single scratch from a coarse grit, the lacquer will find it and highlight it like a neon sign.
- 2. Once the wood is smooth, the cleaning process is where most people get lazy, and that’s where the disaster begins. I usually reach for a vacuum first to pull the heavy dust out of the grain, followed by a tack cloth that I treat with almost religious reverence. If there is even a speck of dust floating in the air, it will land in your wet finish, and you’ll be staring at a tiny bump for the rest of your life. I’ve kept a prototype in my studio for three years just because of one errant grain of sawdust trapped under the film.
- 3. When you finally pick up the brush or the applicator, remember that water-based lacquer behaves differently than the old oils I grew up using. It dries incredibly fast—sometimes too fast—which means you can’t afford to be indecisive. You want to apply the first coat in long, continuous strokes, following the direction of the wood grain. I’ve learned the hard way that hesitation is the enemy here; if you stop mid-stroke to think about your life choices, you’ll leave a visible ridge in the finish.
- 4. Now comes the part that requires the most patience, which is usually the hardest thing for a designer to muster. After that first coat has dried completely, you have to lightly sand it back with a high-grit paper, something around 320 or 400. You aren’t trying to remove the finish; you are simply leveling the surface and knocking down any “nibs” or tiny raised fibers that the water caused to stand up. It feels counterintuitive to sand something you just worked so hard to apply, but it’s the only way to get that glass-like clarity.
- 5. For the subsequent coats, I tend to thin the lacquer just a hair with distilled water. It sounds like a gamble—and it is—but it allows the finish to flow out much more smoothly, reducing the risk of brush marks. I apply these layers in very thin, controlled sweeps. The goal isn’t to build thickness quickly; it’s to build depth through layers. I’d much rather apply five thin, perfect coats than two thick ones that end up looking like a plastic puddle.
- 6. The final stage is the hardest because it involves doing absolutely nothing. Once your final coat is down, you have to step away. I have a habit of wanting to walk over and touch the edge to see if it’s “tacky,” but that is a one-way ticket to a ruined project. You need to let it cure in a dust-free environment, ideally for at least 24 to 48 hours, before you even think about putting an object on it. True craftsmanship is often just the discipline of knowing when to stop touching things.
Understanding How to Apply a Water Based Lacquer
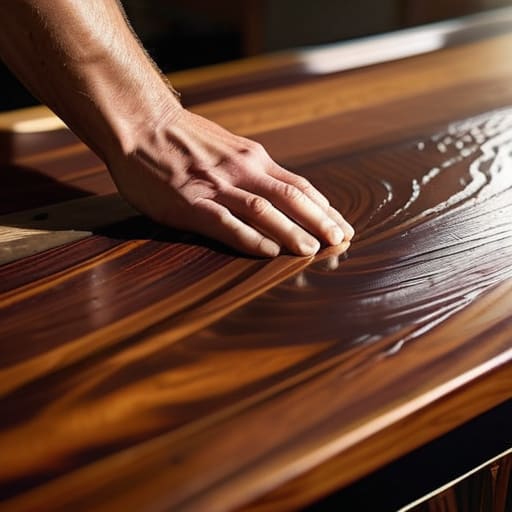
I’ve spent enough years in the studio to know that the technical manual rarely tells you about the temperament of the material. When you’re weighing the choice between water-based vs oil-based lacquer, you aren’t just choosing a drying speed; you’re choosing how much you want to fight the wood. Water-based finishes are cleaner, certainly, but they are far less forgiving of a rushed hand. I remember a walnut sideboard I worked on last autumn where I ignored the humidity levels, and the finish clouded almost instantly. It taught me that you have to respect the unseen variables of your workspace.
The most common mistake, however, isn’t the application itself, but the preparation. Most people underestimate the necessity of preventing grain raise in wood by skipping a pre-wetting step. If you don’t raise those fibers early with a damp cloth and a light sand, the first coat of lacquer will pull them up like tiny, jagged hairs, ruining the tactile smoothness I spend weeks trying to achieve. It’s a tedious bit of extra work, but in my experience, the extra ten minutes of prep is what separates a professional finish from a hobbyist’s mistake.
Key Things to Know
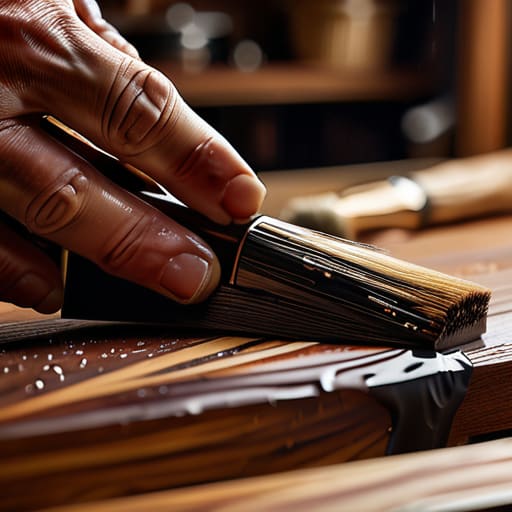
I’ve spent enough years in the shop to know that the chemistry of the finish matters less than the temperament of the wood. One thing that trips up even seasoned makers is the way water interacts with the fibers. Unlike the slow, soaking creep of an oil, water-based finishes can be aggressive. If you aren’t meticulous about preventing grain raise in wood, you’ll find yourself fighting a fuzzy, uneven surface that no amount of sanding can truly fix. I learned that the hard way on a walnut sideboard back in ’08; I thought I was being efficient, but I was actually just setting myself up for a headache.
The real discipline, however, lies in the patience of the process. It is tempting to rush the drying time for water-based finishes because they feel “ready” to the touch within minutes. But true readiness is a different metric entirely. I’ve learned to treat sanding between coats not as a chore, but as a diagnostic tool. If the surface feels anything less than glass, you haven’t finished the job; you’ve just started the struggle.
Practical Tips and Steps
I have a shelf in the back of my studio filled with pieces that failed because I rushed the chemistry. When you’re dealing with the nuances of water-based vs oil-based lacquer, the most common pitfall isn’t the application itself, but the impatience that follows. Water-based finishes dry with a speed that can feel like a blessing, but it’s often a trap. If you don’t respect the drying time for water-based finishes, you’ll find yourself trying to level a surface that is still microscopically soft, leading to a gummy mess that no amount of sanding can fix.
Another thing I’ve learned through a decade of ruined walnut slabs is the importance of preventing grain raise in wood. It’s easy to think that a clean surface is enough, but the moisture in the lacquer will inevitably lift those tiny wood fibers. I’ve started using a “pre-wetting” technique—applying a very thin coat, letting it dry, and then performing a light sanding before the real work begins. It feels like an extra, tedious step, but it is the only way to ensure the final touch feels like silk rather than sandpaper.
The Ghost in the Grain
I spent three hours yesterday staring at a piece of walnut that looked like it had been dipped in plastic rather than finished with care. It’s easy to follow the instructions on the tin, but the real work starts when you realize that water-based lacquer doesn’t just sit on the surface; it fights the wood for dominance, and if you don’t respect that tension, you end up with a finish that feels like an apology instead of a choice.
Jonathan Marin
The Residue of the Process
At the end of the day, applying water-based lacquer isn’t about following a manual; it’s about managing the friction between your intent and the material. You have to respect the thinness of the layers, the patience required for drying times, and the unforgiving nature of a dusty workshop. I’ve spent far too many afternoons staring at a cloudy finish because I tried to rush the process or skipped a sanding stage that my gut told me was necessary. If you keep your environment clean and your strokes consistent, you stop fighting the lacquer and start working with it. It really comes down to disciplined repetition and knowing when to step back and let the chemical bond actually happen.
Looking at a finished piece, it’s easy to see only the smooth, clear surface. But for me, the value lies in the tension of the work—the moments where I almost wiped a section too early or decided to sand one millimeter deeper than planned. Every piece of furniture carries the ghost of those near-misses. Don’t be discouraged by a stubborn grain or a wayward bubble; those are just the markers of a designer learning the limits of their tools. In the end, the goal isn’t perfection, but rather a finish that feels earned through restraint.
