Fixing a Run Without Starting Again
I was staring at a walnut sideboard last Tuesday, the kind of piece that’s supposed to represent the culmination of three weeks of meticulous sanding, only to see a single, cloudy bloom where the lacquer had gone wrong. It’s that sinking feeling in the gut—the realization that you’ve just spent hours learning exactly how to repair a finish you applied poorly. Most people will tell you that a mistake like that means you have to strip the whole thing back to the bare wood and start from zero, but that’s a lie born of fear. In my studio, a botched coat isn’t a catastrophe; it’s just a pivot point in the life of the object.
In this guide, I’m going to skip the polished, textbook perfection and talk to you about the messy reality of corrective work. We aren’t going to pretend that mistakes don’t happen; instead, we’ll look at how to assess the damage, blend the new layers, and avoid the trap of over-working the surface. I’ll show you the practical, no-nonsense steps to salvage your work without losing the soul of the piece to a mountain of wasted sandpaper.
Guide Overview
Tools & Supplies
- Sandpaper (various grits for smoothing)
- Microfiber cloth (for dust removal)
- Small brush or foam applicator (for reapplying)
- Matching finish/stain (small amount to match original)
- Mineral spirits or denatured alcohol (for cleaning)
- Tack cloth (to ensure surface is debris-free)
Step-by-Step Instructions
- 1. First, you have to stop and actually look at what you’ve done. Don’t just see a scratch or a dull patch; see the physics of the failure. Is it a surface-level scuff in the wax, or have you actually bitten into the wood grain? I always keep a drawer of failed joinery and botched finishes because they teach you more than the successes. If the damage is shallow, you’re looking at a simple buffing job. If it’s deep, you’re looking at a surgical intervention.
- 2. Clean the area with something incredibly gentle, like a bit of mineral spirits on a lint-free cloth. You need to strip away any dust, skin oils, or old furniture wax that might be sitting in the crater of the mistake. If you try to patch over a dirty surface, you aren’t repairing the finish; you are merely trapping the error beneath a new layer, and that’s a mistake that will haunt you every time the light hits the piece.
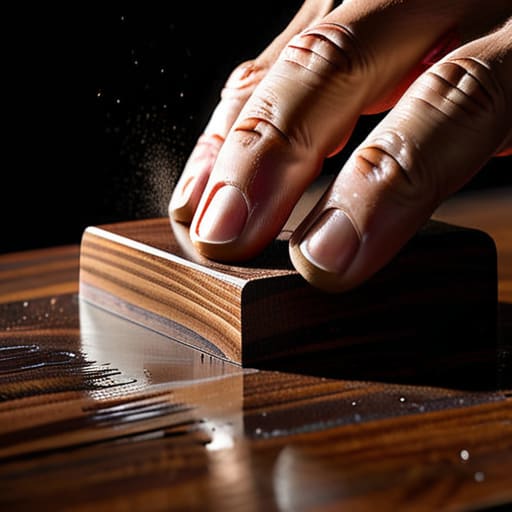
- 3. If you’ve gouged the wood itself, you’ll need to address the texture before you even think about color. This is where most people rush. Take a piece of fine-grit sandpaper—maybe 320 or 400—and sand only the affected area. I tend to use a small sanding block even for tiny spots because my fingers are too imprecise. You want to level the surrounding finish so it transitions into the repair without a visible ridge. It’s about managing the transition, not just filling a hole.
- 4. Now comes the part that requires patience: color matching. This is the most stressful moment in the process. Whether you are using a stain, a tinted lacquer, or a wax stick, apply it in microscopic increments. I’ve spent hours staring at a single square inch of walnut, trying to decide if it needed more umber or less red. It is much easier to add more pigment than it is to strip it back once you’ve gone too dark.
- 5. Once the color is settled, you have to rebuild the sheen. This is where the “decision that nearly went the other way” usually happens—the temptation to slap on a thick coat of topcoat to hide everything. Resist that. Instead, apply your finish in thin, controlled layers. If you’re using an oil, work it in, let it sit, and wipe it aggressively clean. You want to build the depth of the finish slowly, rather than trying to mask the flaw with sheer volume.
- 6. Let the repair cure. This is the hardest step for anyone used to the fast-paced production lines of commercial manufacturing. You cannot rush chemistry. If you touch it too soon, you’ll leave a fingerprint that becomes a permanent part of the piece’s history. Give it at least 24 to 48 hours in a dust-free environment. You need to let the molecular bonds stabilize before you judge the result.
- 7. Finally, perform a light buffing with a very fine abrasive or a high-quality polishing cloth. This is the moment of truth where you marry the repaired patch to the original finish. If you’ve done it correctly, the eye should slide right over the spot. You aren’t looking for perfection; you are looking for continuity. If there is still a slight ghost of the error, don’t panic—sometimes the most honest pieces are the ones that show they were cared for by human hands.
Understanding How to Repair a Finish You Applied
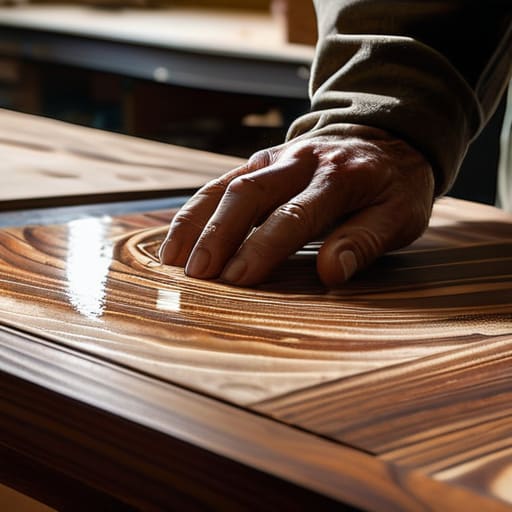
Before you reach for the sandpaper, you have to sit with the mistake for a second. I have a shelf in my studio dedicated to these moments—failed joints, botched stains, and finishes that looked like a topographical map of the Andes. Most people see a botched coat as a failure, but in my experience, the real skill lies in understanding the chemistry of your error. If you’re dealing with correcting lacquer mistakes, you aren’t just fighting the surface; you’re fighting the way the solvent reacted to the humidity in the room or the speed of your stroke.
The trick is to diagnose whether you’re dealing with a structural failure or a cosmetic one. If the finish is bubbling, you’re looking at a deep correction. But if you’re just buffing out surface imperfections like tiny dust nibs or slight cloudiness, you can often save the piece without stripping it back to the grain. I’ve learned that the most frustrating part isn’t the work itself, but the anxiety of matching sheen levels once you’ve patched a spot. You don’t want a “repair”; you want a seamless continuation of the original intent.
Key Things to Know
Before you pick up a sanding block, you have to accept a hard truth: you aren’t just fixing a surface; you are negotiating with the material. I have a shelf in my studio filled with failed walnut samples, most of them ruined by my own impatience. The biggest mistake people make is rushing to hide a flaw rather than understanding its origin. If you are fixing uneven varnish application, you need to determine if the issue is a lack of material or a failure of the bond. Treating a surface error as a cosmetic smudge when it is actually a structural failure in the film is a recipe for a much larger, more expensive disaster later on.
You also have to be honest about the physics of light. One of the most frustrating parts of matching sheen levels is realizing that a perfectly repaired patch can still look like a scar because the luster doesn’t catch the room’s light the same way. It isn’t just about the grit of your sandpaper; it is about how the grain reacts to the friction. Sometimes, the most professional way to handle a mistake is to lean into it, rather than trying to force a perfect, sterile uniformity that the wood never intended to have.
Practical Tips and Steps
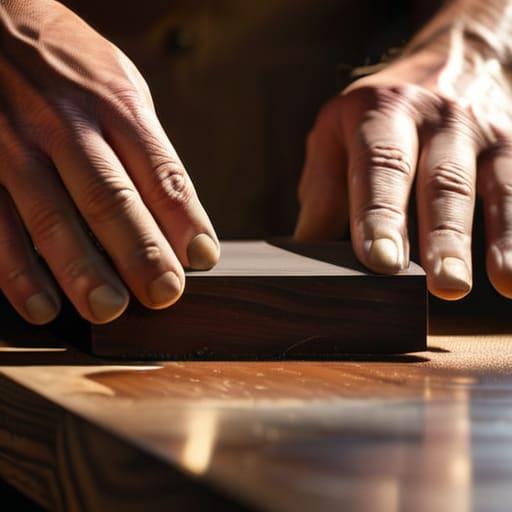
When I’m staring down a botched application, my first instinct is to reach for the sandpaper, but that’s often where the real damage begins. If you’re dealing with fixing uneven varnish application, the temptation is to sand the entire surface to “start fresh,” but you usually end up chasing your own tail. Instead, I’ve learned to work in much smaller, more controlled increments. I often find that buffing out surface imperfections with progressively finer grits—moving from a 400 all the way up to a 2000—is far less destructive than trying to strip the piece back to the raw grain. It’s about patience, not force.
Another thing I’ve learned through years of failed prototypes is the importance of light. Don’t trust your overhead studio lamps; they hide everything. Use a raking light, something positioned at a low angle across the surface, to reveal the true topography of the error. This is especially vital when you are matching sheen levels after a localized repair. If you don’t respect the existing luster, your “fix” will stand out like a bright scar on a matte limb.
The Cost of the Correction
When you’re sanding back a mistake, you aren’t just removing excess lacquer or a botched stain; you’re negotiating with the ghost of the version you almost finished. The real skill isn’t in the repair itself, but in knowing when the correction has become more visible than the original error.
Jonathan Marin
The Final Grain
At the end of the day, fixing a finish isn’t about achieving some impossible, factory-grade perfection; it’s about managing the friction between your intent and the material. Whether you’re sanding back a cloudy patch of lacquer or carefully blending a new coat of oil into an old surface, the process requires a balance of patience and precision. You have to respect the layers you’ve already built while having the courage to strip back what isn’t working. Remember that matching the sheen and the tactile feel is often more important than the chemical composition of the product itself. If you approach the repair with a steady hand and a clear understanding of your previous steps, you won’t just hide a mistake—you’ll integrate the correction into the life of the piece.
I often look at the pile of rejected prototypes in the corner of my studio, those pieces that failed because a decision was made too quickly or a finish was rushed. We tend to view a botched application as a failure, but I’ve come to see it differently. Every uneven patch or blotchy stain is just a physical record of a moment where the design met reality. The most honest objects aren’t the ones that look like they were birthed by a machine, but the ones that show the quiet struggle of being made by hand. Don’t be afraid of the repair; it is simply the next chapter in the object’s history.
