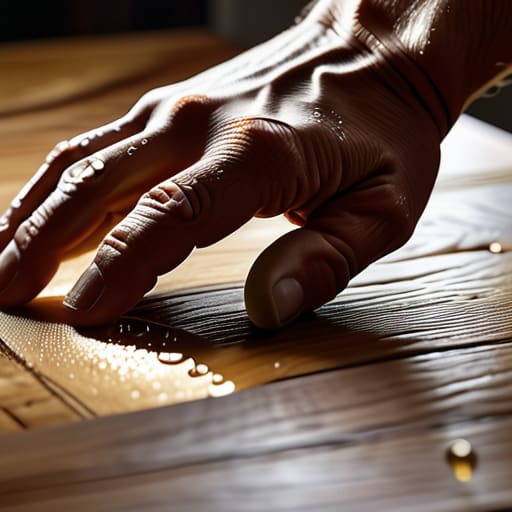
Hardwax Oil on a Tabletop
I was standing over a walnut dining table last Tuesday, staring at a patch of wood that looked dull, thirsty, and frankly, ruined. My instinct—the one honed by twenty years of making mistakes in a studio—was to grab the tin and go to town, flooding the grain to hide the imperfection. But that’s the trap. Most people think learning how to apply a hardwax oil is about coverage and saturation, but the truth is actually the opposite: it’s about restraint. If you treat the oil like paint, you’ll end up with a plastic-feeling surface that suffocates the timber rather than celebrating it.
I’ve spent enough time looking at rejected prototypes to know that the best finishes happen when you fight the urge to overdo it. In this guide, I’m going to strip away the marketing fluff and show you the actual, tactile reality of the process. We’ll talk about the rhythm of the application, the importance of the wipe-back, and why that second, lighter pass is often the most critical decision you’ll make. This isn’t about achieving a factory-perfect shine; it’s about learning how to work with the wood, not just on top of it.
Guide Overview
Tools & Supplies
- Sandpaper (various grits for surface prep)
- Microfiber cloth or lint-free rag (for application)
- T-bar or applicator pad (for large flat surfaces)
- Brush (for edges and corners)
- Hardwax oil (enough to cover surface area)
- Wood cleaner or mineral spirits (to remove dust/residue)
- Tack cloth (to ensure a dust-free surface)
Step-by-Step Instructions
- 1. Before you even crack the seal on the tin, you have to face the wood. I’ve spent more hours than I’d like to admit sanding surfaces that I thought were ready, only to find a single, stubborn swirl mark catching the light once the oil hits it. You need to sand through the grits—starting around 120 and working your way up to 180 or 220—ensuring the surface is entirely free of dust. I usually keep a vacuum and a tack cloth right at my hip; if you leave even a microscopic layer of sawdust, the oil won’t penetrate, it’ll just sit on top like a muddy film.
- 2. Once the surface is clean, it’s time to prep the oil itself. Most people assume hardwax oil is a “pour and go” affair, but it’s more temperamental than that. I always take a moment to stir the tin thoroughly with a clean stick. The pigments and the wax components tend to settle at the bottom, and if you don’t integrate them properly, your finish will be blotchy and inconsistent. It’s a small, repetitive motion, but it’s the difference between a professional depth and a DIY mistake.
- 3. Now comes the application, and this is where the temptation to rush kicks in. Using a lint-free cloth or a high-quality applicator pad, apply the oil in the direction of the grain. Don’t try to be surgical or precise with the edges right away; instead, focus on saturating the fibers. You want the wood to look thirsty. I tend to work in small, manageable sections—maybe a tabletop or a single drawer front at a time—to ensure the oil doesn’t start drying before I’ve had a chance to spread it.
- 4. After about fifteen to twenty minutes, you’ll notice the wood has taken in a significant amount of the liquid. This is the critical moment where most people fail. You must look for any “dry spots” that look lighter or more matte than the rest. Take a bit more oil and work it into those thirsty areas until the entire surface has a uniform, wet appearance. If you leave a dry patch, it will stand out like a sore thumb once the finish cures.
- 5. This is the step I find most meditative, yet most prone to error: the buffing out. You cannot let excess oil sit on the surface; if it does, it will turn into a tacky, gummy mess that no amount of sanding will fix. Take a clean, dry cloth and wipe away every bit of surplus oil until the wood feels smooth and dry to the touch. I usually do this in long, sweeping strokes, checking the light from different angles to make sure I haven’t missed a single drip or pool.
- 6. Patience is a design constraint we all have to learn. Once you’ve wiped it down, step away. The oil needs time to bond with the wood fibers and for the solvents to evaporate. I generally recommend letting it cure for at least 24 hours before even thinking about touching it with a coaster or a book. In my studio, I treat this waiting period as a necessary silence—a time to let the material settle into its new skin before we subject it to the world.
Understanding How to Apply a Hardwax Oil
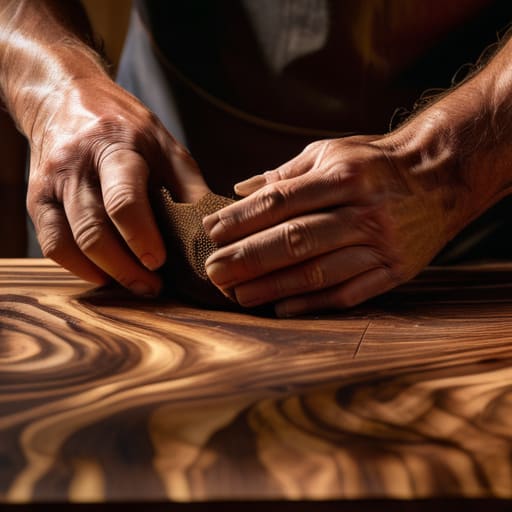
I’ve spent enough years staring at failed joinery to know that the finish isn’t just a final layer; it’s a conversation with the material. Most people treat the application as a chore, but if you rush the wood surface preparation, you’re essentially lying to the timber. I once spent three weeks on a walnut sideboard only to realize my sanding sequence was off, leaving microscopic scratches that the oil seemed to highlight rather than hide. You have to respect the grain before the first drop even touches the surface.
There is also a certain tension between patience and the urge to see results. I often find myself fighting the temptation to rush into buffing hardwax oil before the wood has truly breathed. If you don’t respect the natural drying time, you end up with a tacky, uneven mess that no amount of elbow grease can fix. It’s about that quiet, almost meditative interval where you step back and let the chemistry do its work. It’s rarely the most efficient way to work, but in my experience, it’s the only way to get a finish that feels like it belongs to the wood, rather than something sitting on top of it.
Key Things to Know
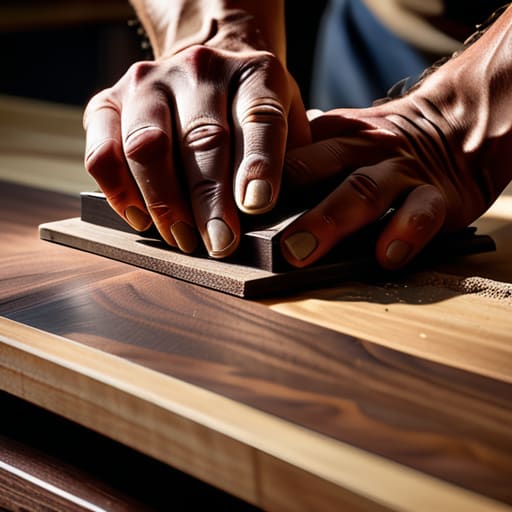
I’ve spent enough time in my studio watching finishes fail to know that the real work happens long before the oil touches the grain. Most people rush straight to the application, but if your wood surface preparation is sloppy, the oil will only serve to highlight your mistakes. I once spent three days sanding a walnut tabletop, only to realize I’d left a single swirl mark from a high-grit pad. When the oil went on, that mark didn’t just sit there; it practically glowed like a neon sign. It’s a humbling reminder that the finish is a magnifying glass, not a mask.
There is also the temptation to rush the drying phase. I know the feeling—you want to see the result, to touch the wood and feel that satin texture. But respecting the hardwax oil drying time is where the discipline lies. If you try to rush the process or move to buffing too early, you risk a tacky, uneven surface that no amount of elbow grease can fix. It’s about learning to sit with the tension of the wait.
Practical Tips and Steps
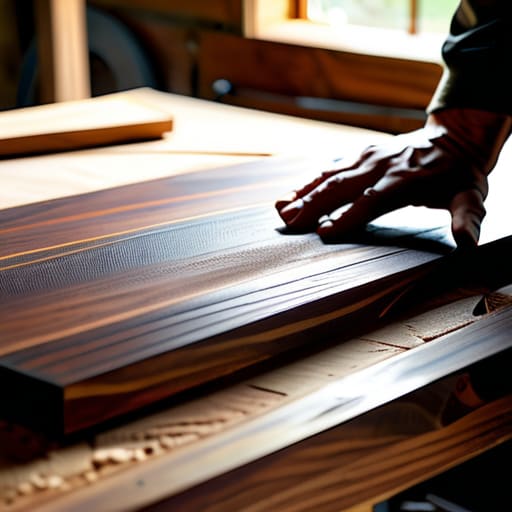
I’ve spent enough years in the studio to know that the most expensive oil in the world won’t save a poorly prepared piece of walnut. Most people rush straight to the tin, but the real work happens during wood surface preparation. I have a drawer full of failed samples where I skipped a sanding grit or left a trace of dust, and the result was always a surface that felt more like plastic than timber. If you don’t get the grit progression right, you aren’t just applying a finish; you’re trapping mistakes under a layer of wax.
When it comes to the actual application, I’ve learned to embrace a bit of friction. I often find myself applying oil with a white pad rather than just a rag. It feels more intentional, almost like a massage for the grain, and it helps push the product into the fibers rather than letting it sit on top. Also, don’t be impatient with the hardwax oil drying time. I once tried to rush a client’s dining table by buffing it too early, and the finish stayed tacky for days. It’s a lesson in restraint—one of those decisions that nearly went the other way.
The Ghost of the Second Coat
I spent most of my twenties thinking a finish was something you did to a piece of wood to protect it, but after years of watching grain react to the slightest change in pressure, I’ve realized it’s more of a conversation. You’ll reach a point where the surface looks ‘good enough’ and your instinct will be to put the rag down; that’s the exact moment you have to fight yourself, because the difference between a surface that just sits there and one that actually breathes is found in that final, stubborn pass you almost didn’t make.
Jonathan Marin
The Final Layer
At the end of the day, applying hardwax oil isn’t about following a manual to achieve some sterile, factory-standard perfection. It’s about the discipline of the process—the patience to sand until the surface feels like silk, the restraint to apply thin, purposeful layers, and the foresight to let the wood actually breathe before you even think about the next coat. If you’ve managed to avoid the common trap of over-saturating the grain or rushing the drying time, you’ve already done the hardest part of the work. It’s a technical dance of preparation and timing, where the goal is to protect the material without ever making it look like it’s wearing a mask.
I often look at the prototypes gathering dust in the corner of my studio, and I realize that the most successful pieces aren’t the ones where everything went perfectly according to the blueprint. They are the ones where a moment of hesitation or a slightly heavier hand led to a texture I hadn’t anticipated. As you finish this last application, remember that you aren’t just coating a surface; you are participating in the life of the wood. Don’t fear the small variations. After all, the true character of a piece is often found in the decisions that nearly went the other way.
