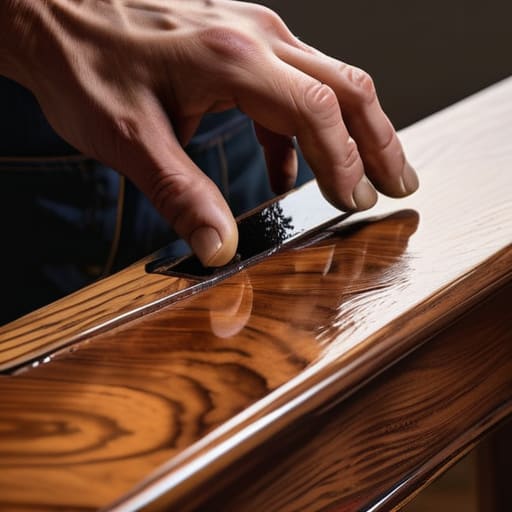
Shellac for Repairability
I was standing over a walnut sideboard last Tuesday, staring at a patch of milky, uneven cloudiness that shouldn’t have been there, wondering why I hadn’t just used a modern polyurethane. Most people will tell you that learning how to apply shellac is all about mastering a steady hand or buying the most expensive brushes, but that’s a lie. The truth is, shellac is a living, breathing thing that reacts to the humidity in your workshop and the speed of your mistakes. It’s not about perfection; it’s about knowing exactly when to stop rubbing and when to let the resin do its own work.
In this guide, I’m going to skip the romanticized fluff and give you the actual mechanics of the process. We’ll talk about the specific grit of sandpaper that saves a finish, the precise way to build your layers without trapping bubbles, and why your choice of solvent matters more than you think. I want to show you how to move past the fear of ruining a piece so you can finally achieve that deep, amber glow that only a well-applied shellac can provide.
Guide Overview
Tools & Supplies
- Natural bristle brush (for smooth application)
- Lint-free cloth (for wiping or padding)
- Sandpaper (various grits for smoothing between coats)
- Mixing stick (for stirring flakes or liquid)
- Shellac (liquid concentrate or flakes)
- Denatured alcohol (as a solvent if using flakes)
- Tack cloth (to remove dust before coating)
Step-by-Step Instructions
- 1. You have to start with the sanding, and I don’t mean the quick, superficial pass most people settle for. I’m talking about a progression that feels almost obsessive. I usually move from 120 up to 320, making sure the wood grain is completely open and free of any dust. If you leave a single speck of grit in the pores, the shellac won’t just sit on top; it will highlight every mistake you made, and that is a hard lesson to learn the hard way.
- 2. Before the first drop of alcohol touches the wood, clean the surface with a tack cloth or a vacuum. I’ve spent many late nights in the studio staring at a piece of walnut, realizing that a tiny bit of sawdust was about to become a permanent part of the finish. It’s a moment of quiet preparation that dictates whether the next hour is a success or a disaster.
- 3. Now, prepare your pad. I don’t use those cheap, disposable foam applicators; I prefer a piece of lint-free cotton wrapped around a wooden block. It gives you a sense of tactile control that you simply cannot get with a brush. Dip the pad into your shellac—I prefer a dewaxed flakes mix for consistency—and squeeze out the excess. You want it damp, not dripping, because a puddle of shellac is just a future headache waiting to happen.
- 4. This is where the rhythm comes in. Apply the shellac in long, thin, overlapping strokes. I tend to work in one direction initially, then cross-hatch it on the subsequent layers. It’s tempting to try and build depth in one go, but that is a trap of impatience. You have to respect the thinness of the layer; the goal isn’t to coat the wood, but to marry the finish to the grain.
- 5. Wait. This is the part where most people fail. You need to let the layer dry completely before you even think about the next one. I usually give it a few hours, but if the humidity in the shop is acting up, I’ll wait until the next morning. If you rush it, you’ll end up dragging the previous layer around, creating a gummy mess that no amount of sanding can easily fix.
- 6. Once the layer is dry to the touch, I perform a very light “scuff sand” with high-grit paper—around 400 or 600. It feels counterintuitive to sand something you just worked so hard to smooth out, but it’s the only way to ensure the next layer actually bites. It’s a small, necessary friction that leads to a seamless depth.
- 7. Repeat the process until the luster matches what you had in your head. I often find myself adding one more layer than I originally planned, simply because the transition from a matte surface to a deep, honeyed glow is too seductive to stop. When you finally step back and see that the light is moving through the finish rather than just bouncing off it, you’ll realize why the discipline of the process matters more than the speed.
Understanding How to Apply Shellac
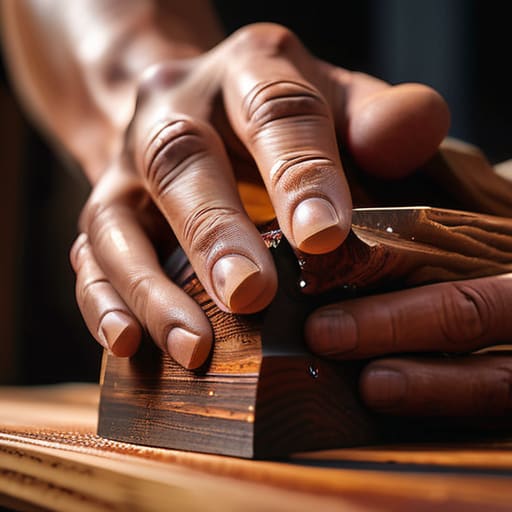
I’ve spent enough years in the studio to know that most people approach a finish like they’re following a recipe, but shellac isn’t a cake mix; it’s a conversation with the wood. When I’m preparing wood for shellac, I’m not just looking for a smooth surface; I’m looking for how the grain is going to fight me. If you have an open-pored species like mahogany, you can’t just rush in. You need to consider a shellac grain filler or a few extra sealing coats, otherwise, that beautiful depth will just turn into a series of tiny, dark craters.
There is also this constant, nagging debate of shellac vs varnish when a client asks about longevity. Varnish is the tank—it’s durable, it’s tough, it’s predictable. But shellac? Shellac has a soul. It breathes. It reacts. It offers a clarity that a heavy polyurethane simply smothers. I often find myself hovering between the two, knowing that while a brush is easier for a quick fix, the true magic happens when you stop treating it like a coating and start treating it like a layering of light.
Key Things to Know
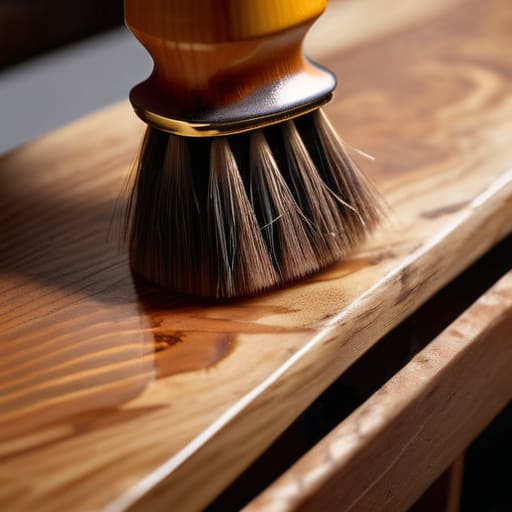
I have a shelf in the back of my studio filled with what I call “the ghosts”—prototypes that failed because I misunderstood the material. With shellac, the biggest mistake isn’t the application itself, but the arrogance of thinking you can rush it. I used to think shellac vs varnish was a simple matter of durability, but it’s actually a matter of temperament. Varnish is a shield; shellac is a skin. If you don’t respect the shellac drying time, you’ll end up dragging the finish into a muddy, gummy mess that no amount of sanding can save.
Another thing I learned the hard way is that the surface dictates the soul of the piece. If you’re working with something porous like oak, preparing wood for shellac isn’t just about smoothness; it’s about stability. I’ve spent hours applying a shellac grain filler just to ensure the final layers didn’t sink into the timber like water into sand. It’s tedious, and there were many afternoons I wanted to skip it, but that tiny bit of extra labor is exactly what allows the light to sit perfectly level on the surface later.
Practical Tips and Steps
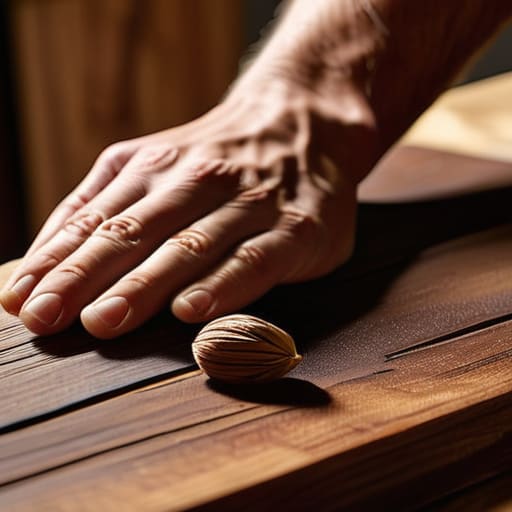
I’ve spent a fair amount of my career staring at pieces that failed because I rushed the prep. When you’re preparing wood for shellac, the temptation is to dive straight into the finish, but that’s where the heartbreak happens. If your surface isn’t surgically clean, the shellac will just highlight every microscopic mistake you made with the sander. I keep a scrap of walnut in my studio specifically to remind myself that patience is a technical requirement, not a suggestion.
One thing they don’t emphasize enough in the manuals is the nuance of the application method. If you are applying shellac with a brush, you have to fight the urge to overwork it. Shellac sets incredibly fast—much faster than most modern synthetics—and if you keep brushing once it starts to tack, you’ll end up with a surface that looks like it was dragged through sand. I’ve learned to work in small, decisive strokes. It’s a bit of a dance; you have to be fast enough to flow but calm enough to control the direction of the stroke.
The Ghost in the Grain
People treat shellac like a chore, a mechanical layer to be applied with clinical precision, but they miss the point. You aren’t just coating wood; you’re negotiating with it. I’ve spent hours debating whether to push through a stubborn patch or stop and let the moisture settle, and honestly, it’s those moments of hesitation—the near-mistakes—that give the finish its soul.
Jonathan Marin
The Ghost in the Grain
At the end of the day, mastering shellac isn’t about following a sterile manual; it’s about managing the tension between your intent and the material’s temperament. You have to respect the thinness of the layers, the patience required for drying, and the way the spirit dissolves into the wood. I’ve spent many afternoons staring at a piece that looked disastrously cloudy, only to realize that the solution wasn’t more product, but more discipline. If you can get the timing right and keep your pads clean, you move past the technical hurdles of application and start actually working with the wood rather than just coating it.
I keep a shelf in my studio filled with failed finishes—pieces where I rushed the drying or grew impatient with the sanding. They serve as a constant reminder that a perfect finish isn’t an accident; it is a series of small, deliberate choices. Don’t be afraid of that moment where the finish looks uncertain or the sheen seems off. Often, that slight hesitation is where the real character of the piece is forged. The goal isn’t to achieve a factory-perfect, plastic veneer, but to create something that feels alive and earned. Trust the process, even when the grain seems to be fighting you.
