Writing the Glue Up Order Down
I was standing in the middle of my shop three years ago, staring at a pile of expensive walnut scraps and a spreading pool of PVA glue that had escaped my clamps. I had followed the “standard” procedure to the letter, yet the entire assembly had shifted two degrees to the left, leaving me with a tabletop that looked like it was trying to escape the base. It’s a humbling realization that most tutorials ignore: the actual glue-up isn’t the moment of creation, it’s the moment of extreme vulnerability. People think the skill is in the application, but I’ve learned that how I plan a glue up is actually a mental exercise in anticipating failure before the first drop of adhesive even touches the wood.
In this guide, I’m stripping away the polished, “perfect” workflows you see on social media to show you the gritty, logistical reality of the process. I want to walk you through my personal checklist—the one that involves dry-fitting until my hands ache and mapping out clamp pressure like a tactical maneuver. You won’t find any “magic tricks” here, just the deliberate, repetitive constraints that ensure when the glue finally sets, the piece stays exactly where I intended it to be.
Guide Overview
Tools & Supplies
- Bar Clamps or Pipe Clamps for applying even pressure
- Rubber Mallet for seating joints without marring
- Cauls (scrap wood) to protect workpiece from clamp marks
- Spreader or brush for even glue distribution
- Wood Glue (PVA) 1 bottle
- Tack Cloth or damp rag for cleaning squeeze-out
- Painter's Tape for marking clamp positions
Step-by-Step Instructions
- 1. I start by laying everything out on the workbench, not in my head, but physically. I call this the “dry run,” though it feels more like a rehearsal for a play I’m terrified of forgetting the lines to. I line up the boards, checking grain direction and color matching, because once that glue hits, the window for aesthetic correction closes forever.
- 2. Next comes the inventory of the hardware. I don’t just grab a handful of clamps and hope for the best; I count them. I lay them out in the exact order they’ll be applied, ensuring I have enough pressure points to prevent any internal bowing. There is a specific kind of anxiety that comes from realizing you’re one clamp short halfway through a sequence, so I make sure the math is settled before the glue bottle is even opened.
- 3. I prepare the surfaces with a level of scrutiny that borders on the obsessive. I run my hands over the joinery, looking for any microscopic gaps or unevenness that the eyes might miss. If a joint doesn’t seat with a clean, authoritative thud, I stop. I go back to the plane or the sander. A glue-up is only as good as the fit you achieved before the mess began.
- 4. Then, I set up my “cleanup station.” This is the part people usually overlook in favor of the “craft,” but it’s where the real discipline lies. I have a bucket of warm water, a handful of clean rags, and a scraper ready to go. I’ve learned the hard way that trying to wipe away squeeze-out while simultaneously managing clamp pressure is a recipe for smearing glue deep into the open grain of the wood.
- 5. I mix the adhesive in small, manageable batches. I’ve moved away from the “big bucket” approach of my younger years; now, I work with the clock in mind. I calculate exactly how much time I have from the moment the brush touches the wood to the moment the bond sets. It’s a race against chemistry, and I prefer to be the one setting the pace.
- 6. The actual application is a choreographed movement. I apply the glue to both faces, ensuring even coverage without creating pools that will starve the joint. I work from the center outwards, much like how I approach a layout on a drafting table. I try to keep my movements deliberate; there is no room for frenetic energy when you are managing a liquid bond.
- 7. Finally, I begin the clamping sequence, working from the middle toward the ends to avoid trapping air or pushing the boards out of alignment. As each clamp tightens, I pause to check the squareness. I watch the squeeze-out—that thin, translucent bead of glue—to confirm the joint is actually closed. It’s the moment where the tension of the process finally meets the reality of the object.
Understanding How I Plan a Glue Up
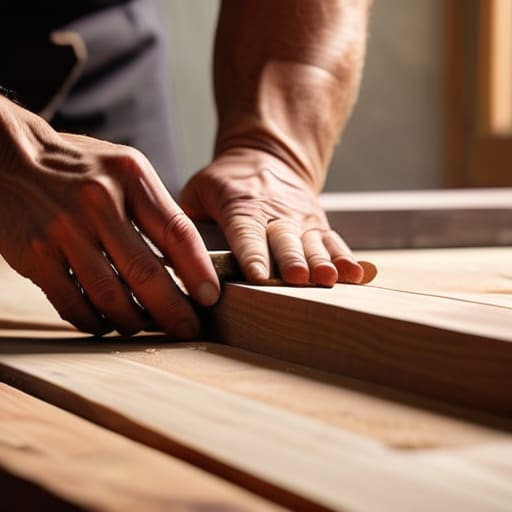
I’ve learned the hard way that a glue-up isn’t just a mechanical task; it’s a psychological one. When I’m looking at a complex assembly, I don’t just see parts; I see the potential for a disaster that could set me back a week. For me, the most critical phase is the dry fit woodworking process. I will spend an hour—sometimes two—moving pieces around, checking for light leaks in the joints, and making sure everything sits exactly where it should. If it feels even slightly “off” during the dry run, I refuse to proceed. That tiny bit of resistance is usually a warning that the actual assembly will end in a mess of uneven surfaces.
Once the pieces are actually moving toward the glue, my focus shifts to clamping pressure optimization. It is incredibly easy to over-tighten a clamp in a moment of panic, only to find you’ve squeezed every useful bit of moisture out of the joint. I try to find that middle ground where the bond is tight, but I’m still mindful of glue spread and coverage. I’ve kept a drawer full of rejected prototypes where the wood split because I was too aggressive, or the joint failed because I was too timid. It’s a delicate, frustrating balance.
Key Things to Know
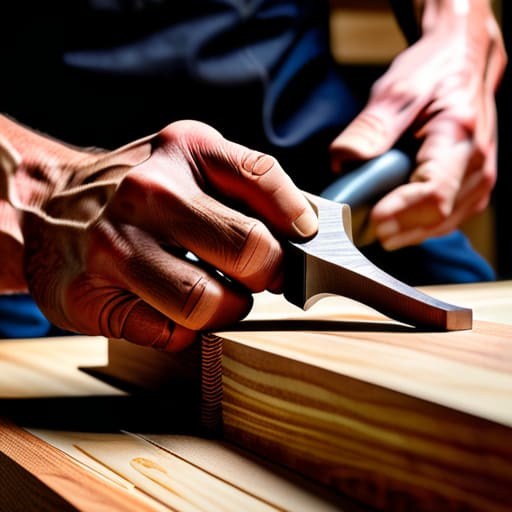
I’ve learned the hard way that a glue-up isn’t just about the adhesive; it’s about the physics of the squeeze. One thing I’ve come to rely on is a rigorous dry fit woodworking process before a single drop of PVA touches the grain. I used to rush this, thinking I could “feel” the fit, only to realize mid-clamp that a tenon was a fraction of a millimeter too proud. Now, I treat the dry fit like a dress rehearsal. If the pieces don’t dance together perfectly while dry, they will certainly fight you once the clock is ticking on the glue’s open time.
Another thing that keeps me up at night is the sheer math of clamping pressure optimization. It’s easy to assume more clamps equals a better bond, but over-tightening can actually starve the joint, squeezing out every bit of moisture and leaving you with a brittle, hollow connection. I’ve started paying much closer attention to glue spread and coverage, ensuring I’m not just painting the surface, but actually saturating the fibers. It’s a delicate balance between enough pressure to bond and enough fluid to actually do the work.
Practical Tips and Steps
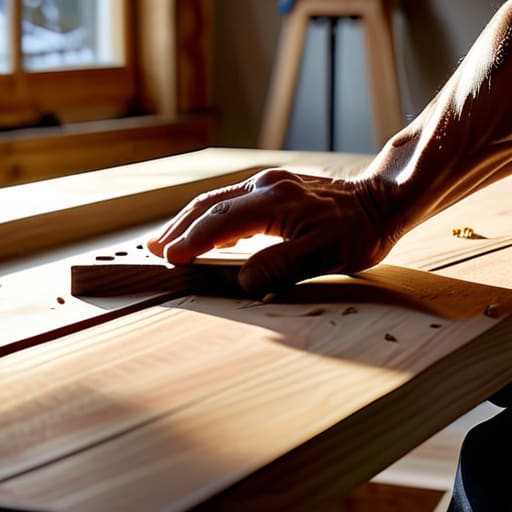
I’ve learned the hard way that a successful assembly isn’t just about the strength of the bond, but about managing the chaos that happens once the liquid starts to set. One thing I always do is a meticulous dry fit woodworking process before a single drop of adhesive touches the timber. I’ll spend an hour just moving pieces in and out, checking for light leaks in the joints and ensuring my clamps won’t obstruct the final silhouette. If it doesn’t sit perfectly dry, it will never sit perfectly wet.
When it actually comes time to apply the adhesive, I focus heavily on glue spread and coverage. It’s tempting to be stingy to avoid a mess, but a dry spot in the center of a long panel is a structural death sentence. I also keep a close eye on my clamping pressure optimization; too much force can starve a joint of its glue, while too little leaves gaps. I’ve learned to find that middle ground where the wood feels held, but not crushed. Lastly, I keep a damp rag nearby—not to clean the joint, but for preventing glue squeeze out from hardening into those stubborn, amber beads that ruin a finish.
## The Ghost in the Clamps
A glue-up isn’t a technical checklist; it’s a high-stakes negotiation with physics. I don’t just plan for where the wood goes, but for the moment the pressure shifts and the entire assembly threatens to slide out of alignment—the moment where the decision to use one more clamp, or one less, becomes the difference between a seamless joint and a permanent mistake.
Jonathan Marin
The Ghost in the Joinery
At the end of the day, planning a glue-up isn’t about following a checklist or achieving some sterile, industrial perfection. It’s about managing the tension between your intent and the physical reality of the wood. You have to account for the clamping pressure, the dry fit that inevitably reveals a gap you didn’t see before, and the sheer, terrifying speed at which glue sets. If you skip the preparation—if you don’t organize your workspace and your sequence—you aren’t designing; you’re just hoping for the best. And hope is a terrible substitute for a well-placed clamp.
I often look at my shelf of rejected prototypes, those pieces that failed because I rushed a critical junction, and I realize they taught me more than my successes ever could. A perfect glue-up is a quiet victory, but the real magic lies in the moments where you almost lost control and had to reclaim the design through discipline. Don’t fear the complexity of the process. Instead, respect the constraints of the material, because it is within those narrow margins of error that the most honest work is actually made.
