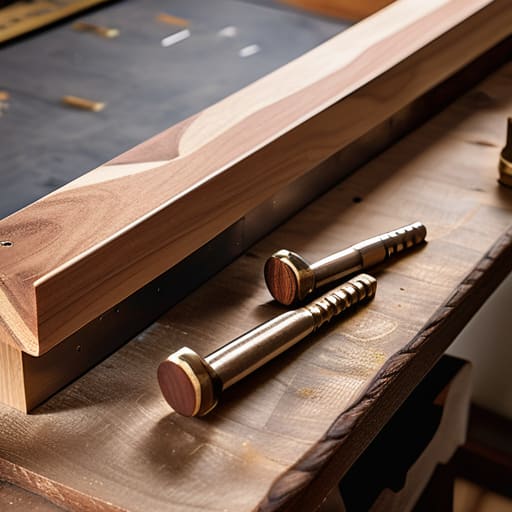
Rehearsing a Glue Up Dry
I still remember the smell of Titebond II and the cold sweat that comes when you realize your clamps are all positioned in the wrong direction. I was working on a walnut dining table back in my second year of studio, staring at a pile of expensive timber and realizing I had no idea how to prepare for a complicated glue up. I spent three hours meticulously checking my joinery, only to have the entire assembly drift three degrees off-square the second the pressure hit. It wasn’t a lack of skill that failed me; it was a lack of premeditated chaos management.
I’m not here to give you a sanitized, textbook checklist that assumes your workshop is a sterile laboratory. Instead, I want to talk about the messy, tactile reality of making sure your parts actually behave when the clock is ticking. I’ll share the specific, unglamorous rituals I use to ensure that when the glue starts to set, the only thing you’re worrying about is the finish, not a catastrophic structural failure. This is about the quiet, disciplined work that happens before the first drop of adhesive ever touches the wood.
The Ghost of the Wrong Decision How to Prepare for a Complicated Glue Up
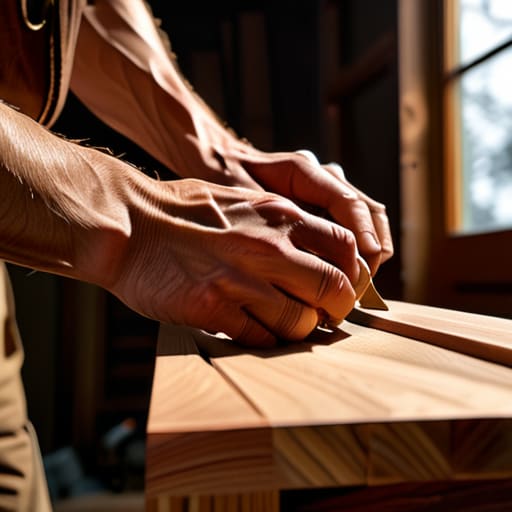
I have a shelf in my studio dedicated entirely to the failures—the joints that split under too much force or the miters that refused to close. I call them my “ghosts.” When I approach a complex piece, I don’t just see the finished chair; I see the version of it that fails because I rushed the assembly. Preparation isn’t about following a checklist; it’s about anticipating the moment the physics of the wood fights back. This is why I never skip a thorough dry fit woodworking tips session. You need to feel the resistance of the joinery before the glue makes the mistake permanent.
The real anxiety starts when you realize you have thirty seconds to align a heavy carcass before the bond sets. Managing that tension requires more than just brute force; it’s about clamping pressure management. If you tighten too fast, you’ll starve the joint of glue; too slow, and the piece drifts. I’ve learned that the best way to avoid a disaster is to treat the assembly like a choreographed dance rather than a wrestling match. You have to respect the window of opportunity.
The Dry Fit Where the Near Misses Are Finally Caught
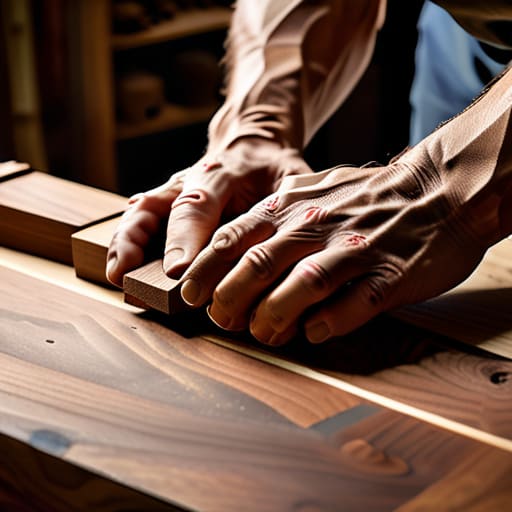
I have a shelf in the back of my studio, tucked behind a stack of half-finished chair frames, dedicated entirely to my failures. It’s a graveyard of joints that didn’t seat and tenons that were a hair too proud. I keep them there because a dry fit is more than just a rehearsal; it is the only moment where you can actually interrogate your own mistakes before they become permanent. When I’m working on a complex assembly, I don’t just slide the pieces together to see if they fit; I look for the tension. I look for that tiny, infinitesimal resistance that tells me a shoulder is slightly out of square.
If you skip this, you aren’t designing; you’re just hoping. I’ve learned that effective woodworking joinery assembly relies heavily on the honesty of the dry fit. You need to find exactly where the friction lives. If you find yourself having to force a joint during the dry run, you’ve already lost. You want the pieces to find their home with a certain inevitable grace, not a struggle. It’s in these quiet, unglued moments that you realize how close you came to a disaster, and more importantly, how you can avoid it.
Mastering Woodworking Joinery Assembly Before the First Drop Falls
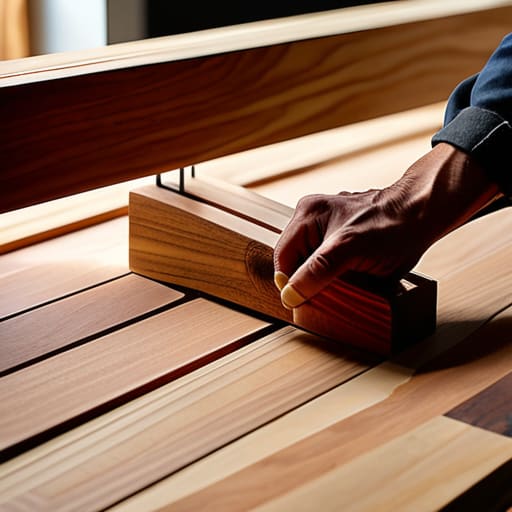
There is a specific kind of anxiety that sets in right before you crack the seal on a glue bottle. It’s the realization that once that liquid starts bridging the gap between two surfaces, you are no longer designing; you are merely managing a crisis. To mitigate this, I’ve learned that true woodworking joinery assembly isn’t about the glue itself, but about the choreography of the pieces. I spend a significant amount of time pre-positioning every clamp and marking exactly where my hands need to be. If you have to hunt for a mallet or a wedge while the adhesive is already beginning to tack, you’ve already lost the battle.
I treat the assembly like a rehearsal for a play where there are no second takes. This means obsessing over clamping pressure management long before the first drop hits the wood. You want enough force to ensure total contact, but not so much that you’re squeezing the life out of a delicate tenon or bowing a panel. I find that mapping out the sequence of pressure—starting from the center and working outward—is the only way to ensure the joint stays true. It’s about controlling the physics of the squeeze so that the final result feels inevitable, rather than accidental.
The Tension of Clamping Pressure Management in Tight Spaces
There is a specific kind of anxiety that sets in when you realize your design requires a clamp to reach into a corner it wasn’t meant to inhabit. I have a drawer full of prototypes where a joint looks perfect on paper, but in practice, the geometry of the piece turns your clamping strategy into a game of Tetris played with heavy steel. If you apply too much force in a confined space, you aren’t just joining wood; you’re risking a structural shift that can ruin a week’s worth of milling. Effective clamping pressure management isn’t about brute strength; it’s about the delicate, almost surgical application of force to ensure the joint seats without bowing the entire carcass.
I’ve learned the hard way that over-tightening in a tight spot is a recipe for disaster. You might think you’re securing the piece, but you’re often just inducing a twist that will haunt you once the glue sets. Part of my process now involves using sacrificial blocks or custom-cut cauls to distribute that load. It’s an extra step, sure, but it’s the only way of preventing glue squeeze out from becoming a massive, dried-on mess that requires hours of sanding later. It’s about managing the tension so the wood stays true to the intention, rather than the pressure.
Calculated Chaos and Advanced Woodworking Assembly Techniques
There is a specific kind of madness that sets in when you realize your assembly involves more than four moving parts and a dozen different angles. I call it calculated chaos. It’s that moment where you stop looking at the blueprints and start looking at the physics of the room. You aren’t just putting pieces together; you are managing a series of potential failures. I’ve spent many afternoons staring at a pile of walnut components, realizing that my sequence of operations is the only thing standing between a masterpiece and a pile of expensive kindling.
Success here relies on a brutal sort of discipline regarding woodworking assembly techniques. You have to choreograph the movement. If you don’t plan exactly how the first clamp enters the space, the third one will inevitably block the fifth. I’ve learned that preventing glue squeeze out isn’t just about having a damp rag ready; it’s about the strategic timing of the squeeze. You have to anticipate the swell. If you rush the process, you lose the battle to the very material you’re trying to shape.
Winning the War Against Preventing Glue Squeeze Out
There is a specific, sickening kind of dread that sets in when you see a bead of PVA creeping out of a joint where it doesn’t belong. It’s not just the mess; it’s the realization that you’ve potentially contaminated the grain, making future finishing a nightmare. I’ve spent too many afternoons in the studio staring at a botched joint, wondering why I didn’t just slow down. Preventing glue squeeze out isn’t about being a magician; it’s about managing the physics of the squeeze. I’ve learned that if you over-apply, you create a hydraulic lock that forces the glue into the pores of the surrounding wood, and if you under-apply, you end up with a starved joint that’s structurally useless.
The trick, I’ve found, lies in the fine balance of clamping pressure management. You want enough force to ensure a tight bond, but not so much that you’re essentially injecting glue into the wood fibers like a syringe. I usually keep a damp, barely-moist rag nearby—not a soaking wet one, which is a rookie mistake that just pushes the glue deeper—to catch the excess the second it breaks the surface. It’s a messy, high-stakes dance, but it’s where the real work of woodworking joinery assembly happens.
The Final Race Glue Drying Time Optimization Strategies
Once the clamps are set and the glue is working its chemistry, the real anxiety sets in. It’s no longer about the physical assembly, but about the clock. I’ve spent many evenings staring at a joint, waiting for that critical window to close, wondering if I should have adjusted my clamping pressure management or if I’ve left too much room for error. The goal isn’t just to wait; it’s about strategic patience. If you’re working in a drafty studio or a humid workshop, that window shifts. I’ve learned to treat the environment as a variable in the equation, often using small space heaters or controlled airflow to ensure that glue drying time optimization doesn’t turn into a race against a premature set.
There is a specific kind of stillness that follows a complex woodworking joinery assembly. You’ve fought the geometry, managed the squeeze-out, and now you are simply a spectator to the bond. I keep a notebook of these moments—not just for the successes, but for the times I rushed the cleanup and compromised the finish. The trick is knowing when the “active” phase ends and the structural reality begins.
The Weight of the Decision
A complicated glue-up isn’t really about the chemistry of the adhesive or the strength of the clamps; it’s about the quiet, heavy moment right before the first drop hits the wood, when you realize that every single choice you’ve made in the last three weeks has led to this one, irreversible point of no return.
Jonathan Marin
The Aftermath of the Assembly
At the end of the day, a successful glue-up isn’t defined by a lack of stress, but by the sheer amount of deliberate preparation that prevented a catastrophe. We’ve walked through the dry fits, the calculated clamping sequences, and the frantic race against the clock to manage squeeze-out. It is a heavy, methodical process of checking and re-checking, ensuring that every joint is seated and every clamp is positioned before that first bead of adhesive hits the wood. If you’ve done the work—if you’ve respected the constraints of the material and the physics of the bond—the actual assembly becomes less of a gamble and more of a controlled execution of a plan.
I often look at my shelf of rejected prototypes, those pieces that failed because I rushed a sequence or ignored a slight misalignment. They serve as a reminder that in design, as in craft, the most beautiful results are often just the survivors of a thousand tiny, corrected errors. Don’t be afraid of the tension that comes with a complex assembly; that nervous energy is just your respect for the medium manifesting itself. When you finally pull those clamps away and see the seams disappear, you’ll realize that the perfection wasn’t an accident. It was the result of every decision that nearly went the wrong way, and finally, mercifully, went right.
