
The Order of Faces When Squaring
I was staring at a slab of walnut that should have been a dining table, but instead, it was just a collection of expensive, twisted geometry. I had spent three hours fighting the grain, convinced that my jigs were perfect, only to realize my reference face was off by a fraction of a degree. It’s the most humbling realization in the shop: you can have the best tools in the world, but if you don’t fundamentally understand how to square up stock, you’re just performing a very slow, very costly ritual of frustration. Most people think squaring is about brute force or high-end machinery, but it’s actually about the patience to find the truth within the wood.
In this guide, I’m stripping away the technical jargon and the “perfect” workshop fantasies. I want to show you the actual, tactile process of getting a piece truly true, from the first pass on the jointer to the final check with a precision square. We’ll talk about the mistakes I’ve made—the ones sitting in my “reject” pile—so you don’t have to make them yourself. This isn’t about magic; it’s about mastering the constraints of the material so the wood finally starts working with you.*
Guide Overview
Tools & Supplies
- Jointer (to create one perfectly flat face)
- Planer (to create a consistent thickness)
- Table Saw (to rip the board to final width)
- Combination Square (to check for 90-degree angles)
- Rough-cut lumber (1 board)
- Sandpaper (various grits)
Step-by-Step Instructions
- 1. You start by checking the face of the board for any obvious warps or twists, but don’t get too precious yet. Grab your jointer and run the stock through to establish a single, perfectly flat reference plane. This is the foundation; if this first pass is off, every subsequent measurement is essentially a lie you’re telling yourself.
- 2. Once you have that first face, you need to find the edge. I usually flip the board and run it against the jointer fence, making sure the new edge is exactly 90 degrees to that first face. I can almost hear the old-timers in my head telling me to check it with a machinist square here, and they aren’t wrong—if the edge isn’t true to the face, your entire project is doomed to a slow, structural tilt.
- 3. Now comes the part that requires the most patience: the thicknessing. Whether you’re using a thickness planer or a hand plane, you are working entirely off the reference face and edge you just created. You aren’t just making the wood thinner; you are stripping away the chaos until the stock is uniform, always keeping that first face as your North Star.
- 4. After the thicknessing, you’ll likely notice the board has developed a slight “bow” or “cup” from the internal stresses being released. This is where most people panic and try to force it, but you have to listen to the wood. Use your jointer again to lightly skim the face, taking off just enough to bring it back into a plane without over-correcting and turning your board into a toothpick.
- 5. The final check is a ritual for me. I lay the board on a known flat surface—usually my workbench—and look for light creeping underneath. If you see light, the stock isn’t square yet. You go back to the jointer, but you do it with extreme hesitation. It is much easier to take another pass than it is to try and fix a board that has become too thin because you were being overzealous.
- 6. Once the faces and edges are true, perform one last measurement with your square. I always look for that tiny, almost imperceptible gap at the corner. If it’s tight, you’ve won. You haven’t just “squared up stock”; you’ve negotiated with the material until it finally agreed to behave.
Understanding How to Square Up Stock
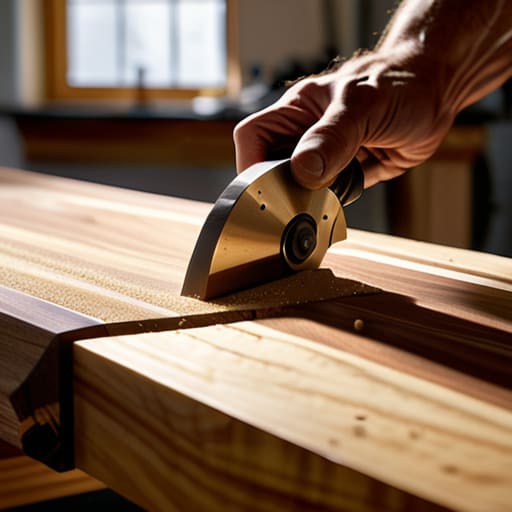
I have a shelf in my studio filled with pieces of walnut and oak that never made it to a client. Most of them failed not because the wood was bad, but because I misread the tension in the grain. When you’re truing up lumber edges, it’s easy to fall into the trap of thinking the machine is doing the thinking for you. But a jointer doesn’t care about your design intent; it only cares about the path of the blade. I’ve learned that true precision isn’t about forcing a board into a shape, but about listening to how the wood resists that shape.
The real trick lies in the sequence. I used to rush straight into using a jointer and planer, thinking I could fix everything in the final pass. That was a mistake. You have to establish a single, reliable reference face first—the foundation upon which every other dimension rests. If that first face isn’t truly flat, every subsequent cut is just a sophisticated way of compounding an error. It’s a slow, sometimes frustrating process of checking for flatness and squareness at every turn, but that’s where the integrity of the piece is actually won or lost.
Key Things to Know
I have a shelf in the back of my studio—the “Graveyard of Good Intentions”—filled with pieces of walnut and cherry that looked perfect on paper but failed the moment the blade hit the grain. Most of them failed because I rushed the preparation. When you are truing up lumber edges, there is a seductive temptation to assume the machine is doing the thinking for you. It isn’t. You have to be the one constantly verifying that the machine hasn’t drifted. I’ve learned the hard way that trusting your eyes over your gauges is a quick way to end up with a tabletop that wobbles like a drunkard.
Another thing that gets overlooked in the rush of a new build is the relationship between different tools. You might think you can skip the heavy lifting by using a table saw for squaring a single edge, but if your face isn’t perfectly true to begin with, you’re just propagating an error. Precision isn’t about the tool; it’s about the sequence. I always find myself pausing to check for flatness and squareness at every single transition, because once a piece is dimensioned, the mistake is baked in.
Practical Tips and Steps
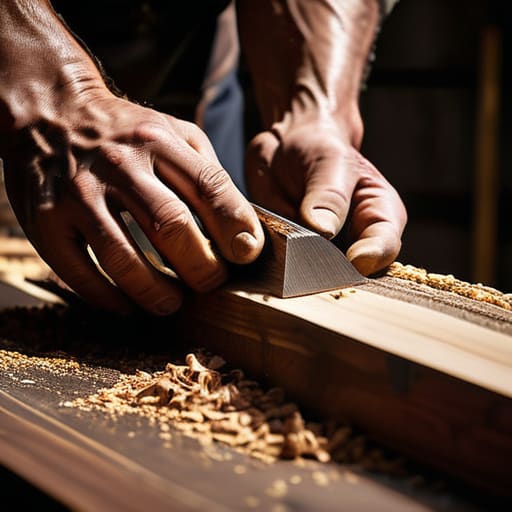
I have a shelf in the back of my studio—a graveyard of cedar and walnut offcuts—where I keep the pieces that failed because I rushed the setup. I learned the hard way that you can’t force a piece into submission; you have to listen to how the machine reacts to the grain. When I’m truing up lumber edges, I’ve found that the biggest mistake isn’t a lack of skill, but a lack of patience. I used to think I could eyeball the first pass on the jointer, but now I know that precision is earned through repetition, not intuition.
If you find yourself struggling with a particularly stubborn board, don’t just keep feeding it through the machine. Stop. Take a pencil and start marking wood for dimensioning at multiple points along the face. It sounds tedious, but it’s the only way to catch those slight twists that a planer might hide. I once lost a beautiful slab of cherry because I relied too heavily on the machine’s settings instead of manually checking for flatness and squareness with a reliable straightedge. It was a costly lesson in why the manual check always beats the mechanical assumption.
The Ghost in the Grain
You can follow every measurement to the millimeter, but if you don’t respect the tension held within the wood, you aren’t squaring stock—you’re just negotiating a temporary truce with a piece of material that’s waiting for you to look away.
Jonathan Marin
The Ghost in the Grain
At the end of the day, squaring up stock isn’t just a mechanical chore or a box to tick before the “real” work begins. It is the foundational negotiation between your intent and the reality of the material. Whether you are fighting a twist with a jointer or meticulously dialing in your planer settings, you are essentially removing the chaos to find the geometry underneath. We’ve covered the precision of the passes, the necessity of checking for flatness, and the patience required to avoid over-working the surface, but the technical summary is secondary to the discipline. If you rush the preparation, you are merely building a beautiful mistake on top of a crooked foundation.
I often look at the pile of rejected offcuts in the corner of my studio—the ones where I pushed too hard or ignored a slight warp—and I realize that the most important part of the process isn’t the perfect square, but the decision to stop and recalibrate when things felt off. Design is often taught as a pursuit of aesthetic perfection, but in the shop, it is actually practiced as a series of managed constraints. Don’t be afraid of the wood that fights back; instead, respect the tension. The goal isn’t just a flat board, but the quiet confidence that comes from knowing your starting point was honest.
