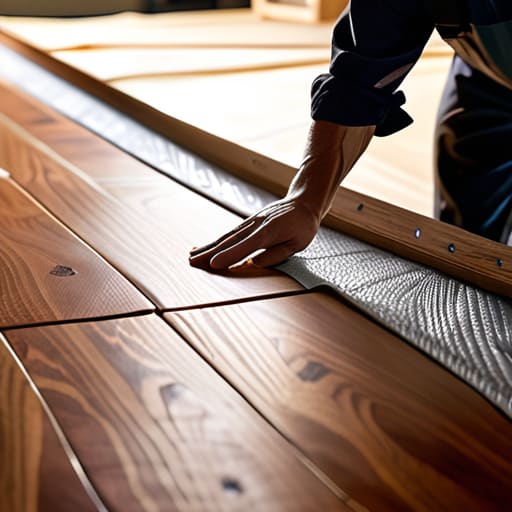
Packing a Table for a Van
There is a specific, nauseating sound that occurs when a heavy timber joint meets a poorly fitted corner of a cardboard box—a dull, hollow thud that tells you everything you need to know about a failed shipment. I spent years watching junior designers treat crating like an afterthought, a mere administrative hurdle to clear before the “real” work begins. They buy the expensive, branded foam inserts and the high-gloss shrink wrap, thinking that cost equals security. But after twenty years of seeing custom pieces arrive looking like they’ve been through a rock tumbler, I’ve learned that how I pack a piece for transport has almost nothing to do with the price of the materials and everything to do with the physics of the void.
I’m not here to give you a sanitized, corporate checklist or a tutorial on how to use a roll of tape. Instead, I want to show you the messy, tactile reality of protecting something that took months to build. I’ll walk you through the specific, often counter-intuitive layers I use to ensure that a design survives the brutal transit from my studio to a client’s living room. This isn’t about following a manual; it’s about understanding the tension between the object and the crate.
The Split Second Choice How I Pack a Piece for Transport
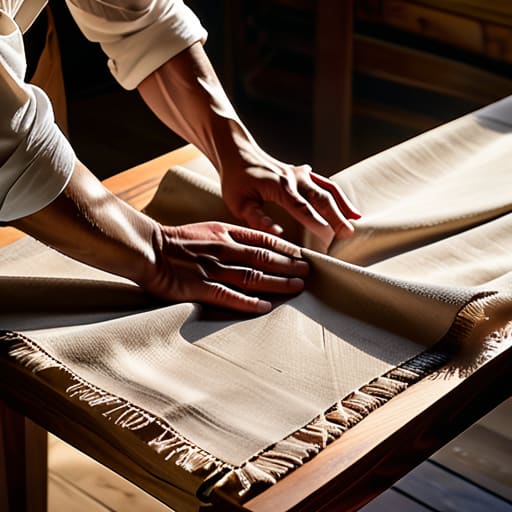
I spent twenty minutes staring at a walnut side table yesterday, debating the merits of bubble wrap vs acid-free paper. It’s a small, almost neurotic decision, but it’s where the real work happens. My instinct was to go for the heavy-duty plastic—it’s fast, it’s efficient, and it feels safe. But then I remembered the grain of that walnut; it has a certain openness that plastic can sometimes trap moisture against if the humidity shifts in a shipping container. I ended up choosing a tight wrap of unbleached muslin instead. It’s a slower process, but it offers better protection for preventing scratches during transit without the chemical guesswork.
Then there is the matter of the crate itself. When I’m securing heavy items in crates, I don’t just throw in some foam blocks and hope for the best. I treat the interior like a structural puzzle. I usually opt for custom-cut high-density foam, but I always leave a bit of “give” in the corners. If the fit is too perfect, the vibration from a truck’s suspension travels straight through the wood like a tuning fork. You have to build in a little bit of intentional instability to ensure the piece survives the journey.
Why I Chose Acid Free Paper Over the Easy Bubble Wrap Route
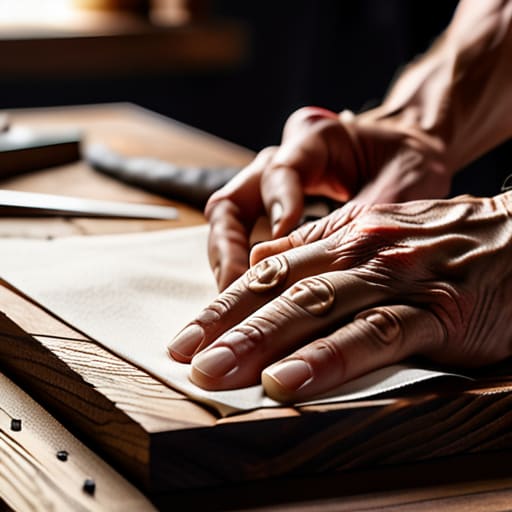
It would have been so much faster to just grab a roll of bubble wrap and start wrapping. In a production environment, speed is often mistaken for efficiency, and bubble wrap is the ultimate shortcut for anyone looking to get a job done and get home. But when I’m dealing with a hand-rubbed walnut surface or a delicate lacquer finish, that instant gratification feels like a gamble. I’ve spent too many years looking at rejected prototypes to trust a material that can trap moisture or leave those tiny, hexagonal pressure marks on a finish that took weeks to cure.
I decided to go the harder route, opting for museum quality packing materials instead. There is a specific, quiet tension in using acid-free paper; it requires a certain patience, a methodical layering that feels more like ritual than labor. It’s about preventing scratches during transit at a microscopic level, ensuring that the surface remains exactly as I left it in the studio. While bubble wrap offers great shock absorption for delicate goods, it lacks the chemical neutrality required for high-end finishes. For me, the extra twenty minutes spent folding paper is a small price to pay for the certainty that the object arrives intact.
The Tension of Securing Heavy Items in Custom Crates
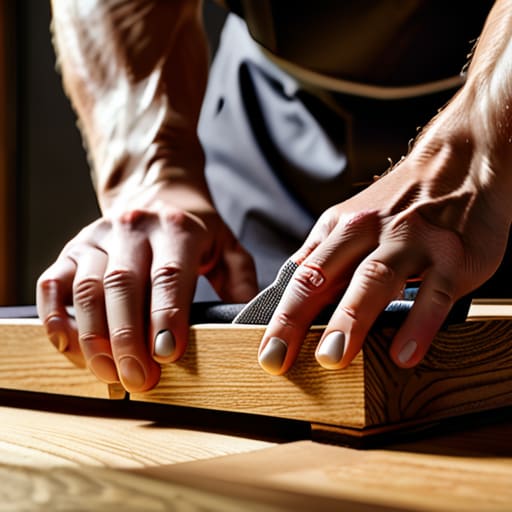
There is a specific kind of anxiety that sets in when you’re bracing a heavy, solid oak tabletop inside a custom crate. It’s a battle against physics. You can’t just throw it in a box; you have to manage the kinetic energy that will inevitably exist somewhere between my studio and the client’s living room. I spent twenty minutes yesterday wrestling with high-density foam inserts, trying to find that perfect balance of shock absorption for delicate goods without making the entire assembly feel like it was floating in a void. If the fit is too loose, the piece becomes a battering ram inside its own container; if it’s too tight, the pressure points can actually mar the finish.
I almost settled on standard timber bracing, but I realized it lacked the necessary nuance for a piece this heavy. Instead, I opted for a multi-layered approach to securing heavy items in crates, using custom-cut plywood dividers that act as a secondary skeleton. It’s a tedious, unglamorous process of measuring and re-measuring, but it’s the only way to ensure that the weight of the object works with the crate rather than against it.
Preventing Scratches During Transit the Layer I Almost Skipped
There is a specific kind of laziness that creeps in when you’re staring at a pile of shipping supplies at 2:00 AM. I found myself looking at a roll of standard polyethylene wrap and thinking, it’s fine, it’s thick enough. I almost skipped the intermediary layer of soft tissue entirely, convinced that the sheer volume of the outer padding would do the heavy lifting. But my hands remembered a mistake from five years ago—a walnut sideboard that arrived with a hairline marring because the plastic had rubbed against a polished edge during a long haul.
I ended up reverting to a much more tedious process, focusing on preventing scratches during transit by hand-wrapping each joint in a specialized micro-fiber cloth first. It felt redundant, even a bit precious, but that’s the trap of the craft. You aren’t just moving weight; you’re moving a series of decisions. Using museum quality packing materials isn’t about being an elitist; it’s about acknowledging that once an object leaves my studio, I lose all control over its environment. The cloth layer provides that crucial buffer that plastic simply cannot mimic.
Mastering Shock Absorption for Delicate Goods Through Trial and Error
I have a shelf in the back of the studio dedicated to what I call “the casualties.” It’s a graveyard of shattered ceramics and splintered wood that survived the packing process only to succumb to a single, poorly timed bump in a delivery van. Early in my career, I thought more was better—more foam, more air, more bulk. I quickly learned that excessive padding often creates a false sense of security, allowing the object to gain too much momentum inside the box before it finally hits a wall. True shock absorption for delicate goods isn’t about volume; it’s about managing energy.
I remember a specific walnut stool that arrived at a client’s home with a hairline fracture in the grain. I had used standard polyethylene foam, thinking it was enough. In hindsight, I hadn’t accounted for the frequency of vibration during long-haul transit. Now, I layer high-density closed-cell foam with softer buffers, creating a tiered defense system. It’s a tedious, iterative process of testing how different densities react to impact, but when you’re dealing with something irreplaceable, you learn that the difference between a successful delivery and a disaster is often just a few millimeters of carefully chosen material.
The High Stakes of Using Museum Quality Packing Materials
There is a certain kind of anxiety that sets in when you move from shipping a standard production run to handling a one-off commission. When you’re working with museum quality packing materials, the margin for error doesn’t just shrink; it vanishes. I remember a walnut side table I worked on last autumn—the grain was so tight and the finish so temperamental that I spent three hours just debating the chemistry of the barrier layers. It wasn’t just about padding; it was about ensuring that no chemical reaction between the wrap and the oil finish could occur during a three-week ocean transit.
I used to think that as long as something was cushioned, it was safe. But there is a massive distinction between mere protection and true preservation. Using high-grade materials is an exercise in calculated restraint. You aren’t just preventing a crack; you are managing the microscopic environment around the object. It’s an expensive, often frustrating way to work, but when you realize that the difference between a successful delivery and a heartbreak lies in the breathability of a single sheet of paper, the investment feels less like a cost and more like professional respect for the work itself.
Refining My Fragile Item Shipping Techniques After One Near Disaster
I still remember the sound of that specific crack—a dull, sickening thud that echoed through my studio when a commissioned walnut stool arrived at its destination in pieces. It wasn’t a catastrophic failure of the wood itself, but a failure of my own assumptions. I had relied on standard padding, thinking enough volume would compensate for a lack of structural thought. That afternoon, I realized that my approach to fragile item shipping techniques had been far too casual, treating a piece of furniture like a parcel rather than a sculptural entity.
Since then, my process has become a ritual of paranoia. I no longer just “wrap” things; I engineer them into a state of suspended animation. I spent weeks obsessing over the nuance of shock absorption for delicate goods, testing how different densities of foam reacted to vibration. It’s a tedious, unglamorous part of the job, but it’s the only way to bridge the gap between my studio and a client’s living room. I keep the splintered remains of that stool in my prototype bin, a jagged reminder that good design ends only when the object safely arrives.
The Invisible Architecture of Care
Most people think packing is about adding layers to protect an object, but after twenty years of seeing what happens when things go wrong, I’ve learned it’s actually about managing the tension between the object’s weight and its vulnerability. I spent an hour yesterday debating whether to use a standard foam insert or a custom-cut felt buffer; the felt felt indulgent, almost unnecessary, but that’s exactly why I chose it. The best protection isn’t the thickest layer, but the one that respects the grain of the wood more than the convenience of the mover.
Jonathan Marin
The Weight of the Final Layer
At the end of the day, packing isn’t just a logistical chore to be ticked off a list; it is the final stage of the design process itself. Whether I’m debating the merits of acid-free paper versus the quick fix of bubble wrap, or wrestling with the structural integrity of a custom crate, every decision is a way of honoring the object. It’s about acknowledging that the piece doesn’t stop existing once it leaves my studio floor. If I cut corners on the shock absorption or skip that extra layer of canvas to save ten minutes, I’m essentially betraying the intent behind the work. You have to treat the transit as part of the craft, ensuring that the tension and the texture I labored over survive the journey.
My shelf of rejected prototypes is full of things that failed because someone—usually me, in a moment of haste—decided that “good enough” was sufficient. But design is a discipline of constraints, and sometimes the most important constraint is the distance between my hands and the client’s. When you finally tape up that last seam, you aren’t just shipping a product; you are sending a promise that the integrity of the work remains intact. The goal isn’t just to arrive, but to arrive exactly as it was meant to be seen.
