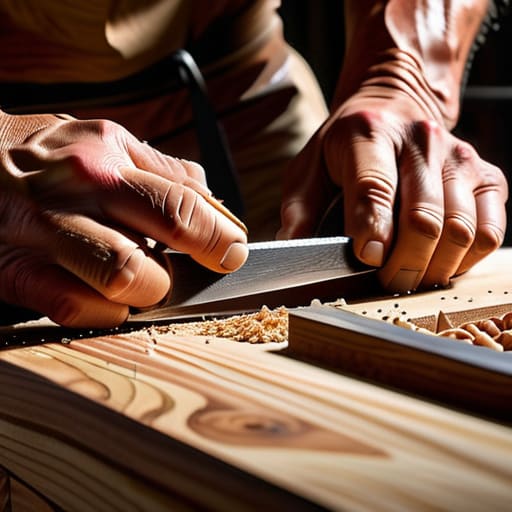
Mortice and Tenon by Hand
I was staring at a pile of expensive walnut scraps in my studio last Tuesday, wondering why the joint I’d just spent forty minutes perfecting felt so uncomfortably tight. Most tutorials treat learning how to cut a mortice and tenon like a mathematical equation where if you follow steps A through D, you achieve perfection. But they never talk about the moment the chisel slips or the way the grain fights you back. In my twenty years of designing furniture, I’ve learned that the real skill isn’t in the perfect execution, but in knowing how to recover when the wood decides to be stubborn.
I’m not here to give you a sanitized, textbook version of joinery that only works in a vacuum. Instead, I want to walk you through the actual, messy reality of the process—the kind of practical, no-nonsense approach you only get from years of making mistakes. We’re going to look at how to cut a mortice and tenon with a focus on the tactile feedback of the tool and the subtle adjustments that turn a shaky connection into a structural masterpiece. We’ll skip the fluff and get straight to the honest mechanics of the craft.
Guide Overview
Tools & Supplies
- Mortise chisel for cutting the socket
- Tenon saw for cutting the joint cheeks
- Mallet for driving the chisel
- Marking gauge for precise layout
- Hardwood or softwood timber (2 pieces)
- Pencil or marking knife for layout
Step-by-Step Instructions
- 1. Before I even touch a saw, I spend a ridiculous amount of time with my marking gauge. You can’t just eye it; you have to commit to the line. I mark the shoulder of the tenon on both pieces, ensuring the depth is consistent. I once saw a junior designer try to wing this part, and the resulting wobble in the joint was enough to make me want to retire on the spot.
- 2. Now comes the part where most people lose their nerve: the mortice itself. I prefer using a drill bit to hog out the bulk of the waste, but you have to be careful not to wander. I always leave about a millimeter of meat on the walls. It’s better to have a slightly loose fit that you can tighten with a shaving of wood than a hole that’s too wide to ever fix.
- 3. Once the bulk is gone, grab your chisels. This is where the real work happens. I take my sharpest bench chisel and start cleaning out the corners. You aren’t just removing wood; you’re sculpting the void. I tend to work from the center outward toward the walls, making sure I don’t blow out the side of the timber.
- 4. For the tenon, I start by sawing the cheeks. I use a fine-toothed tenon saw and, quite frankly, I try to listen to the wood. There’s a specific pitch the saw makes when it’s cutting true versus when it’s binding. I mark my waste side with a little ‘X’—a habit from my early days in the studio—so I don’t accidentally saw into the part I actually need to keep.
- 5. After the cheeks are cut, it’s time for the shoulders. This is the most delicate bit of the dance. I saw exactly to the line, but I never, ever saw on the line. If you saw on the line, you’ve just made a tenon that’s too thin. I always leave a hair of extra material, because a little bit of sanding is a small price to pay for a structural connection that actually holds.
- 6. The final step is the “test fit,” which is usually a moment of high anxiety for me. I don’t hammer the joint home immediately. Instead, I gently tap it with a mallet to see how the surfaces meet. If it’s too tight, I don’t force it—I find the high spot and shave it down. If you force a tight joint, you’re just inviting a crack to appear in the grain six months down the line.
Understanding How to Cut a Mortice and Tenon
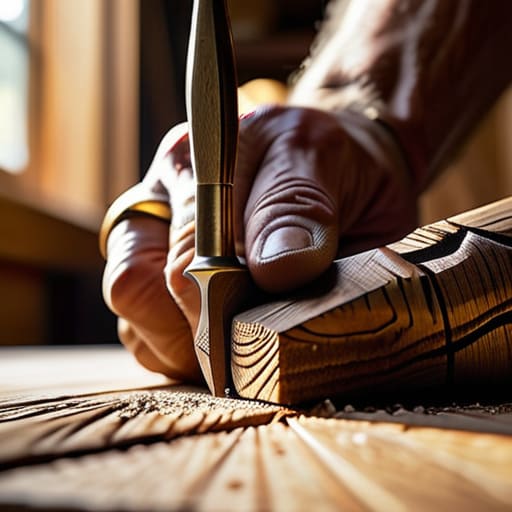
I’ve spent a fair amount of time staring at the scrap pile in the corner of my studio, and most of those rejected pieces failed because I treated the process like a math equation rather than a conversation with the grain. When you’re marking out tenon dimensions, there is a temptation to aim for absolute, mathematical perfection. But wood isn’t a CAD file; it breathes, it shifts, and it fights back. I’ve learned that the real skill in woodworking joinery techniques isn’t just hitting a line, but understanding how much “give” you need to leave for the glue to actually do its job.
There’s a specific tension in the air when you’re using a mortise chisel to clear out the waste. You can feel the resistance of the fibers through the handle, a tactile feedback that no power tool can replicate. I used to rush this, thinking speed was a proxy for competence, but I ended up with split grain and wasted timber. Now, I focus on woodworking tool precision through patience rather than force. It’s about that subtle, almost imperceptible moment where you realize the fit is just right—not so tight that it splits the stile, but not so loose that the joint feels hollow.
Key Things to Know
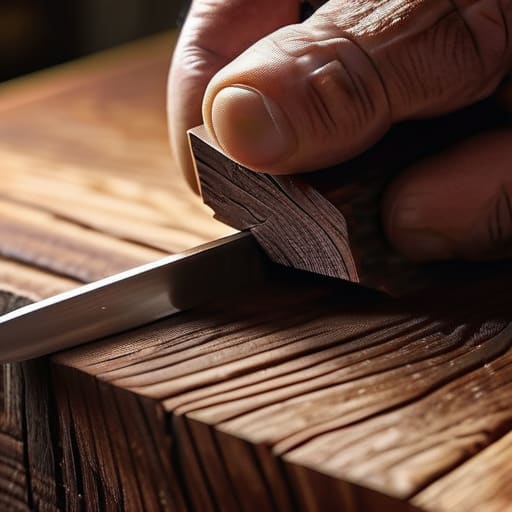
I’ve spent a lot of my career looking at joints that look perfect on paper but fail the moment they meet real-world humidity. The secret isn’t just in the muscle; it’s in the patience of marking out tenon dimensions with a knife rather than a pencil. A pencil line has width, and in this game, width is the enemy of a clean connection. I remember a series of walnut chair rails I ruined early in my career because I relied on a dull carpenter’s pencil. I thought I was being efficient, but I was actually just building a collection of loose, rattling joints that belonged in my scrap bin.
When you’re actually in the thick of it, remember that woodworking tool precision is a moving target. You aren’t just fighting the grain; you’re fighting your own tendency to rush. If you find yourself sweating over achieving a tight joint fit, stop. Take a breath. It is much easier to shave a hair’s breadth off a tenon with a fine chisel than it is to try and magically shrink a hole that you’ve accidentally made too wide.
Practical Tips and Steps
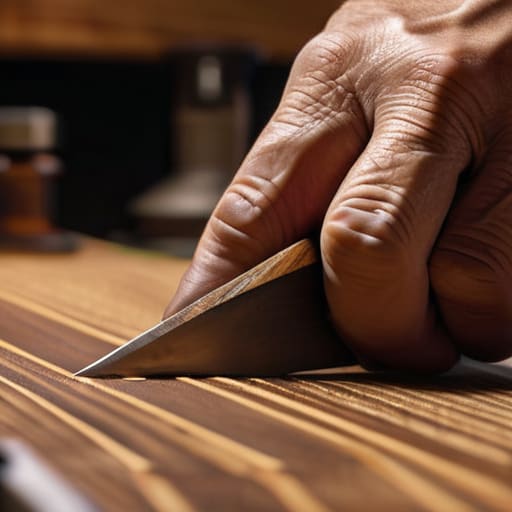
I’ve spent a lot of time staring at the scrap pile in the corner of my studio, and most of those pieces failed because I rushed the setup. When you’re marking out tenon dimensions, the temptation is to treat the pencil line as a suggestion rather than a boundary. It isn’t. I’ve learned that if you don’t account for the kerf of your saw, you’ll end up with a tenon that’s far too thin, turning a structural connection into a loose, frustrating mess. Precision isn’t about perfection; it’s about intention.
When it comes to the actual muscle work, I always suggest working slightly proud of your line. If you’re using a mortise chisel, don’t try to clear the entire cavity in one go. Take shallow, controlled bites. It’s much easier to shave away a millimeter of waste than it is to fix a blowout that has compromised the integrity of the timber. Achieving a tight joint fit is a game of subtraction, not addition. If the fit is too tight, you’ll split the mortise; if it’s too loose, the joint is dead. Find that middle ground where the wood breathes.
The Margin of Error
I’ve spent more time staring at a slightly oversized tenon than I have at the successful ones; there is a specific kind of tension in that split second when you realize you’ve taken a hair too much off, and you have to decide whether to scrap the piece or find a way to make that error look like a deliberate choice.
Jonathan Marin
The Ghost of the Better Joint
Looking back at the process, it’s easy to treat the mortice and tenon as a mere checklist of technical requirements—marking the lines, clearing the waste, and ensuring the fit isn’t so tight it splits the grain. But the reality is much messier. It’s about that tension between the precision of the tool and the unpredictability of the wood itself. You have to respect the depth of the mortice and the shoulder of the tenon, but you also have to accept that the wood will fight you. If you find yourself sweating over a slightly uneven wall or a tenon that’s a hair too thin, remember that these are the moments where the work actually happens. It isn’t just about following a diagram; it’s about managing the inevitable deviations that occur between the blueprint and the bench.
I have a shelf in my studio filled with these exact moments—the pieces that didn’t quite meet the spec, the joints that were too loose, the ones that nearly went the other way. I keep them because they remind me that design isn’t a straight line from idea to finished product. It is a series of corrections. When you finally drive that joint home and feel the resistance of the wood, don’t just celebrate the success. Celebrate the decisions you made to fix the mistakes along the way. That is where the soul of the piece actually lives.
