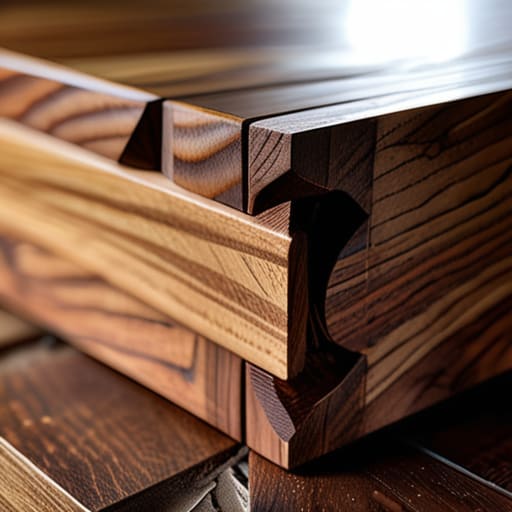
A Dovetail That Needs No Filler
I was staring at a pile of walnut offcuts in my studio last Tuesday, thinking about the drawer front I’d nearly ruined three years ago. I had spent hours obsessing over the geometry, only to realize that my pursuit of mathematical perfection was exactly what was making the joint look dead. We are often taught that learning how to cut a dovetail by hand is a quest for invisible seams and surgical precision, but that’s a lie. The real skill isn’t in avoiding the struggle; it’s in understanding how to manage the tension between the wood’s natural resistance and your own shaky hand.
In this guide, I’m not going to feed you any of that sanitized, “perfect world” nonsense you see in glossy magazines. Instead, I want to walk you through the actual, messy mechanics of the process—the way you should hold the saw, how to read the grain before you even touch a chisel, and why your first few attempts will likely look like a disaster. We are going to focus on the functional reality of the craft, moving past the theory to get your hands dirty with a method that actually works in a real workshop.
Guide Overview
Tools & Supplies
- Dovetail saw (fine-toothed hand saw)
- Chisel (sharp bench chisel for waste removal)
- Mallet (wooden or rubber to strike chisels)
- Marking gauge (to scribe shoulder lines)
- Dovetail marker or protractor (to set angles)
- Hardwood boards (2 pieces of same thickness)
- Marking knife (for precise layout lines)
- Sandpaper (various grits for finishing)
Step-by-Step Instructions
- 1. I always start by marking my baseline, that single, most critical line that dictates where the joint ends and the piece begins. I use a marking gauge rather than a pencil because a pencil line is too thick, too forgiving; it’s a lie you tell yourself. You want a razor-thin physical indentation in the wood fibers that acts as a literal track for your saw to follow later.
- 2. Layout is where most people lose their nerve, so I take my time with the tails. I mark the end grain with my dividers, choosing a slope—usually a 1:6 for softwoods or 1:8 for hardwoods—that feels right for the species on my bench. It’s a delicate balance between structural integrity and visual rhythm, and I often find myself staring at the wood for several minutes just trying to decide if the angle looks too aggressive or too timid.
- 3. When it comes to the actual sawing, the trick isn’t strength; it’s the weight of your hand. I position the saw just to the waste side of my line, making sure I’m not cutting into the actual joint. You have to trust the kerf to do the work for you. If you try to force the blade through the grain, you’ll wander, and a wandering saw is just a very expensive way to ruin a beautiful piece of walnut.
- 4. Once the tails are cut, the transition to the pins feels like a high-stakes game of geometry. I scribe the tails directly onto the end grain of the pin board, which is the only way to ensure a perfect transfer. I tend to hold my breath during this part—not because I need to, but because it’s a subconscious way of bracing for the moment the knife slips.
- 5. Now comes the part that makes my heart race: removing the waste. I use a coping saw to get most of the way there, but I always leave a few millimeters of “meat” on the bone. I finish the job with a sharp chisel, working from both sides toward the center to avoid blowing out the wood. I’ve learned the hard way that rushing the paring is the quickest path to a loose, rattling joint.
- 6. The final fit is a conversation between the two pieces of wood. I never, ever force a dovetail with a mallet if it isn’t seating naturally; if you have to hammer it home, you’ve made a mistake in your layout or your paring. I prefer to shave off microscopic curls of wood until the joint slides together with a firm, satisfying resistance—the kind of fit that feels like it was always meant to be that way.
Understanding How to Cut a Dovetail by Hand
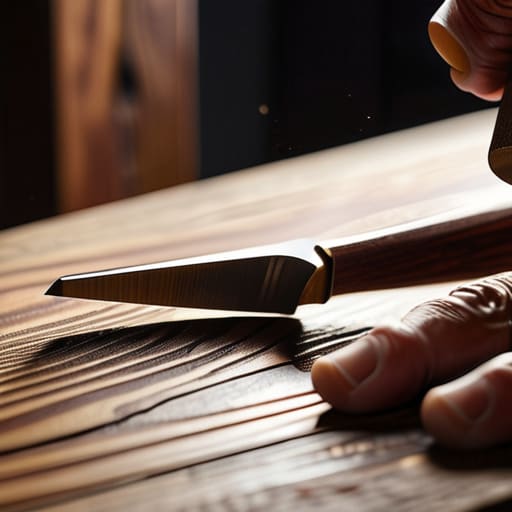
Before the saw ever touches the wood, there is the quiet, almost meditative tension of the preparation. I’ve spent years staring at a piece of walnut, realizing that most failures don’t happen during the cut, but during the layout for dovetails. If your lines are lazy, the joint will be lazy. I’ve learned to treat my marking gauge not just as a tool, but as a way of defining the physical boundaries of the piece. A single hair-width error in your marking gauge setup can ripple through the entire assembly, turning what should be a tight, structural connection into a gap that no amount of glue can hide.
Then there is the psychological shift required when moving from the tails to the pins. I used to obsess over the symmetry of the cuts, but I’ve come to realize that woodworking joinery precision isn’t about mathematical perfection; it’s about understanding how the fibers respond to the blade. Whether you are focusing on cutting tails vs pins or refining the fit with a mallet, you have to listen to the wood. The grain tells you when you’re pushing too hard or when the saw is wandering.
Key Things to Know
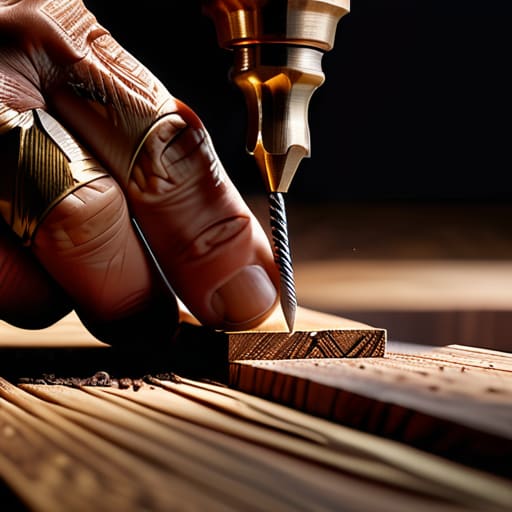
I have a shelf in the back of my studio filled with scraps of cherry and walnut—the casualties of my early years. Most of them failed because I treated the process like a math problem rather than a physical negotiation with the grain. When you are working on your layout for dovetails, the temptation is to be clinical, to seek a sterile perfection that doesn’t exist in organic material. But the real secret lies in the tension between your lines and your blade. I’ve learned that if your marking gauge setup is even a fraction of a millimeter off, that error won’t just sit there; it will migrate through the entire joint, compounding until the wood refuses to seat.
It’s also worth noting that the distinction between cutting tails vs pins is often more psychological than technical. I used to sweat over the sequence, convinced there was a “correct” way to approach the board. In reality, the most important thing is understanding how the fibers will react when you finally pick up your chisel. You aren’t just removing waste; you are sculpting the fit. If you rush the paring, you lose the ability to correct the drift, and suddenly, a beautiful piece of timber becomes just another rejected prototype on my shelf.
Practical Tips and Steps
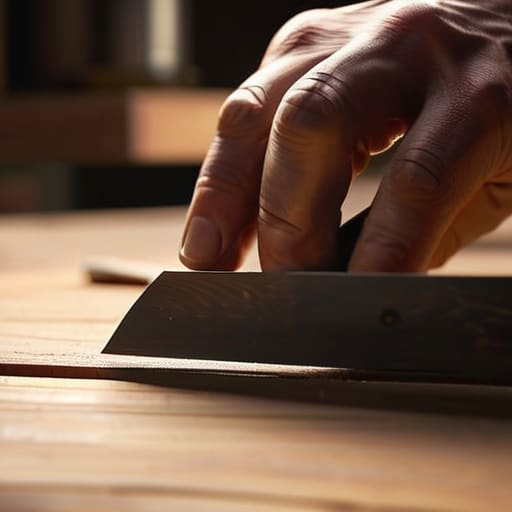
I’ve spent a fair amount of time staring at the scrap bin in my studio, and if there is one thing my rejected prototypes have taught me, it’s that precision isn’t about perfection—it’s about managing your errors. When you are working on the actual layout for dovetails, I find it helpful to treat the pencil lines as mere suggestions. I always prefer a marking knife; it severs the fibers rather than crushing them, which gives your chisel a physical track to follow. If you rely solely on a dull pencil, you’re essentially building your joint on a foundation of sawdust.
Once you move into the actual sawing, the temptation is to muscle through. I’ve learned the hard way that dovetail saw techniques rely more on your breathing and your stance than on raw strength. If you find yourself fighting the blade, stop. Check your marking gauge setup to ensure your depths are consistent across both boards. Most of my “near misses” happen because I lost sight of the shoulder line mid-cut. Remember, the goal isn’t just to remove wood, but to respect the grain as you navigate the tension between the pins and the tails.
The Margin of Error
I’ve spent most of my career looking at the perfect lines on a blueprint, but the real soul of a hand-cut dovetail lives in the millimeter where my saw slipped just slightly too deep—it’s the tension between the mathematical ideal and the physical reality of the wood that actually makes the joint feel alive.
Jonathan Marin
The Marks We Leave Behind
At the end of the day, mastering the dovetail isn’t about achieving some sterile, factory-grade perfection. It’s about the discipline of the setup—the way you mark your lines with a knife rather than a pencil, the patience required to saw just a hair outside the waste, and the steady hand needed to pare those pins into submission. I’ve spent years looking at my pile of rejected prototypes, and most of them failed because I tried to outsmart the wood instead of working within its limits. If you can respect the grain, keep your tools sharp, and embrace the incremental corrections, the joint will eventually find its seat.
There is a specific kind of quiet that settles over a studio once the sawing stops and the final mallet tap is struck. You realize that the beauty of the joint doesn’t actually come from the mathematical precision of the angles, but from the tension of the process itself. Every slight deviation, every tiny adjustment you made when the saw felt like it was drifting, tells the story of your focus. Don’t aim for a flawless object; aim for a meaningful decision made in the moment. The most honest pieces are rarely the ones that went exactly to plan, but the ones where you stayed the course despite the urge to rush.
