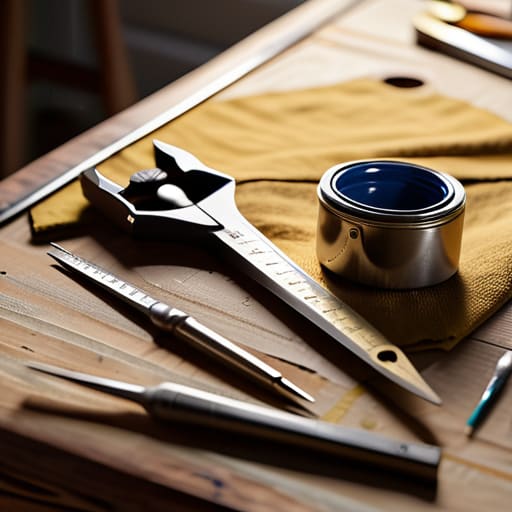
Measuring a Piece to Understand It
I was staring at a mahogany sideboard last Tuesday, surrounded by the wreckage of a failed joinery attempt, realizing that my tape measure was lying to me. Most people think that learning how to measure an existing piece is a matter of simple arithmetic or owning a high-end laser level, but that’s a lie. The real challenge isn’t the numbers themselves; it’s accounting for the drift—the way a hand-cut tenon has swelled over thirty years or how a floor that looks level is actually a slow-motion slide toward the kitchen. If you only measure the surface, you’re designing for a ghost, not the reality of the wood sitting right in front of you.
I’m not here to give you a sanitized, textbook list of steps that ignore the messiness of actual craft. Instead, I want to walk you through the tactile, sometimes frustrating reality of capturing dimensions that actually matter. We’re going to look at how to find the true center of a warped panel, how to navigate those tricky, non-standard angles, and why you should always measure twice—not just to be sure, but to understand the error. This is about gaining the confidence to replicate or adapt something with precision, even when the object refuses to cooperate.
Guide Overview
Tools & Supplies
- Tape measure for accurate linear dimensions
- Notepad and pen for recording measurements
- Camera or smartphone for visual reference
- Measuring template (paper or cardboard) if needed
- Masking tape to mark points on surface
Step-by-Step Instructions
- 1. Clear the workspace, but don’t clear the mind. You can’t measure a chair or a tabletop if you’re fighting against the clutter of its existence. Move the objects around, but do it with respect for their weight. I’ve spent too many years accidentally scuffing a finished walnut veneer because I was in too much of a hurry to get to the numbers. You need space to move your body, because if you can’t reach the corner, you’ll inevitably fudge the measurement just to be done with it.
- 2. Grab a steel tape, not a fabric one. I know, the cloth tapes are easier to wrap around curves, but they have a tendency to stretch or sag, and in my world, a millimeter is the difference between a joint that seats perfectly and one that looks like a mistake. Lay the tape flat against the surface and hold it with a bit of tension. If you’re measuring a span, make sure the tape isn’t bowing in the middle; a single unseen curve in your measurement will haunt you when you try to replicate the piece.
- 3. Measure the “big three” first—length, width, and height—but do it three times. It sounds redundant, almost pedantic, but it’s the only way to catch the moment your eyes lied to you. I keep a notebook by my workbench specifically for this. Write down the first number, then the second, then the third. If they don’t match, you haven’t found the truth yet; you’ve only found the error.
- 4. Don’t ignore the “negative space” or the thickness of the material. Most people measure how wide a table is, but they forget to measure how thick the top actually is, or the clearance between the seat and the stretcher. This is where the design lives. If you’re trying to replicate a silhouette, you need to know the depth of the chamfer or the exact radius of that rounded edge. Use a caliper if you have one; it’s the only way to be truly honest with the geometry.
- 5. Document the “irregularities” that you would otherwise want to ignore. No piece of furniture is a perfect Euclidean solid; there is always a slight taper, a subtle wobble, or a corner that isn’t quite ninety degrees. Instead of trying to “correct” these in your notes, record them exactly as they are. Those slight deviations are often the very things that give a piece its character, and if you design around a “perfect” number, your new piece will feel strangely sterile compared to the original.
- 6. Sketch the measurements as you go, rather than just listing them in a column. A list of numbers is just data, but a quick, messy hand-sketch with annotations is information. Draw the profile. Mark where the grain changes or where a joinery notch begins. When I look back at my old sketches, I don’t look at the numbers first; I look at the visual relationship between the parts. That’s where you’ll actually understand how the object was put together.
The Error We Avoided How to Measure an Existing Piece
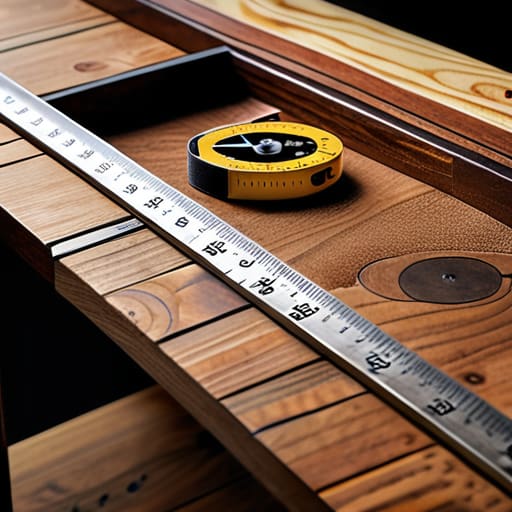
I remember a mid-century sideboard I tried to replicate three years ago. I thought I had the dimensions down, but I’d measured the exterior shell and completely ignored the internal clearance for the drawer runners. I ended up with a beautiful, useless box. That mistake taught me that field measurement best practices aren’t just about the numbers you see, but the spaces you can’t quite reach. When you are recording architectural dimensions, you have to account for the “ghost” space—the thickness of a veneer, the slight sag in a floor, or the way a corner isn’t actually ninety degrees.
Don’t just rely on a single pass with a tape. I’ve found that the most reliable way to avoid a repeat of my sideboard disaster is to adopt a more rigorous site survey methodology. This means measuring a single span from three different points to see if the reality matches the math. If you’re creating dimensioned sketches, draw the errors in too. If a wall leans, note the lean. It’s much easier to design around a known imperfection than to realize, halfway through a build, that your perfect measurements were based on a lie.
Precision Measurement Tools and the Cost of Near Misses
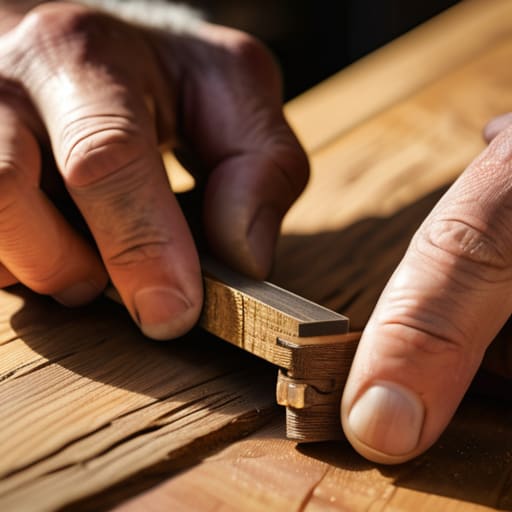
I’ve spent enough years in the studio to know that a tape measure is a liar if you don’t treat it with suspicion. We often treat precision measurement tools as if they provide absolute truth, but in reality, they only provide a snapshot of a moment that is already changing. Wood breathes; walls settle. I’ve seen a perfectly executed set of as-built drawings techniques fall apart because the designer assumed the floor was actually level. When I’m documenting a piece, I don’t just look for the number; I look for the tension in the joint or the slight bow in the grain that suggests the measurement might be a lie.
The real cost of a near miss isn’t just a wasted sheet of walnut; it’s the loss of momentum. If your field measurement best practices involve nothing more than jotting down a single number, you’re inviting disaster. I’ve learned to record the “why” behind the dimension—the slight irregularity that forced a change in the joinery. You aren’t just capturing a length; you are documenting the struggle between the ideal design and the stubborn reality of the physical object.
Site Survey Methodology Recording the Decisions That Stayed
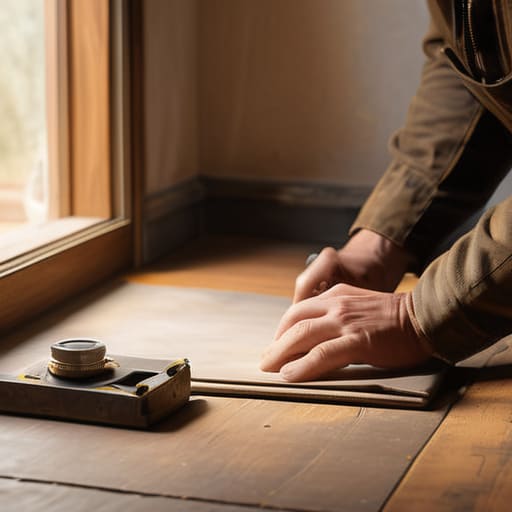
When I’m out in a client’s space, I try to view the room not as a static set of coordinates, but as a series of compromises. A standard site survey methodology usually focuses on the “correct” numbers, but I’ve learned that the real value lies in the irregularities—the slightly bowed wall or the floor that slopes just enough to ruin a perfectly leveled cabinet. Instead of just recording architectural dimensions, I make it a point to note why the room is the way it is. If a window is set two inches too low, that’s not a mistake to be ignored; it’s a fixed constraint that dictates every subsequent design choice.
I’ve found that the most effective field measurement best practices involve more than just a tape measure; they require a certain level of observational skepticism. When I’m creating dimensioned sketches, I don’t just draw the lines; I try to capture the intent of the space. I look for the gaps where a piece of furniture almost fit, or the clearances that feel just a hair too tight. These are the ghosts of previous decisions, and if you don’t document them, you’ll inevitably repeat them.
The Margin of Error
When I pull a tape measure across a finished joint, I’m not just looking for the number that is; I’m looking for the ghost of the number that almost was. A measurement isn’t just a dimension—it’s the final boundary that kept a mistake from becoming a permanent part of the piece.
Jonathan Marin
The Weight of the Final Dimension
At the end of the day, measuring an existing piece isn’t just about capturing numbers on a page; it’s about documenting the physical reality of a space before you attempt to change it. We’ve talked about the necessity of the right tools, the rigor of the site survey, and the importance of accounting for those tiny, frustrating deviations that no blueprint ever mentions. When you walk away from the object with your notebook full, you aren’t just holding data. You are holding the boundary conditions of your next project. You are recording the constraints that will dictate whether your new design succeeds or becomes just another expensive mistake sitting in a corner.
I often look back at the prototypes in my studio—the ones I keep because they failed—and realize that the most important measurement wasn’t the one that was right, but the one that was almost wrong. As you move forward with your work, try to see these measurements as more than just math. See them as the silent architecture of possibility. A measurement tells you where a piece of furniture ends, but it also tells you exactly where your creative freedom begins. Don’t just measure to be accurate; measure to understand the limits you are about to push against.
