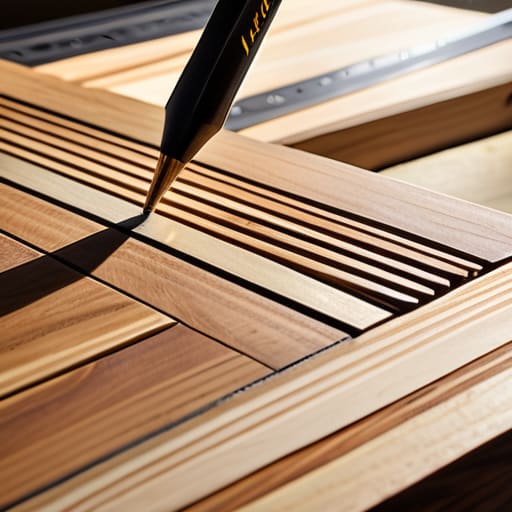
Marking Which Way Up Every Part Goes
I spent three years in a high-end production studio where we used expensive, laser-etched aluminum tags for every single component, as if a piece of metal could somehow compensate for a lack of organizational discipline. It was a beautiful, costly waste of time that taught me nothing about the actual flow of a build. People act like there is some high-tech, proprietary secret to efficiency, but the truth is much more tactile and, frankly, much more stubborn. When I finally set up my own shop, I realized that how I label parts isn’t about the sophistication of the medium, but about the clarity of the intent behind it.
I’m not here to sell you on a new software suite or a fancy labeling machine that will sit idle on your workbench. Instead, I want to talk about the friction between a messy workspace and a clean mind. I’ll share the systems I’ve refined through decades of making things—the ones that actually survive a sawdust-filled afternoon—and why I often choose the least obvious method to ensure nothing gets lost in translation. This is about making the process work for you, not the other way around.
The Chaos I Almost Embraced Before Learning How I Label Parts
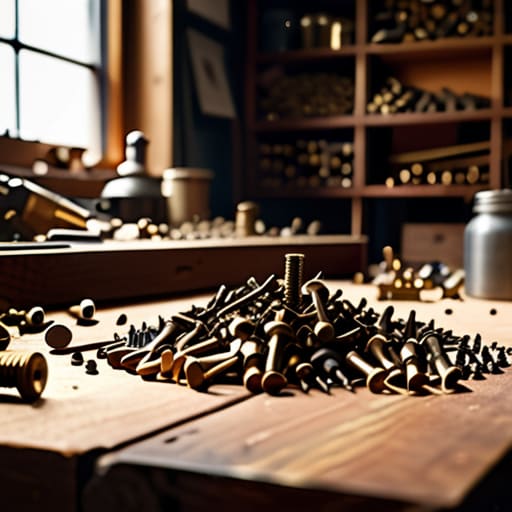
There was a period, somewhere around my tenth year in the studio, where I thought sheer volume could compensate for a lack of rigor. I had these massive, overflowing bins of brass screws and custom dowels, convinced that if I just kept everything in sight, I’d never lose my way. It was a philosophy of “organized chaos,” but in reality, it was just a slow-motion train wreck. I spent more time digging through piles of metal than I did actually sketching, a habit that made preventing assembly errors feel like a secondary concern to mere survival.
I almost leaned entirely into digital inventory management systems back then, thinking a spreadsheet could solve a tactile problem. I remember staring at a screen, trying to map out every single washer and bracket, realizing that a computer doesn’t understand the weight of a hand-turned component. I nearly traded my intuition for a rigid database, but that would have stripped the soul out of the workshop. Instead, I had to find a middle ground—a way to bridge the gap between the physicality of the craft and the necessity of order.
The Near Miss Choosing Visual Labeling Methods Over Pure Chaos

There was a period, right after I opened my own studio, where I thought I could bypass the tediousness of a formal system. I remember staring at a pile of brass fasteners and custom dowels, convinced that I could simply “know” where everything went by memory. I almost committed to a purely intuitive approach—no tags, no codes, just a sense of place. It was a seductive idea because it felt like artistic freedom, but it was actually just a recipe for expensive mistakes.
I eventually pivoted toward more structured visual labeling methods, but even then, I nearly went too far into the realm of industrial sterility. I briefly considered implementing complex, digital inventory management systems that would have turned my workbench into a data entry station. I rejected that because a designer needs to feel the material, not the software. Instead, I landed on a middle ground: hand-stamped metal tags and subtle, etched identifiers. It’s a compromise that provides enough clarity for preventing assembly errors without stripping the soul out of the process.
Why Standard Inventory Management Systems Almost Failed Me
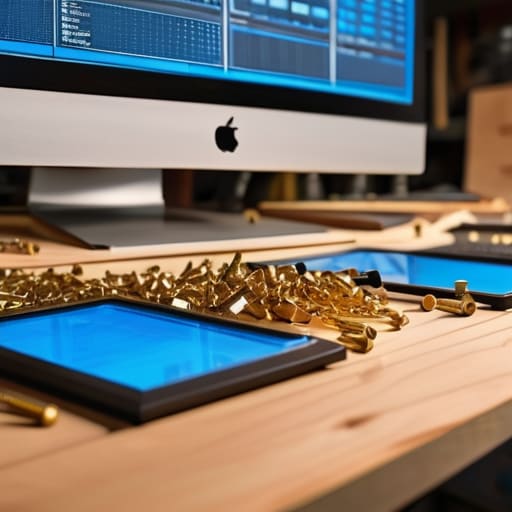
There was a period, somewhere around my tenth year in the studio, when I convinced myself that professionalizing meant digitizing. I invested a significant amount of time into complex inventory management systems, thinking that a database could somehow solve the tactile problem of a messy workbench. I spent weeks inputting SKU numbers for every brass screw and dowel, believing that if I could just map the chaos onto a screen, the physical reality would follow suit.
It was a fundamental misunderstanding of the craft. A computer screen doesn’t tell you that a specific batch of fasteners has a slightly different thread pitch, nor does it help when you’re mid-assembly and need to know which way a bracket sits. I realized that these digital tools were designed for warehouses, not for the granular, intuitive flow of a design studio. I almost traded my intuition for a spreadsheet, but the moment I tried to find a specific washer using a search bar instead of my eyes, I knew the system had failed. I needed something that existed in the same physical space as the wood and the steel.
The Critical Pivot in My Component Identification Techniques
There was a moment, sitting on my studio floor surrounded by a sea of brass fasteners and milled aluminum, where I realized that my entire approach to component identification techniques was fundamentally flawed. I had been treating the process like a filing cabinet—static, cold, and purely administrative. I thought if I just had a better spreadsheet, the friction would vanish. But design isn’t a spreadsheet; it’s a physical conversation between the maker and the material. I nearly doubled down on a digital-first tracking system, thinking it would bring order to the madness, but I realized that a screen can’t tell you which way a dowel should face when you’re mid-assembly.
The pivot happened when I stopped trying to “manage” the parts and started trying to communicate with them. I moved away from abstract codes and toward a system of tactile cues. Instead of relying on a database, I began integrating a subtle part orientation guide directly into the way I store things—using physical shadows and specific tray depths to dictate placement. It was a shift from pure data to preventing assembly errors through spatial logic. It’s much harder to force a piece into the wrong slot when the slot itself is telling you, not this way.
Preventing Assembly Errors by Rejecting the Obvious Path
There is a seductive ease in the obvious solution. When you are staring down a pile of mismatched fasteners, the instinct is to reach for the most logical, streamlined method available—the kind of rigid, digital-first approach suggested by most modern inventory management systems. It feels professional. It feels scalable. But in my studio, “scalable” often translates to “unforgiving.” I spent a decade thinking that if I just categorized everything into perfect, discrete bins, the assembly would follow suit. I was wrong.
The real danger isn’t a lack of organization; it’s the false sense of security that comes with it. I realized that true preventing assembly errors doesn’t happen in a spreadsheet; it happens at the tactile level, where the hand meets the component. I almost implemented a high-tech scanning system for my hardware, but I scrapped it because it stripped away the human intuition required when a piece just doesn’t feel right. Instead, I leaned into more intuitive, physical cues. I learned that if a part doesn’t tell you exactly how it wants to be held, no amount of software is going to save you from a structural mistake.
Organizing Small Hardware Parts via a Dangerous Shortcut
There is a specific kind of temptation that hits you around 4:00 PM on a Tuesday, right when the caffeine has worn off and the studio floor looks like a graveyard of brass screws and dowels. I found myself staring at a massive, unorganized bin of M6 fasteners, thinking I could save three hours by just dumping them into a single, multi-compartment tray. It felt like a smart move—a way to bypass the tedious reality of organizing small hardware parts—but it was a trap. I was looking for a shortcut to efficiency, when I was actually just building a future headache.
I almost fell for the “one bin to rule them all” philosophy, thinking I could just eyeball the differences in thread pitch. But looking at my shelf of rejected prototypes, I knew better; most of my failures started with a “close enough” assumption. Instead of that dangerous shortcut, I doubled down on my component identification techniques, opting for individual, heavy-duty glass jars with hand-stamped metal tags. It’s slower, certainly, but it removes the frantic guesswork that leads to ruined joinery.
Refining the Part Orientation Guide After a Costly Mistake
I remember the exact moment the realization hit me—it was a Tuesday afternoon, and I was staring at a finished sideboard that was, quite literally, backwards. I had followed my own shorthand notes, but I hadn’t accounted for the subtle difference in grain direction on the internal supports. It wasn’t just a minor slip; it was a fundamental failure in my part orientation guide. I had focused so much on the what of the components that I completely ignored the which way.
That mistake forced me to move beyond simple component identification techniques and toward something much more tactile. I realized that a label tells you what an object is, but it doesn’t tell you how it sits in space. Now, I include small, etched directional notches on the underside of larger panels. It’s a redundant step, and some might call it inefficient, but I’ve found that true precision lives in the redundancies we create to protect ourselves from our own fatigue. It’s no longer just about knowing where a screw goes; it’s about ensuring the entire geometry of the piece remains intentional from the first joinery cut to the final assembly.
The Ghost of the Wrong Choice
I keep a drawer of discarded labels—the ones that were too clinical, too bright, or too efficient—because a part is never just a piece of wood or steel; it is the physical residue of every mistake I decided not to make.
Jonathan Marin
The Weight of the Label
Looking back at the mess of my early studio years, I realize that labeling wasn’t actually about organization; it was about sanity. I spent a decade oscillating between the extremes of digital inventory spreadsheets that felt too sterile and the absolute chaos of a workshop where every screw looked identical. By rejecting the easy shortcuts—the color-coded stickers that peel off or the vague handwritten notes that fade under shop lights—I finally landed on a system that respects the material. It turns out that the most effective way to identify a component is to treat the label as part of the design process itself, rather than an afterthought to be dealt with once the real work is done.
In the end, my shelf of rejected prototypes tells a story of a thousand near-misses, and my labeling system is simply the way I ensure those mistakes don’t repeat themselves. We often think of design as this grand, sweeping gesture of creation, but most of the time, it is actually a series of small, quiet corrections. Whether you are building a chair or just trying to keep your workbench from swallowing your focus, remember that the way you name your parts defines the way you respect your craft. The goal isn’t perfection; it’s the intentionality found in the decisions that almost went the wrong way.
