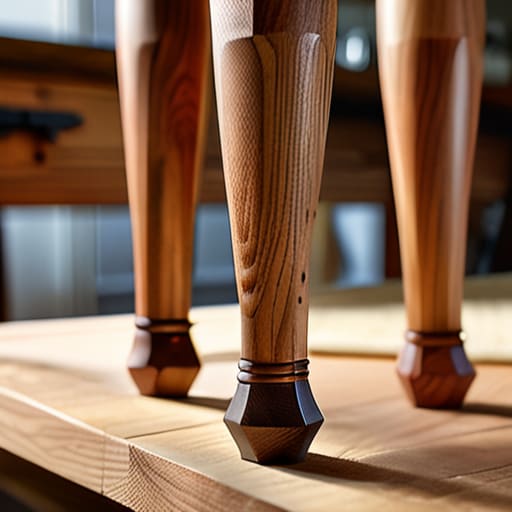
Four Tapered Legs That Match
I was staring at a piece of walnut last Tuesday, my hand hovering over the marking gauge, feeling that familiar, cold knot in my stomach. I had spent three hours obsessing over a dining chair prototype—one of the many “failures” currently sitting in the corner of my studio—because I had almost committed to a taper that was far too aggressive. It’s a common trap; we think a dramatic silhouette equals good design, but in reality, it often just looks like a mistake. Most guides make it seem like a matter of simple geometry, but anyone who has actually tried to figure out how to cut a tapered leg knows it is actually a lesson in managing your own hesitation.
I’m not here to give you a sanitized, theoretical lecture on angles or machine settings. Instead, I want to walk you through the messy, tactile reality of the process—the part where you actually commit the blade to the wood. We’ll talk about setting up your jigs, the subtle art of the incremental shave, and how to avoid the over-correction that ruins a perfectly good workpiece. This is about moving past the fear of the cut so you can finally achieve that clean, intentional line you’ve been chasing.
Guide Overview
Tools & Supplies
- Table saw or Miter saw for making the angled cuts
- Marking gauge or pencil for layout lines
- Clamps to secure the workpiece
- Wood stock (4 legs)
- Sandpaper (various grits for smoothing the taper)
Step-by-Step Instructions
- 1. I start by marking my reference faces—the two sides that will stay perfectly square against the jig. You can’t rely on your eyes here; you have to rely on the geometry of the wood. I use a marking knife rather than a pencil because a line you can feel is a line you can actually follow when the blade starts moving.
- 2. Next comes the layout of the taper itself. I typically mark the start of the taper at the bottom of the leg and the end point near the top, but I always leave a bit of extra breathing room at the top. It’s much easier to shave off an extra sixteenth of an inch later than it is to regret a taper that climbed too high up the mortise joint.
- 3. Setting up the tapering jig on the table saw is where most people lose their nerve, and frankly, they should. You need to secure your workpiece so it can’t pivot even a fraction of a millimeter under pressure. I always double-check my fence alignment before I even think about flipping the power switch; if the jig shifts, the leg is nothing more than expensive firewood.
- 4. I take the first pass with a very shallow depth of cut. I used to think bigger cuts meant more efficiency, but I learned the hard way that controlled aggression is what actually saves a piece. You want to listen to the sound of the motor; if it bogs down, you’re asking for a tear-out that no amount of sanding will ever fix.
- 5. Once the first side is cut, the leg becomes a trapezoid, which makes it want to wobble in the jig. This is the moment where I have to be incredibly deliberate about re-securing the piece. I treat every pass as if the wood is trying to escape, because in a way, it is.
- 6. After the first side is done, I flip the leg to tackle the second side. This is the most critical junction of the process: you have to ensure the second cut is perfectly symmetrical to the first. If you’re off by even a hair, the leg will rock when the chair is finished, and that’s a mistake you can’t hide behind a veneer.
- 7. Finally, I take the leg to the workbench for the “sanity check.” I run my hand along the taper to feel for any ridges or “steps” left by the saw blade. If it feels uneven, I don’t reach for the sandpaper immediately; I go back to the plane or the rasp to smooth the transition, because a taper should feel like a single, continuous thought.
Understanding How to Cut a Tapered Leg
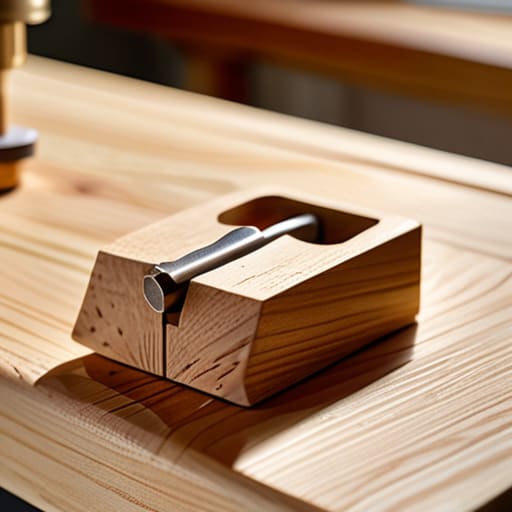
When I look at my shelf of “failures,” there is a specific pile dedicated to legs that were simply too thin. It is a common trap to mistake a dramatic taper for elegance; often, the most sophisticated pieces rely on a subtle transition that barely registers to the eye. Before you even touch the saw, you have to settle on your tapered furniture leg dimensions with a sense of gravity. If you go too aggressive too early, you aren’t just cutting wood; you are removing the structural integrity that allows a piece to feel intentional rather than accidental.
The mechanics of the cut are where the anxiety usually sets in. I’ve spent years refining my woodworking taper saw setup, moving away from the frantic energy of a novice toward a more rhythmic, measured approach. Whether you are utilizing a specialized tapering jig for the table saw or experimenting with cutting tapers on a router, the goal is the same: eliminating the variable of human error. I’ve learned that the secret isn’t in the sharpness of the blade, but in the stability of the workpiece against the jig. If there is even a millimeter of chatter, the geometry is lost.
Key Things to Know
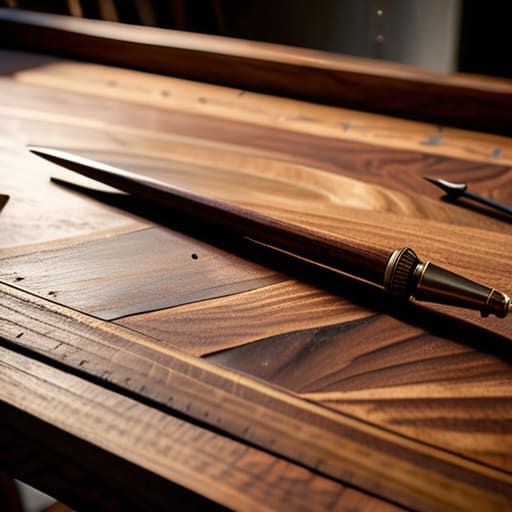
Before you even touch the saw, you have to sit with the math. I’ve spent too many afternoons staring at a piece of walnut, wondering if the transition from a square tenon to a slim foot would look elegant or just thin. It’s easy to get lost in the numbers, but you have to respect the tapered furniture leg dimensions relative to the weight the piece will actually carry. A chair leg isn’t a sculpture; it’s a structural necessity. If you go too aggressive with the angle, you aren’t just making a design choice—you’re compromising the integrity of the piece.
When it comes to the actual execution, your setup is your only real safeguard against a ruined workpiece. Whether you are building a custom tapering jig for a table saw or refining an edge with a router, the margin for error is razor-thin. I always tell my apprentices that a jig isn’t just a tool; it’s a way to remove the anxiety of the cut. If the jig isn’t rock-solid, you’ll feel that micro-vibration, and that’s usually the exact moment a beautiful piece of timber becomes expensive firewood.
Practical Tips and Steps
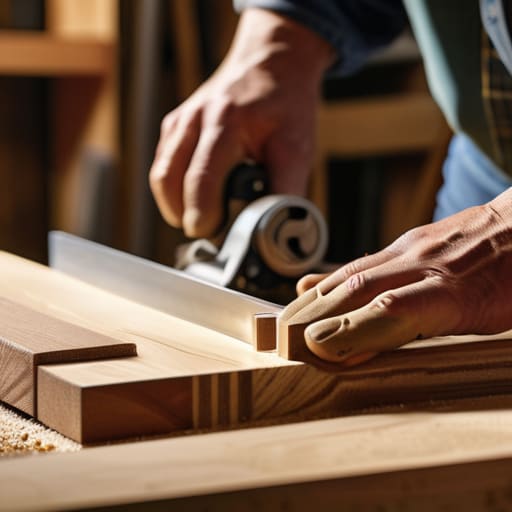
I have a shelf in the back of my studio filled with what I call “the almosts”—pieces where the angle was just a hair too sharp or the grain didn’t follow the slope quite right. When you are actually in the thick of it, the most important thing isn’t the math, but the physicality of the movement. If you are using a tapering jig for table saw work, don’t just set it and forget it. I’ve learned to check my registration lines every single time I move the workpiece. Even a millimeter of drift can turn a graceful dining chair leg into something that looks like it’s stumbling.
There is also the temptation to rush the final passes. I used to think a heavy cut was more efficient, but I realized that precision is found in the shallowest cuts. If you’re working with a more complex profile, perhaps cutting tapers on a router with a template, the steady hand matters more than the tool itself. Take a breath, watch the grain, and remember that the goal isn’t just to remove wood, but to reveal the intended line.
The Ghost of the Wrong Cut
When I’m standing over a piece of walnut with a saw in hand, I’m not just thinking about the line I’m following; I’m thinking about the line I almost took. A tapered leg is a delicate negotiation between gravity and grace, and the most successful ones are the ones where you felt that split second of doubt before the blade hit the wood.
Jonathan Marin
The Ghost of the Alternative
Looking back at the sawdust on the floor, it’s easy to think the success of a tapered leg lies solely in the precision of the jig or the sharpness of the blade. But as we’ve walked through the setup, the marking, and that final, nerve-wracking pass through the saw, the real takeaway isn’t just about the math. It is about the intentionality of the transition. Whether you are managing the grain direction or double-checking your taper angle before the cut, the goal is to bridge the gap between a raw piece of stock and a piece of furniture that feels like it has a sense of gravity. If you’ve mastered the preparation and respected the tool, you aren’t just cutting wood; you are defining the silhouette of the entire piece.
I often look at the scrap pile in the corner of my studio—the rejected attempts where the taper was too aggressive or the transition felt forced. They serve as a reminder that a perfect cut is rarely the result of a single, flawless movement, but rather a series of small, corrected course changes. Don’t fear the moment where you pause to question your line. That hesitation is where the design actually happens. In the end, the most beautiful legs aren’t just the ones that meet the specifications, but the ones that carry the weight of a deliberate decision.
