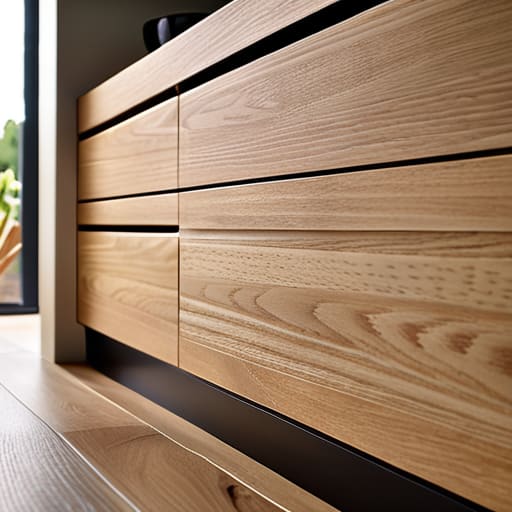
Drawer Gaps and Visual Rhythm
I spent three hours yesterday staring at a scrap of walnut, wondering why the bevel I’d spent weeks perfecting suddenly looked like an afterthought. Most people think that learning how to design a drawer front is about finding the right hardware or picking a trendy finish, but that’s a lie. Design isn’t about the “perfect” choice; it’s about managing the tension between what looks good on a screen and what feels right in your hand. I have a shelf in my studio filled with rejected samples—flat slabs that were too heavy, routed edges that were too aggressive—all because I missed that razor-thin margin between intentionality and accident.
This guide isn’t going to give you a list of aesthetic trends to follow. Instead, I want to walk you through the actual, messy mechanics of the process: how to balance proportions, how to handle grain direction, and how to make the decisions that don’t end up in my scrap bin. We’re going to strip away the fluff and focus on the functional constraints that actually define a piece. By the end, you’ll understand how to approach the task not as a search for inspiration, but as a series of deliberate, technical choices.
Guide Overview
Tools & Supplies
- Measuring tape and pencil for accurate dimensions
- Sandpaper (various grits) for smoothing edges
- Ruler or calipers for precise spacing
- Wood or MDF board (1 piece)
- Sandpaper assortment (1 pack)
- Paint, stain, or veneer (1 container)
Step-by-Step Instructions
- 1. I always start by looking at the carcass, not the drawer. It’s easy to get seduced by a beautiful piece of walnut and forget that the drawer is a component of a larger mechanical system. Before you even touch a sketchpad, you need to establish your reveals—those tiny, breathing gaps between the drawer front and the frame. I used to think bigger was safer, but I’ve learned that a tight, consistent reveal is what separates a piece of furniture from a box made of wood.
- 2. Next, you have to decide on the “face” of the drawer, and this is where the tension lives. Are you going for a full overlay that hides the frame entirely, or an inset drawer that sits flush within the carcass? I have a shelf in my studio full of rejected inset prototypes because I couldn’t get the tolerances right. If you go inset, you are committing to a level of precision that demands respect; if you go overlay, you’re playing with the visual weight of the piece.
- 3. Once the geometry is set, you have to confront the grain. This is the part of the process that keeps me up at night. You can have a perfect technical drawing, but if the grain direction fights the lines of the cabinet, the whole thing feels discordant. I usually map out the grain pattern on paper first, deciding whether to go with a continuous grain wrap across multiple drawers or to treat each one as a singular, isolated panel.
- 4. Then comes the hardware, which is essentially the interface between the human hand and the object. Don’t just pick a handle because it looks good in a catalog; consider the ergonomics of the pull. I once spent three weeks designing a minimalist desk only to realize the drawer pulls were so shallow they were practically unusable. You need to decide if the hardware is a decorative flourish or if the drawer front itself will provide the grip through a routed finger pull or a bevel.
- 5. Now, you address the profile. This is where the “near miss” usually happens. I often find myself hovering between a sharp, clean edge and a subtle, eased-over radius. A sharp edge feels modern and architectural, but it can feel aggressive in a living space. I tend to lean toward a very slight, almost imperceptible bevel—something that catches a sliver of light and tells the eye, “this object is finished,” without shouting about it.
- 6. Finally, you have to account for the material’s movement. Wood is a living thing, even after it’s been milled and dried. If you are designing a wide drawer front, you cannot treat it like a static sheet of plastic. You have to build in enough structural integrity to prevent warping, while ensuring the joinery allows for the natural expansion and contraction that comes with the seasons. It’s a constant negotiation between your aesthetic vision and the physics of the material.
Understanding How to Design a Drawer Front
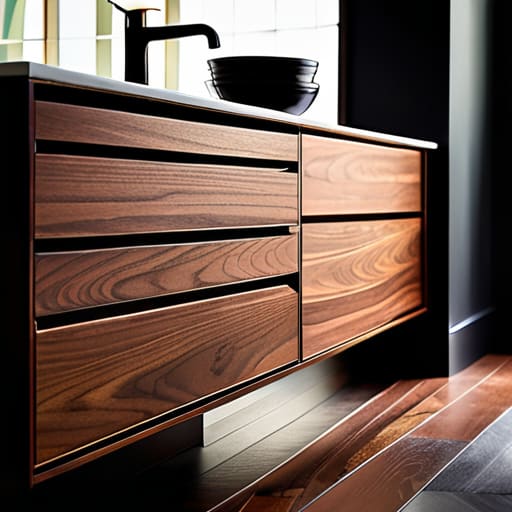
When I look at a stack of my old rejected prototypes, the mistakes are rarely about the wood itself; they are almost always about the math of the void. Beginners often focus on the face of the drawer, but the real character is defined by the empty space surrounding it. You have to decide early on whether you are playing with overlay vs inset drawer fronts, because that choice dictates the entire visual weight of the kitchen. An inset front feels architectural and precise, demanding perfection in every joint, while an overlay offers a cleaner, more forgiving silhouette that plays well with modern minimalism.
It is easy to get lost in the grain pattern, but if your consistent gap spacing is off by even a millimeter, the whole piece looks amateur. I spent three weeks on a sideboard once where the drawer faces were beautiful, but the cabinetry reveal measurements were slightly inconsistent across the run. It looked like a mistake rather than a design choice. You aren’t just designing a piece of wood; you are managing the relationship between the object and the shadow it casts.
Key Things to Know
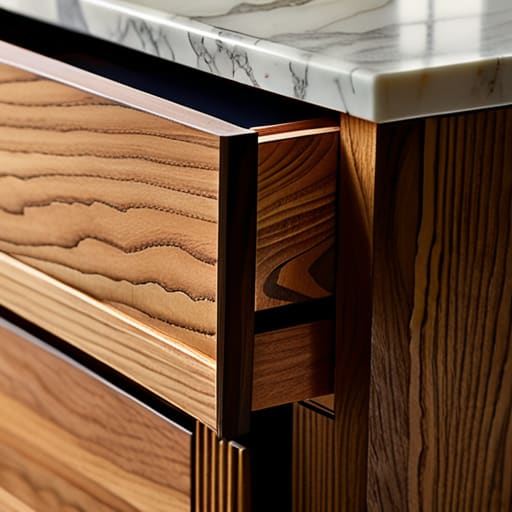
I’ve spent enough years staring at failed prototypes to know that most mistakes aren’t made in the grand vision, but in the millimeters. You can have the most beautiful wood grain in the world, but if your overlay vs inset drawer fronts decision isn’t reconciled with the surrounding frame, the whole piece feels like an accident rather than an intention. Inset styles offer a certain architectural rigor, but they demand a level of precision that leaves zero room for error. If your tolerances are off, that elegant flush look quickly turns into a frustrating series of uneven gaps.
This is where the math meets the soul of the piece. I tend to obsess over consistent gap spacing because it’s the silent language of quality. If one drawer sits a hair higher than the next, the eye catches it immediately, even if the viewer can’t name why. When you’re deep in the weeds of your layout, don’t just guess at the visual weight; look at your cabinetry reveal measurements as a way to create rhythm. It’s about finding that tension between the wood and the void.
Practical Tips and Steps
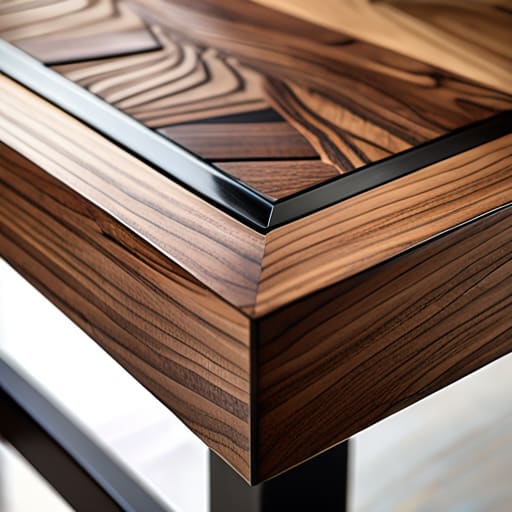
I’ve spent more hours than I care to admit staring at a single piece of walnut, trying to decide if a line was intentional or just a mistake. When you’re moving from the drawing board to the actual shop floor, the math starts to feel much heavier than the aesthetics. One thing I’ve learned is that your overlay vs inset drawer fronts decision dictates everything about the room’s rhythm. If you go with an inset look, you’re committing to a level of precision that leaves zero room for error; the shadow lines become part of the architecture, and any slight misalignment becomes a glaring flaw.
It’s also easy to get lost in the grand vision and forget the granular reality of consistent gap spacing. I once designed a series of custom units where the gaps looked perfect on screen, but once they were installed, the slightest variation in the floor level made the whole facade feel skewed. Before you commit to your final dimensions, run through a rigorous drawer face sizing guide that accounts for the actual thickness of your material and the tolerances of your slides. Don’t just design for the beautiful photograph; design for the reality of the wood.
The Tension in the Grain
A drawer front isn’t just a panel of wood; it’s a series of concessions. I spent three days debating whether to let the grain run uninterrupted or to break it with a subtle, intentional reveal, only to realize that the beauty isn’t in the perfection of the line, but in the moment I decided not to play it safe.
Jonathan Marin
The Ghost of the Alternative
At the end of the day, designing a drawer front isn’t about following a checklist of proportions or selecting the most expensive veneer. It’s about the tension between the grain, the shadow line of the bevel, and how that piece sits within the larger carcass of the cabinet. We’ve talked about scale, the importance of hardware placement, and the way light hits a routed edge, but none of those technicalities matter if you lose the rhythm of the piece. You have to respect the constraints of the material while making sure the final decision doesn’t feel like a compromise, but rather a deliberate choice made after staring at a dozen failed sketches.
I still have a drawer front sitting on the bottom shelf of my studio—a piece from five years ago that I scrapped because the profile was too aggressive. I keep it because it reminds me that design is a process of elimination. When you finally settle on that specific edge profile or that particular wood species, remember that the design is only successful if it feels inevitable. Don’t be afraid to walk away from a version that feels “fine.” The goal isn’t just to finish the piece; it’s to reach that moment where you realize the path you almost took would have left the object hollow.
