Wax and What It Does Not Protect Against
I was staring at a walnut sideboard last Tuesday, the kind of piece that makes you want to weep with its grain, and I realized I was about to ruin it. I had this sudden, misguided urge to slather on a thick, heavy layer of paste wax, thinking more was somehow better. It’s the same mistake I made a decade ago with a prototype chair that ended up looking like it had been dipped in cheap grease rather than being properly nourished. Most people think that learning how to apply a wax finish is about achieving a heavy, protective shield, but the truth is that true mastery lies in restraint. If you can’t see the wood through the wax, you haven’t finished the job; you’ve just buried it.
I’m not interested in the glossy, plastic-looking perfection you see in high-end showrooms that feels entirely disconnected from the material. Instead, I want to show you the unvarnished reality of the process. This guide isn’t a lecture; it’s a breakdown of how to apply a wax finish that actually respects the timber, focusing on the timing, the pressure, and the subtle art of the buff. We’ll skip the marketing fluff and get straight into the tactile work of building a luster that feels as good as it looks.
Guide Overview
Tools & Supplies
- Lint-free cloth or applicator pad for spreading the wax
- Soft microfiber cloth for buffing the surface
- Fine-grit sandpaper for surface preparation
- Wood wax or paste wax (1 small tin)
- Tack cloth or vacuum for dust removal
Step-by-Step Instructions
- 1. Before you even touch the wax, you have to deal with the ghost of the sanding process. I’ve spent many afternoons staring at a surface that felt smooth but looked unsettlingly uneven under a work lamp. Take a tack cloth or even just a clean, lint-free rag and wipe the wood down until you are certain there isn’t a single speck of dust lurking in the grain. If you trap dust under the wax, you aren’t finishing a table; you’re just preserving grit.
- 2. I used to think you could just slather the wax on like butter on toast, but that’s a quick way to end up with a gummy, clouded mess. Instead, take a small amount on a lint-free cloth—I usually prefer an old cotton T-shirt—and work it into the wood in small, circular motions. You aren’t trying to build a thick layer; you’re trying to convince the wood to accept the oil within its pores.
- 3. Once you’ve applied the first coat, you need to let it sit, but don’t let it sit too long. I once left a prototype in the shop overnight thinking “more is better,” only to find it had turned into a tacky nightmare that wouldn’t dry. Aim for about fifteen to twenty minutes, or until the surface stops feeling wet to the touch.
- 4. This is where the real work begins: the buffing. Take a fresh, dry cloth and start working the surface with more vigor. You’re looking to remove the excess and bring out that deep, inner glow that makes the grain pop. It’s a bit of a physical process, almost like polishing a stone, and it’s easy to get impatient and stop too early.
- 5. If the wood is particularly thirsty—which happens often with older, reclaimed stock—you might see the finish looking dull after the first buff. Don’t panic and don’t double the thickness. Just repeat the process with a second, thinner layer. It’s the accumulation of these thin, deliberate layers that creates a finish with actual structural integrity.
- 6. Finally, you have to resist the urge to use the piece immediately. I have a shelf in my studio dedicated to “curing” objects, and this table deserves its time. Let it sit for at least twenty-four hours in a room with stable temperature. It’s the hardest part of the job, but patience is a tool just as much as a chisel or a plane.
Understanding How to Apply a Wax Finish
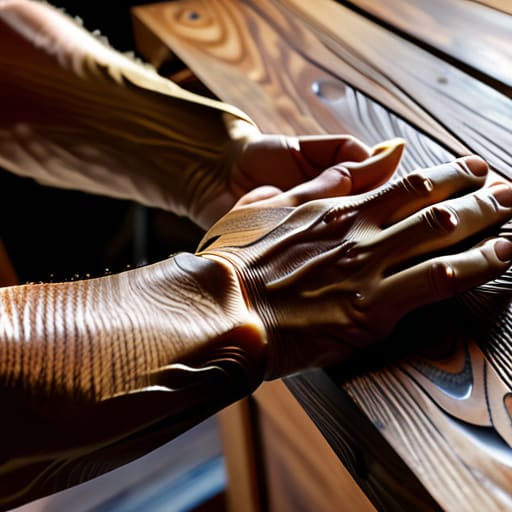
I spent most of my thirties thinking that a finish was something you simply “did” to a piece of wood, a final checkbox before a client saw it. But after twenty years of seeing how different treatments age, I’ve realized that the choice between wood wax vs oil finish isn’t just about aesthetics; it’s about how much you want to participate in the object’s future. An oil finish penetrates deep, becoming part of the grain, whereas a wax acts more like a protective skin. I remember a walnut sideboard I built where I pushed for a heavy oil, but the grain was too tight. Switching to a wax felt like a compromise at the time, but seeing how it has mellowed over a decade, it was the right call.
When you’re actually in the thick of it, don’t rush the buffing wax for high shine stage. It’s tempting to go straight from application to polishing, but if the wax hasn’t had a moment to settle, you’ll just end up moving the product around rather than building it up. I keep a small pile of rejected samples in the back of my studio—some too matte, some too greasy—to remind myself that the goal isn’t perfection, but a surface that feels honest to the touch.
Key Things to Know
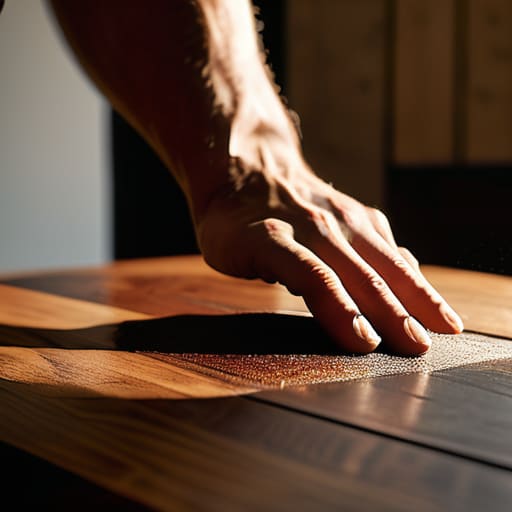
I’ve spent a good portion of my career staring at the grain of walnut and oak, and if there is one thing I’ve learned, it’s that the finish is never just a final layer; it’s a conversation with the material. When you are weighing up wood wax vs oil finish, remember that wax is about the tactile experience—the way your hand slides across a surface—rather than deep penetration. I once spent three weeks on a sideboard prototype only to realize the oil was too thirsty, leaving the wood looking parched. Wax provides that soft, lived-in glow that oil sometimes misses.
One thing my younger self ignored was the sheer importance of your waxing tools and supplies. You don’t need much, but a cheap, scratchy rag will ruin a weekend of work faster than a bad design choice. I tend to favor a firm, lint-free cloth for the initial application, but if you are aiming for that elusive, mirror-like luster, you have to master buffing wax for high shine with a bit of patience. It isn’t about speed; it’s about the rhythm of the movement.
Practical Tips and Steps
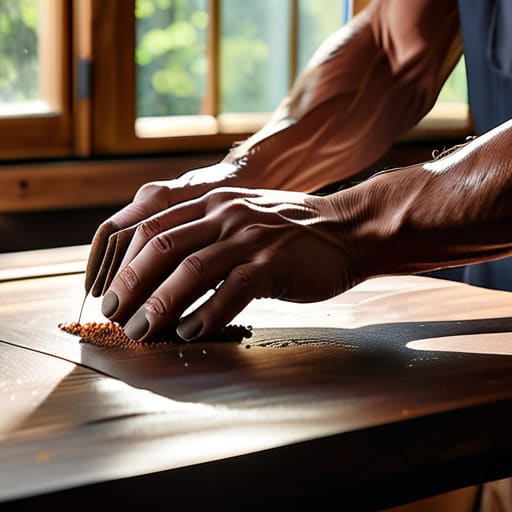
I’ve spent enough time in the shop to know that the difference between a professional finish and a DIY disaster often comes down to the patience you have for the drying time. When I’m applying paste wax to wood, my instinct is to move quickly—to get the job done and clear the bench. But wax is a slow medium. If you rush the process, you end up with a cloudy, uneven mess that no amount of elbow grease can fix. I once ruined a walnut tabletop by trying to buff it before the carrier had fully evaporated, a mistake that now sits in my “rejected prototypes” corner as a reminder to slow down.
Regarding your waxing tools and supplies, don’t bother with anything too fancy, but do avoid cheap, synthetic rags that shed lint. A simple lint-free cotton cloth is your best friend here. I also find that the debate of wood wax vs oil finish usually boils down to how much maintenance you’re willing to perform. Wax offers a tactile, organic feel that oil can’t quite replicate, but it requires a more disciplined approach to upkeep. Just remember: the goal isn’t just to coat the surface, but to work with the grain.
The Friction of the Finish
I spent three days debating whether to go with a heavy build or a sheer, almost invisible layer, and for a moment, I thought the transparency was a mistake. But that’s the thing about wax—it isn’t about building a coating; it’s about the quiet tension between the wood and the air, a decision that only reveals itself once you stop trying to control the grain and start listening to it.
Jonathan Marin
The Final Layer
Looking back at the process, it really comes down to patience and the willingness to undo the work if it isn’t sitting right. We talked about the importance of surface preparation, the nuance of choosing between paste and liquid, and that critical moment of buffing to bring out the grain. It is easy to treat waxing as a mere chore—a final box to tick before a piece is considered “done”—but if you rush the application or ignore the drying times, you aren’t actually finishing the object; you’re just masking it. The goal is to achieve a balanced depth that protects the wood without making it look like it’s been dipped in plastic.
I have a shelf in my studio filled with wood samples that failed because I tried to force a finish too quickly. Those failures taught me more than any successful run ever could. As you move forward with your own projects, remember that the wax is not just a sealant; it is the final conversation between the maker and the material. Don’t be afraid to stop, step back, and look at how the light hits the surface. Sometimes, the most rewarding part of the craft is realizing that the perfect finish wasn’t something you applied, but something you finally allowed to emerge.
