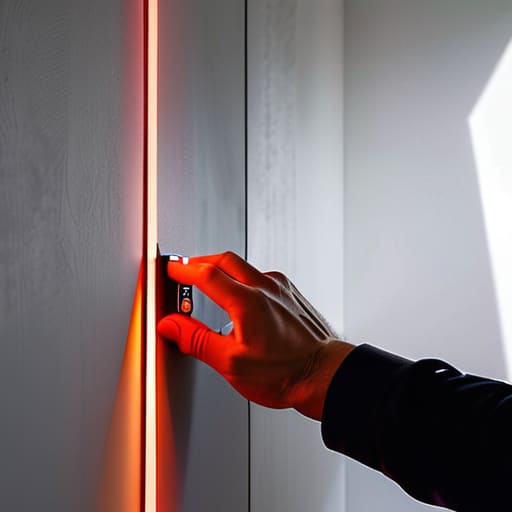
Installing Without Marking the Walls
I was standing in a client’s living room at three in the afternoon, staring at a six-foot walnut sideboard that suddenly looked like it had been designed for a different planet. The floor was uneven, the lighting was unforgiving, and my carefully calculated assembly sequence was falling apart in real-time. Most people think on-site work is just the final, easy victory lap of a design project, but that’s a lie. The truth is that how I install on site is actually where the design is truly tested—and often where it’s nearly broken. It’s the moment where the clean lines of my studio sketches meet the unforgiving reality of a house that wasn’t built with a spirit level.
I’m not here to give you a sanitized, corporate checklist of “standard operating procedures.” Instead, I want to walk you through the messy, practical reality of making things fit when they don’t want to. I’ll share the specific, tactile adjustments I make to bridge the gap between a workshop prototype and a finished installation. This is about the small, decisive pivots—the ones that happen when you’re sweating in a client’s entryway—that ensure the piece feels like it belongs there, rather than just being placed there.
Guide Overview
Tools & Supplies
- Measuring tape for precise dimensions
- Level to ensure straight alignment
- Drill/Driver for securing fasteners
- Pencil for marking layout points
- Mounting hardware (screws/anchors) 1 set
- Installation surface (wall/floor/structure) 1 unit
- Cleaning cloth for surface prep 1 unit
Step-by-Step Instructions
- 1. I start by laying everything out on the floor, not in the truck, but right where the piece is meant to live. It’s a bit of a ritual; I need to see the grain of the wood against the actual light of the room. I call this the spatial audit. If the shadow from a window falls across a joint in a way that makes the seam look accidental rather than intentional, I know I’m going to be fighting the environment all afternoon.
- 2. Next comes the unboxing, which I treat with a certain level of reverence. I don’t just rip through the cardboard; I look for the tension points in the packaging. I’ve learned that if a crate feels too easy to open, it usually means the internal bracing was insufficient. I check every edge for a microscopic nick, because a scratch that looks like a nothing today becomes a glaring flaw once the client sits in the chair tomorrow.
- 3. Then, I tackle the leveling, which is where the real tension lives. Most people think a floor is flat, but no floor is ever actually flat. I use my digital level, but I don’t trust it blindly; I rely on my eyes to see how the weight sits in the frame. I often find myself adjusting the shims three or four times, searching for that precise moment where the object stops looking like it’s hovering and starts looking like it’s part of the architecture.
- 4. Once the footprint is set, I move into the hardware phase. This is where my obsession with “the decision that nearly went the other way” comes into play. I might have designed a piece to use hidden fasteners, but on-site, I often choose to leave a high-quality brass bolt visible instead. There is a specific honesty in the connection that a hidden screw just can’t replicate, and I’d rather the user see how the thing is held together.
- 5. I then perform what I call the “stress test,” which is really just a series of intentional, slightly aggressive movements. I lean on the table, I pull at the drawer, I sit heavily in the chair. I’m listening for the sound of the joinery—not a squeak, but a certain structural sigh. If it sounds hollow or shifts even a fraction of a millimeter, I go back to the bolts. A piece of furniture shouldn’t just stand there; it should feel anchored to the earth.
- 6. Finally, I do the wipe-down, but not with a generic rag. I use a specific cloth and a bit of wax to bring out the finish I spent months perfecting in the studio. This is the moment of truth. I stand back, usually in the corner of the room, and I look at the piece from the same angle the person will see it every morning. I’m looking for that quiet alignment between the object and the space, the moment where the installation ends and the design actually begins.
The Split Second Choice How I Install on Site
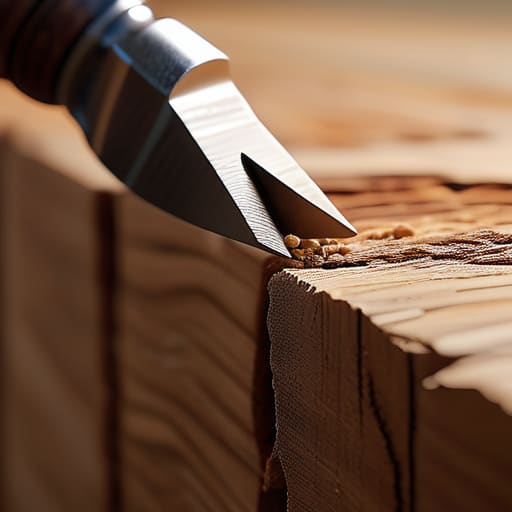
There is a specific kind of tension that settles in your chest when you’re standing in a client’s living room, staring at a floor that is nowhere near level. You can have the most elegant drawings in the world, but the reality of the room always fights back. I’ve learned that the difference between a piece that looks “placed” and one that looks architectural lies in the precision scribing methods I use to marry the wood to the wall. It’s a slow, meditative process of shaving away millimeters, but skipping that step to save an hour is exactly how you end up with a gap that screams “mass-produced.”
I also tend to obsess over the invisible stuff. People see the joinery, but they don’t see the way I manage the securing hardware and fixings to ensure nothing shifts when the temperature drops. I keep a small kit of specialized bits and tensioners—my own personal set of professional installation tools—that I never leave behind. It’s not just about the assembly; it’s about the discipline of the setup. If I don’t spend the first twenty minutes just organizing my layout, the final hour becomes a frantic scramble of mistakes.
Precision Scribing Methods and the Chaos of Site Preparation

There is a particular kind of madness that sets in when you realize the “level” floor you were promised is actually a gentle, undulating wave. This is where the clean lines of my studio drawings meet the messy reality of a client’s home. I’ve learned that true precision scribing methods aren’t about following a blueprint; they are about negotiating with a crooked wall. I usually reach for my compass and a sharp carpenter’s pencil, moving slowly. If you rush the scribe, you’re just masking a mistake with a gap that will eventually scream for attention.
The real battle, however, is often won or lost during the initial site preparation for installation. I’ve spent too many afternoons fighting through piles of drywall dust and discarded packaging just to find a clear patch of floor to lay out my components. It sounds trivial, but maintaining workspace tidiness is actually a functional necessity. If your staging area is a disaster, your mental clarity follows suit. You cannot make the subtle, high-stakes adjustments required for a seamless fit if you are constantly tripping over your own kit.
Securing Hardware and Fixings Avoiding the Final Error
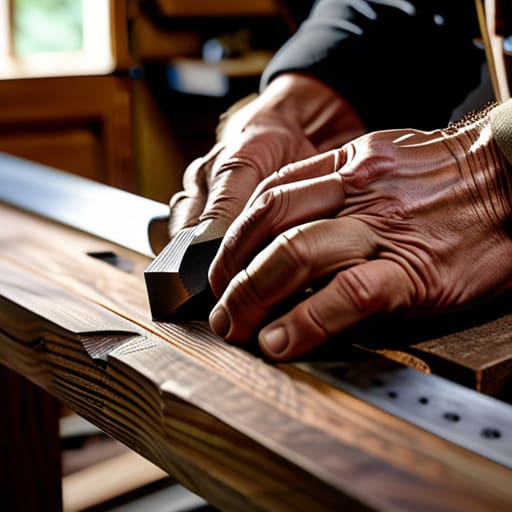
There is a specific kind of dread that sets in when you reach the final stage of securing hardware and fixings. It’s the moment where the theoretical design meets the stubborn reality of a drilled hole that is perhaps a fraction of a millimeter off. I’ve spent many afternoons staring at a piece of walnut, wondering if I should force a heavy-duty bolt or if I’m about to compromise the structural integrity of the entire piece. My rule of thumb is to never fight the material; if a fixing feels like it’s protesting, stop. I’ve learned that installation quality control isn’t about perfection, but about knowing when a mechanical connection is actually working with the grain rather than against it.
I also tend to obsess over the small things, like the way my tool kit is laid out. It sounds pedantic, but maintaining workspace tidiness is actually a defensive strategy against the “final error.” There is nothing more soul-crushing than finishing a complex build only to realize a crucial washer rolled under a floorboard during the final tightening. I keep a dedicated tray for every set of screws and brackets—a small, organized ritual that keeps the chaos of the site at bay.
## The Ghost in the Joinery
“A blueprint is a polite suggestion, but a site is a confrontation. You can design a perfect tenon in the quiet of a studio, but it’s only when you’re standing in a drafty room, fighting a floor that refuses to be level, that you actually learn what the piece is made of.”
Jonathan Marin
The Ghost in the Machine
At the end of a long day on a site, when the dust has settled and the tools are back in their cases, you realize that installation isn’t just the final stage of a production line; it is the moment of truth for every drawing I’ve ever made. We’ve walked through the necessity of meticulous scribing, the tension of securing hardware, and that frantic, split-second decision-making that happens when the floor isn’t level and the client is watching. It comes down to this: you can design the most elegant joint in a climate-controlled studio, but if you don’t respect the chaos of the actual space, the design remains nothing more than a beautiful lie on a screen.
I often look at the pile of rejected prototypes in the corner of my workshop—the ones with the wrong radius or the failed joinery—and I realize they were all necessary lessons for these very moments. Installation is where the theory of industrial design meets the stubborn reality of timber and steel. Don’t strive for a perfect, sterile execution that leaves no room for the struggle; instead, aim for the kind of precision that acknowledges the friction. The goal isn’t just to make the piece fit, but to ensure that every adjustment made in the field is a deliberate choice that honors the original intent while embracing the site’s reality.
