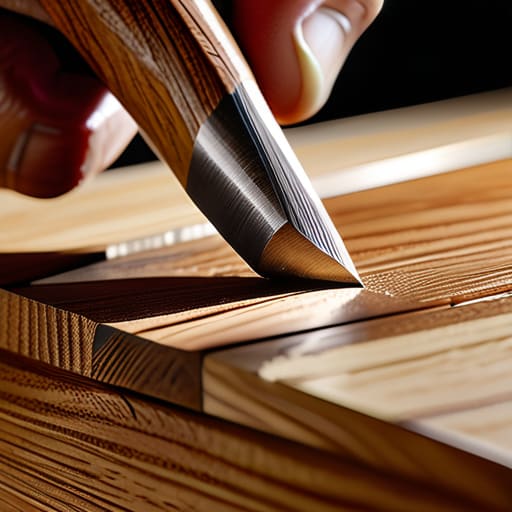
A Stopped Chamfer Done Cleanly
I was staring at a walnut tabletop last Tuesday, a piece I’d spent three weeks perfecting, when I realized the edge looked utterly lifeless. It was a blunt, square affair that felt more like a construction site than a piece of furniture. I had spent most of my career leaning on CNC routers to do the heavy lifting, but as I picked up a block plane to figure out how to cut a chamfer by hand, I realized that machines often strip away the soul of the transition. A machine gives you a mathematical perfection that is, frankly, a little bit boring; a hand-cut edge carries the subtle, intentional weight of a human decision.
In this guide, I’m not going to feed you any lofty theories about “finding your flow” or other workshop mysticism. Instead, I want to show you the actual, gritty mechanics of the process—from selecting the right grain direction to the exact moment you should stop shaving before you ruin the piece. We’ll go through the setup, the tool angles, and the inevitable mistakes that I’ve made a thousand times over. My goal is to help you move past the fear of the blade so you can finally achieve that crisp, purposeful edge that makes a piece feel truly finished.
Guide Overview
Tools & Supplies
- Block plane (for shaving wood at an angle)
- Marking gauge or pencil (to layout the chamfer line)
- Sandpaper (to smooth the finished edge)
- Wood workpiece (1 piece)
- Sandpaper assortment (1 pack)
Step-by-Step Instructions
- 1. I’ve learned the hard way that you can’t just wing a chamfer based on “feeling.” You need a physical guide to keep your hand from wandering. I usually start by taking a scrap piece of the same stock and cutting a perfect, sacrificial chamfer into it. This becomes my physical template. Once I have that angle locked in, I use it to trace a precise line onto the actual workpiece with a marking knife. A pencil is too thick; it lies to you.
- 2. Once the line is marked, you need to secure the piece. I don’t like using heavy-duty clamps that might mar the surface, but the wood shouldn’t budge an inch. I typically use a few small F-clamps to fix the piece to my workbench, ensuring the edge I’m working on is perfectly perpendicular to the table. If the wood shifts mid-stroke, you aren’t just looking at a bad chamfer; you’re looking at a ruined component.
- 3. Now, grab your block plane. I prefer one with a very sharp, fine tooth, and I always check the iron before I even touch the wood. You want to set the blade depth so shallow it feels almost insignificant. If you try to take too much off in one pass, the grain will likely tear, and you’ll spend the next hour trying to sand out a mistake that should have never happened.
- 4. This is where the rhythm comes in. Hold the plane at the angle dictated by your template, and use long, sweeping strokes. I try to keep my body weight moving with the tool rather than just using my wrists. You’re looking for a consistent, paper-thin shaving. If the shaving feels heavy or resists you, stop immediately and check your blade sharpness.
- 5. As you get closer to the final dimension, the temptation is to speed up. Resist that. This is the part where I usually find myself holding my breath. Slow down your strokes and focus on the visual feedback of the edge. You want to see the corner softening gradually, rather than watching it disappear into a messy slope.
- 6. Once you’ve reached the approximate angle, it’s time to clean up the “chatter” marks. I switch from the plane to a sharp chisel or a very fine-toothed file. I work in small, controlled movements to smooth out any slight undulations left by the plane. It’s tedious, certainly, but it’s the difference between a piece that looks manufactured and one that looks crafted.
- 7. Finally, I take a piece of high-grit sandpaper—usually around 220—and lightly hand-sand the chamfer. I don’t use a machine here; I want to feel the transition with my fingers. I’m looking for a surface that feels intentional. I always keep a rejected prototype nearby from my early days just to remind myself how much better this feels than the jagged, rushed edges I used to produce.
Understanding How to Cut a Chamfer by Hand
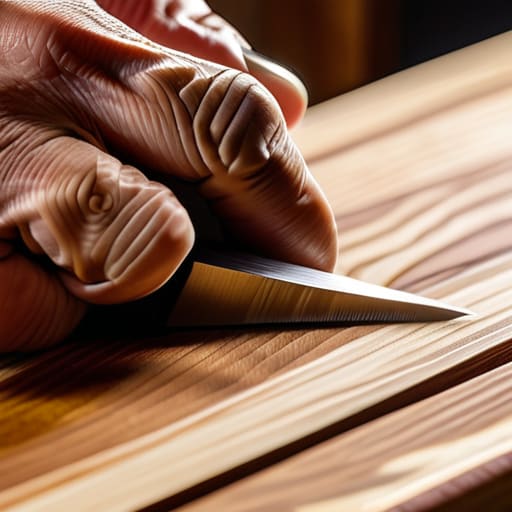
There is a specific kind of anxiety that comes with the first pass of a blade against a fresh edge. When you are working with high-quality hardwoods, there is no “undo” button; you are essentially carving away a piece of your own decision-making process. I’ve spent years in my studio staring at pieces where I pushed the bevel too deep, turning a subtle accent into a heavy, clumsy slope. To avoid that, I’ve learned that marking out chamfer lines is less about precision and more about psychological preparation. If you don’t commit to the line with a sharp pencil or a knife, your hand will hesitate, and a hesitant hand creates a wavy, uneven edge.
The real secret, though, isn’t in the muscle, but in the maintenance of the tool. I often find that my frustration with a stubborn grain isn’t a failure of technique, but a failure of preparation. I can spend an hour sharpening a block plane to a mirror finish, and it changes the entire dialogue between the steel and the wood. It stops being a struggle of force and becomes a matter of guidance. When the tool is truly keen, you aren’t fighting the material; you are simply negotiating with it.
Key Things to Know
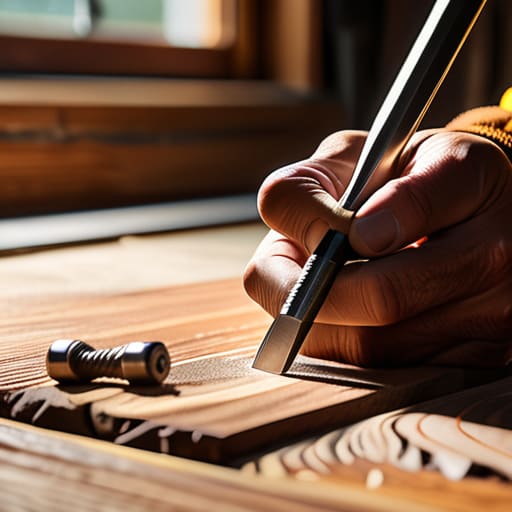
I have a shelf in the back of my studio dedicated to what I call “the almosts”—prototypes where the geometry felt slightly off, or the scale was just a hair too aggressive. When you’re working on a chamfer, you quickly realize that the difference between a professional finish and a rushed job lies in the preparation. I’ve learned the hard way that you cannot cheat the physics of the grain. If you aren’t meticulous about marking out chamfer lines before you ever touch a blade to the wood, you’re essentially flying blind. I usually reach for my marking gauge to set a physical boundary; it gives me a psychological safety net that a pencil line simply can’t provide.
Beyond the layout, there is the matter of the tool itself. You can have the best technique in the world, but if your iron is dull, you aren’t cutting; you’re just crushing fibers. I spend more time than I care to admit sharpening a block plane to a mirror finish, because a truly sharp edge is what allows for those micro-adjustments that define a piece. It’s about control, not force. When you finally feel that tool glide through the corner, it’s a quiet sort of satisfaction that no power tool can replicate.
Practical Tips and Steps
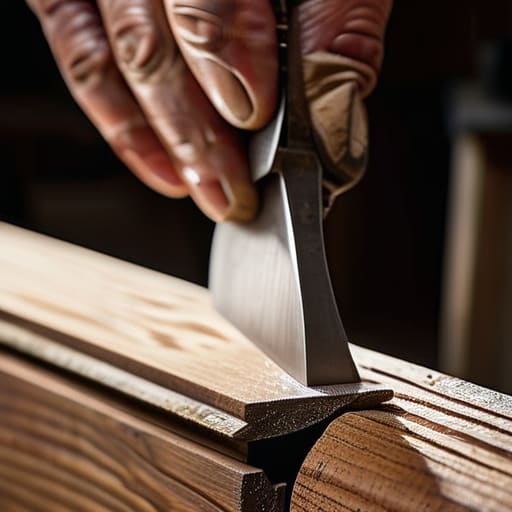
I’ve spent years staring at the “failures” in my scrap bin, and most of them weren’t caused by a lack of effort, but by a lack of patience. When you are working on achieving precise edge bevels, the temptation is to rush the stroke to see the shape emerge. Don’t. I’ve learned that the secret isn’t in the muscle, but in the preparation. If you aren’t using a marking gauge for chamfers to create a physical boundary for your blade, you are essentially designing by guesswork. That tiny, scored line acts as a psychological safety net, allowing you to push the tool with confidence rather than hesitation.
Another thing I’ve realized through decades of production is that your tools dictate your temperament. If your plane is dull, you’ll find yourself fighting the grain, which leads to jagged, uneven edges that no amount of sanding can truly fix. I make it a ritual: spend twenty minutes sharpening a block plane before I even touch the workpiece. It changes the entire energy of the task. When the steel is truly keen, the wood seems to yield rather than resist, turning a mechanical chore into something that feels almost meditative.
The Ghost of the Sharp Edge
There is a specific kind of tension in the hand when you’re working a chamfer; you aren’t just removing material, you are negotiating with the grain to find that precise moment where a harsh, industrial edge softens into something that actually feels like it belongs to a human hand.
Jonathan Marin
The Residue of the Process
At the end of the day, cutting a chamfer by hand isn’t about achieving a mathematically perfect angle—though that’s a fine goal—it’s about the relationship between your tool and the grain. You have to respect the preparatory work, from the initial layout to the steady, rhythmic pressure of the chisel. If you rush the setup or neglect to keep your edges sharp, the wood will tell you immediately. I’ve spent many afternoons looking at pieces where a single slip turned a clean bevel into a jagged mess, reminding me that the discipline of the tool is just as important as the design itself.
I often look back at the scraps in my shop, the ones where I hesitated before making that final, decisive stroke. There is a certain quiet satisfaction in knowing that the edge you see wasn’t inevitable; it was a choice made through sweat and a bit of intuition. Don’t be too discouraged when your first few attempts feel clumsy or uneven. Design is rarely about the flawless execution of a concept, but rather about the persistence through the mistakes that lead you to something better. The most beautiful part of the chair, or the table, or the small box, is often the mark of a hand that was learning how to be precise.
