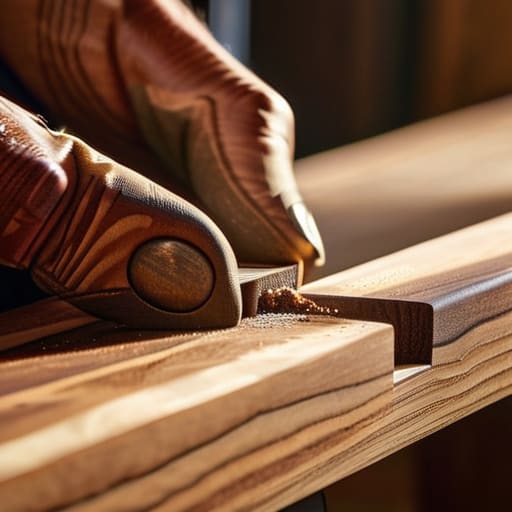
A Tenon That Slides, Not Hammers
I was standing over my workbench three years ago, staring at a piece of walnut that cost more than my first car, paralyzed by the fear of a single shaving. I had spent weeks perfecting the geometry of a chair frame, only to realize that knowing the theory of joinery and actually learning how to fit a tenon properly are two entirely different disciplines. Most manuals tell you to aim for a “snug fit,” but that’s a useless, hollow piece of advice that leaves you guessing. In reality, a perfect joint isn’t about mathematical precision; it’s about the tension between the wood and the tool, a delicate negotiation where you learn to feel the resistance before the wood actually breaks.
In this guide, I’m stripping away the textbook nonsense to talk about the tactile reality of the shop. I’ll show you how to read the grain as you shave, how to avoid the trap of the “too-tight” mortise, and how to use a few simple hand tools to achieve that satisfying, audible click when the pieces marry. We aren’t looking for perfection on the first pass—we are looking for the decision that makes the joint permanent.
Guide Overview
Tools & Supplies
- Tenon Saw (for precise cutting)
- Wood Mallet (for gentle tapping)
- Chisel (for cleaning and paring)
- Marking Gauge (for consistent layout)
- Sandpaper (for final smoothing)
- Hardwood or Softwood stock (2 pieces)
- Wood Glue (1 small bottle)
Step-by-Step Instructions
- 1. Start with the assumption that your initial cut is wrong. I’ve learned over two decades that even with a well-calibrated saw, the first pass is rarely the final one. Aim to leave the tenon slightly over-sized—give yourself a little more meat than the math suggests. It is much easier to shave off a whisper of wood than to try and glue a sliver of sawdust back onto a joint that’s too loose.
- 2. Use a shoulder plane or a sharp chisel to refine the cheeks, but do it in increments that feel almost uncomfortably small. I tend to work in passes no thicker than a piece of paper. If you try to take too much off at once, you lose the ability to feel the resistance of the grain, and that’s when you end up with a joint that feels hollow rather than snug.
- 3. Test the fit with a “dry run” using a mallet, but never force it. If you have to hammer it home with significant effort, you aren’t making a joint; you’re compressing fibers to hide a mistake. A proper tenon should slide home with a firm, rhythmic series of taps. If it stops dead halfway, stop immediately and look for where the wood is fighting you.
- 4. Check the shoulders for light. This is the part where most people rush, but I always pull the joint apart and look at the mating surfaces. If you see even a hairline of light peeking through where the shoulder meets the mortise, your tenon isn’t seated. You need to shave the shoulders perfectly flat so they meet the face of the workpiece without any gap to betray your work.
- 5. Listen to the sound of the fit. As you tap the tenon into the mortise, the pitch of the wood changes. A loose fit sounds dull and thudding, while a perfect fit produces a higher, tighter note. I’ve spent more time listening to the music of a joining than I have to my own radio in the studio, because the wood tells you exactly when it’s satisfied.
- 6. Apply a thin, even layer of glue, but don’t let the moisture dictate the fit. If you’re working with a particularly thirsty species, the wood might swell slightly when the glue hits it. I always keep a few extra shavings on hand to act as shims if the swelling goes a step too far, though if you’ve followed the previous steps, you shouldn’t need them.
Understanding How to Fit a Tenon Properly
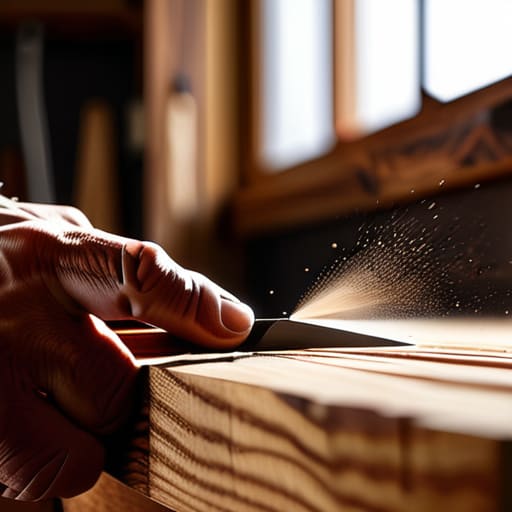
I have a shelf in the back of my studio dedicated to what I call “the ghosts”—the pieces of walnut and oak that didn’t make the cut because I miscalculated a dimension by a fraction of a millimeter. Most people see a mistake as a failure, but in my experience, adjusting tenon thickness is where the real conversation with the material begins. You aren’t just following a blueprint; you are negotiating with the grain. If you aim for a fit that is purely mechanical, you often end up with a joint that is either too loose to hold a memory or so tight it forces the fibers to scream.
I’ve learned that the goal isn’t a perfect, clinical press, but a controlled resistance. I often find myself using a shoulder plane to shave off nothing more than a whisper of wood at a time. It’s a slow, meditative process that prevents the common catastrophe of preventing split wood during assembly. If you feel the wood beginning to resist with a certain kind of structural tension, stop. That tension is the signal that you’ve found the sweet spot where the joint becomes part of the object’s skeleton, rather than just two pieces of wood leaning on each other.
Key Things to Know
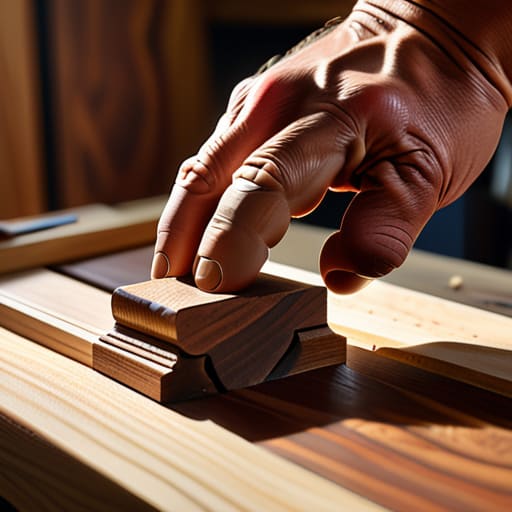
I’ve spent more hours than I care to admit staring at a joint that just won’t cooperate. One mistake I see often—and one I certainly made in my early studio days—is the rush to achieve a “perfect” fit on the first pass. In reality, the secret to successful mortise and tenon joint fitment isn’t about precision on the first cut; it’s about the margin for error you leave yourself. I always aim to leave the tenon slightly proud, a tiny bit of extra meat that allows for the inevitable micro-adjustments.
If you find yourself fighting a stubborn piece, don’t reach for the saw to take more off. That’s how you end up with a loose, rattling mess. Instead, reach for a shoulder plane. It’s a much more surgical way of adjusting tenon thickness without compromising the structural integrity of the wood. It gives you that granular control required to find the exact point where the friction is firm but not violent. You want a fit that demands a light tap from a mallet, not a wrestling match that risks preventing split wood during assembly.
Practical Tips and Steps
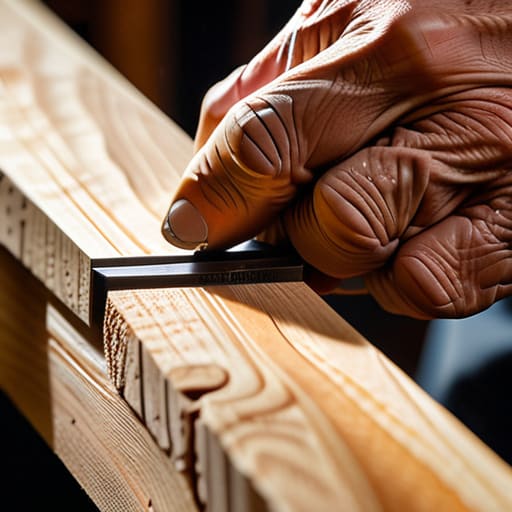
I’ve spent enough years at the workbench to know that a perfect fit is rarely achieved on the first pass. In my studio, I’ve learned to treat the wood as a living thing that fights back. When I’m adjusting tenon thickness, I never aim for the final dimension immediately. I leave a fraction of a millimeter of “meat” on the bone. It is much easier to shave away a whisper of grain with a sharp blade than it is to try and glue a sliver of sawdust back onto a joint that went too far.
If you find yourself struggling with the resistance of the wood, don’t just force it. That’s how you end up with a catastrophic failure. Instead, reach for a shoulder plane. Using a shoulder plane allows for those microscopic, incremental adjustments that define high-end woodworking joinery techniques. You want a fit that requires a firm tap from a mallet—not a sledgehammer. If you feel the wood beginning to stress, stop. Preventing split wood during assembly is often just a matter of knowing when to stop being aggressive and start being precise.
The Margin of Error
I have a shelf in the studio filled with tenons that were too thin to hold a load and too thick to ever seat in their mortises; they are my most honest teachers, reminding me that a perfect fit isn’t about mathematical precision, but about that razor-thin tension where the wood finally stops fighting you and starts becoming a structure.
Jonathan Marin
The Margin of Error
At the end of the day, fitting a tenon isn’t about following a mathematical formula to the letter; it’s about managing the tension between the wood and the tool. You have to respect the grain, understand that a fraction of a millimeter is the difference between a structural bond and a loose, rattling mess, and remember that patience is a physical requirement of the craft. We’ve talked about the importance of gradual shaving, the necessity of testing your fit on scrap before committing to the final piece, and why you should never, ever try to force a joint that refuses to seat. It is a process of constant, incremental calibration rather than a single, decisive act.
I have a shelf in my studio filled with tenons that were just a hair too thick, pieces of wood that represent the moments I moved too fast. Looking at them, I realize that the perfect fit isn’t just about stability; it’s about the quiet confidence of knowing exactly where the limits of your material lie. Don’t be afraid of the mistakes that force you to slow down. Often, the most enduring lessons in design don’t come from the joints that slide in effortlessly, but from the ones that demanded you pay closer attention. That struggle is where the real work happens.
