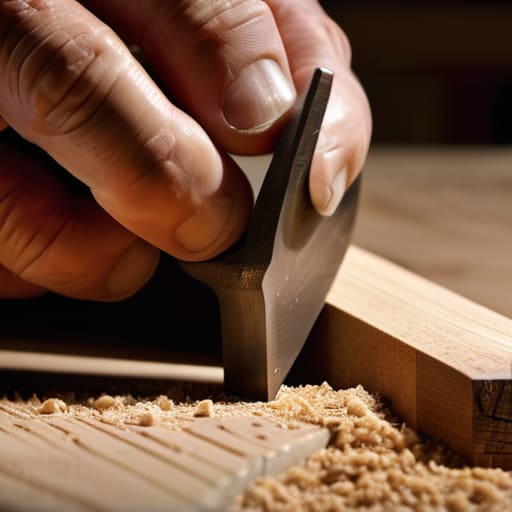
Housings of Consistent Depth
I was staring at a piece of walnut last Tuesday, my chisel hovering just a fraction of a millimeter above the grain, wondering if I’d actually ruined the entire panel. There is this pervasive myth in woodworking that precision is a matter of mathematical perfection, but when it comes to learning how to cut a housing joint, the truth is much more tactile. If you aim for a fit that is surgically tight from the first stroke, you’ve already lost; you’ve left yourself zero room to breathe when the wood inevitably moves or the grain fights back. I’ve spent twenty years learning that the most successful joints aren’t the ones that were perfect on paper, but the ones that allowed for a little bit of human correction.
In this guide, I’m going to strip away the academic fluff and show you the actual, messy process of getting it right. We aren’t going to talk about theoretical idealities; instead, I’ll walk you through the specific, rhythmic movements required to seat your tenons without bruising the timber. You’ll learn how to read the resistance of the wood and, more importantly, how to make those small, decisive adjustments that turn a loose slot into a seamless connection.
Guide Overview
Tools & Supplies
- Tenon saw or fine-tooth handsaw for precise cutting
- Chisel for removing waste material
- Mallet for driving the chisel
- Marking gauge for accurate depth and width lines
- Square for ensuring straight lines
- Wood stock (2 pieces of matching timber)
- Wood glue for assembly
Step-by-Step Instructions
- 1. I usually start by marking the thickness of the connecting piece onto the face of the board. I don’t use a pencil for this; it’s too forgiving, too imprecise. I reach for a sharp marking knife instead. There is a certain quiet satisfaction in seeing that single, hairline incision slice through the grain, establishing the exact boundary where the wood must eventually give way.
- 2. Once the lines are set, I use a saw to make my shoulder cuts. I’ve spent a lot of time staring at the “reject” pile in my studio, and most of those failures came from being too aggressive here. You have to stay strictly within the lines, but you should leave a fraction of a hair of extra material on the waste side. It is much easier to shave a millimeter off than it is to pray to the gods of joinery to fix a cut that went too deep.
- 3. Now comes the part that tests my patience: clearing out the waste. I use a chisel to remove the bulk of the material, working from both sides toward the center. If you try to drive through the entire thickness in one go, you’ll inevitably blow out the bottom of the board, and that’s a mistake that cannot be unmade. I move slowly, respecting the grain, treating the removal of wood as a conversation rather than a demolition.
- 4. After the heavy lifting is done, I switch to a wider, sharper chisel to clean up the floor of the housing. This is where the “design as constraint” philosophy really hits home. The bottom needs to be perfectly flat and even, but it doesn’t need to be a mirror. I find that a slight, natural texture from the chisel can actually give the joint a sense of being made by a hand rather than a machine.
- 5. Before I even think about the fit, I take a scrap piece of the same stock and test the depth. I’m looking for that specific tension where the pieces slide together with a firm, consistent pressure. If it’s too loose, the joint is a lie; if it’s too tight, you’ll split the grain and end up with another piece for the labeled reject shelf.
- 6. Finally, I do a final pass with a very sharp paring chisel to refine the walls. I work the blade almost parallel to the wood, taking off shavings so thin they look like translucent onion skins. This is the moment where the joint stops being two separate pieces of timber and starts becoming a single, cohesive object.
Understanding How to Cut a Housing Joint
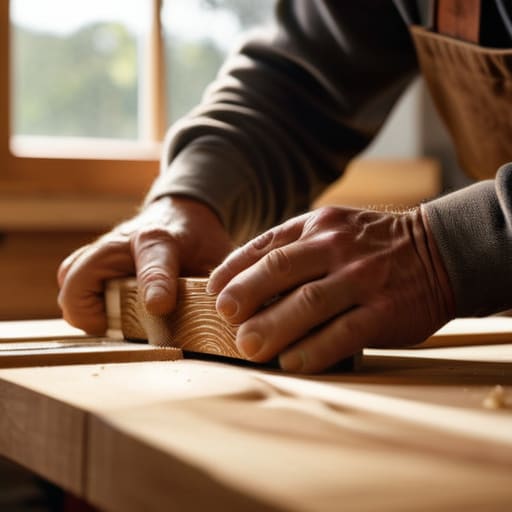
I’ve spent a good portion of my career staring at a pile of discarded offcuts in the corner of my studio, most of them ruined by a single moment of impatience. When you’re looking at different woodworking dado joint techniques, there is a seductive temptation to go fast. You see a router and think the job is halfway done, but using a router for housing joints requires a level of restraint that most people forget. If you rush the depth, you end up with a slot that’s too loose, and a loose joint is just a polite way of saying the piece is broken.
I often find myself oscillating between modern machinery and more traditional hand tool housing joint methods. There is a certain tactile feedback you get from a sharp chisel that a high-speed bit simply cannot replicate. It’s about the resistance of the grain. I’ve learned that the secret isn’t just about the tool you pick from your woodworking workshop tools collection; it’s about respecting the material’s limits. If you fight the wood, the wood will eventually win, usually in the form of a split grain or a wasted board.
Key Things to Know
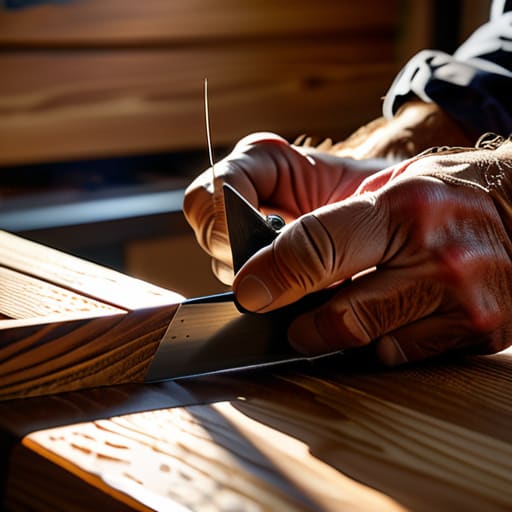
I have a drawer in my studio filled with scraps of walnut and oak that never made it to a client’s living room. Most of them failed because I miscalculated the depth of a groove, thinking I could just “make it work” with glue. But in precision woodworking joinery, there is no such thing as making it work; there is only the fit, and the fit is either honest or it’s a lie. When you are cutting grooves in wood, the temptation to rush the depth is high, but a housing joint that is too deep loses its structural soul, becoming a mere slot rather than a marriage of two pieces.
You’ll eventually decide whether you want to lean into the speed of using a router for housing joints or the meditative, albeit slower, rhythm of hand tools. I’ve spent decades oscillating between the two. A router offers a level of consistency that is hard to argue with, but it can feel clinical, almost detached. There is a specific, tactile tension in hand tool methods—a sense that you are negotiating with the grain rather than simply carving through it. That tension is where the real craft lives.
Practical Tips and Steps
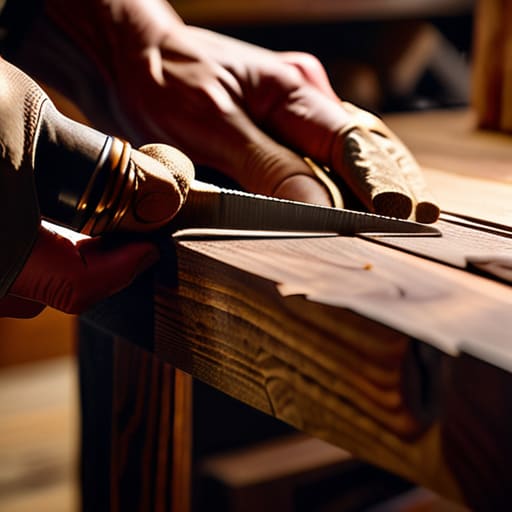
I’ve spent a lot of mornings staring at a piece of walnut, wondering if I should just go the easy route. When you’re looking at different woodworking dado joint techniques, the temptation to reach for the power tools is massive. There is a certain efficiency to using a router for housing joints, certainly, but you lose that tactile feedback. I’ve found that if you lean too heavily on the machine, you stop listening to the grain. I once rushed a groove with a router, ignored the slight resistance of a knot, and ended up with a piece that felt structurally dishonest.
If you decide to stick to hand tool housing joint methods, my best advice is to embrace the incremental approach. Don’t try to reach your final depth in one pass. Instead, treat it like a conversation with the material; take shallow, deliberate cuts. It’s much easier to remove a whisper of wood than to try and sand down a mistake that’s already gone too deep. Precision is born from patience, not from the sharpness of your blade alone.
The Margin of Error
I’ve spent most of my career learning that a perfect fit is often the most boring thing about a piece of furniture; the real soul of a housing joint lies in that tiny, terrifying fraction of a millimeter where you decide whether to shave off more wood or just live with the tension.
Jonathan Marin
The Residual Mark of the Decision
Looking back at the process, it really comes down to the tension between the blueprint and the actual wood in your hands. We talked about the precision of the saw line, the necessity of a clean shoulder, and why that initial marking gauge line is the most important boundary you’ll establish. It is easy to treat the housing joint as a mere mechanical necessity, but it is actually a study in controlled subtraction. If you find yourself fighting the grain or feeling that slight hesitation before the blade meets the timber, don’t just force it. Take a breath, check your square, and remember that the goal isn’t just a tight fit, but a clean execution of intent.
I have a drawer in my studio filled with joints that were “perfect” by the book but lacked any soul. They were technically correct, yet they felt sterile. As you finish this piece, I want you to look closely at where you hesitated—that moment where you decided to take a hair more off the shoulder or adjust the depth of the groove. Those are the moments where the craft actually happens. Don’t strive for a sterile, machine-like perfection that erases the maker. Instead, aim for the kind of work where the integrity of the decision is visible in every seam. That is where the object stops being just furniture and starts being something real.
