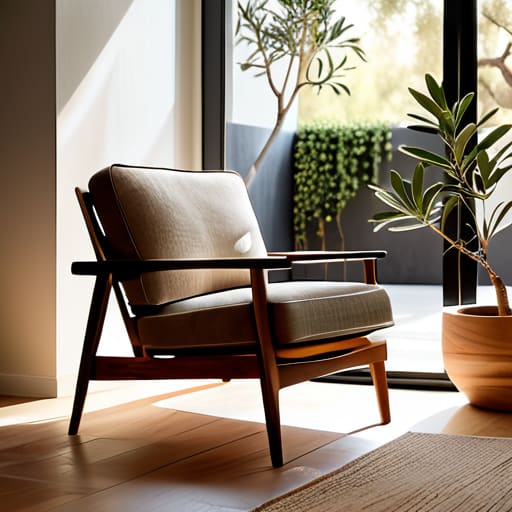
Photographing Furniture Without a Studio
I spent three hours last Tuesday wrestling with a studio light that cost more than my first car, only to realize the shot looked utterly lifeless. It’s the great lie of our industry: the idea that you need a high-end kit and a studio rental to master how to photograph your work. We’ve been sold this notion that professional imagery is about technical perfection and expensive gear, when in reality, most of those polished, sterile catalog shots feel like they’ve had the soul scrubbed out of them. I’ve sat in my workshop surrounded by beautiful, tactile things—the grain of a walnut slab or the slight, intentional irregularity of a hand-turned leg—and watched them disappear into a flat, digital void because I was chasing perfection instead of character.
I’m not here to teach you about shutter speeds or aperture settings you can just look up on a wiki. Instead, I want to talk about how to capture the weight of an object and the decisions that gave it life. I’m going to share what I’ve learned from two decades of making things, focusing on how to use light to tell the story of the struggle, not just the finished product.
Understanding How to Photograph Your Work
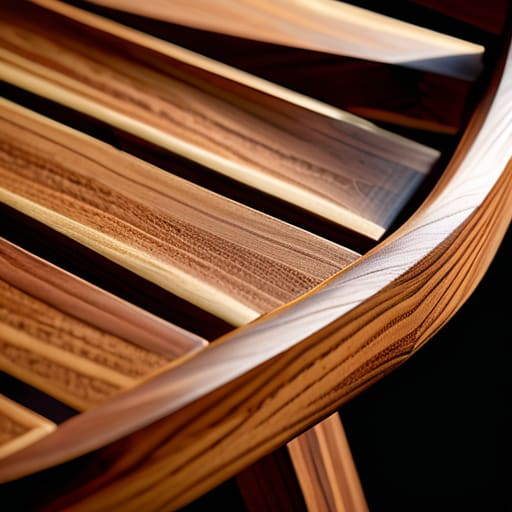
Before you even touch a shutter button, you have to stop looking at the object as a finished success and start looking at it as a series of tensions. When I’m photographing a chair that took six months to stabilize, I’m not just looking for a pretty angle; I’m looking for the way the light catches the grain where I almost chose a different veneer. Most people approach this as a technical hurdle, but it’s actually a translation problem. You are trying to move the tactile weight of a physical thing into a two-dimensional space.
This is where most makers stumble—they try to document the result rather than the intent. If you are working with tiny, intricate joinery, you can’t just rely on a wide shot; you need to embrace macro photography for small items to show the precision that defines the piece. It isn’t about perfection, though. It’s about finding the right composition techniques for makers that highlight the structural honesty of the design. You aren’t just taking a picture; you are documenting the moment the constraints finally yielded to the form.
Key Things to Know
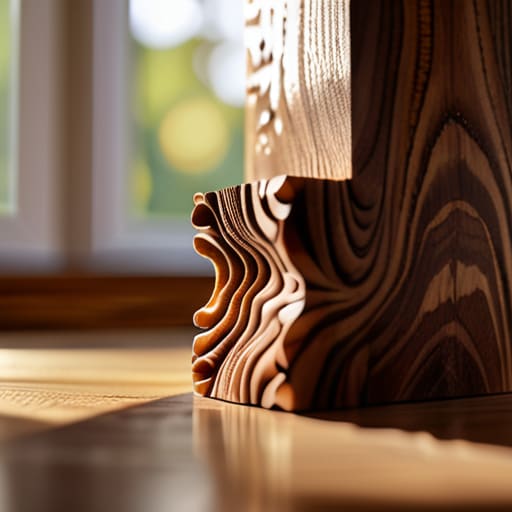
I’ve spent most of my career obsessing over the way a joint meets a surface or how a specific grain of walnut catches the sun, but translating that tactile reality into a digital file is a different kind of struggle. It isn’t about achieving some sterile, commercial perfection; it’s about communicating the intent behind the object. When I’m setting up a shot, I find myself leaning heavily on natural light photography hacks—usually just pulling a table toward a north-facing window—because artificial glare tends to lie about the texture of the wood.
You don’t need a studio full of expensive gear to tell the truth about what you’ve made. I’ve often found that simple smartphone photography tips for artists are more effective than a complex rig, provided you understand how to manage shadows. The goal is to capture the weight of the piece. If a chair looks like it’s floating in a void, you’ve failed the object. You want the viewer to feel the tension in the joinery and the slight, beautiful imperfection of a hand-planed edge, rather than a filtered, lifeless imitation of a product.
Practical Tips and Steps
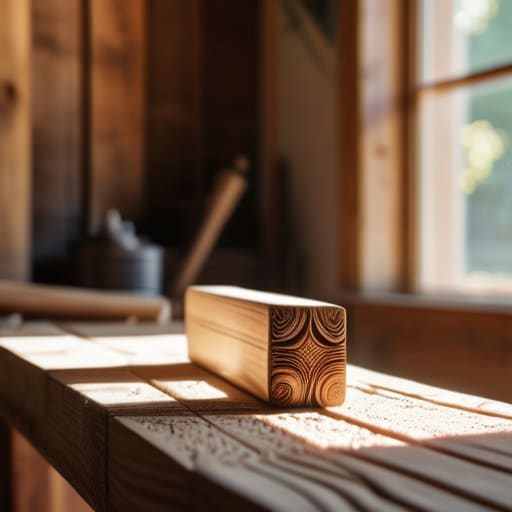
I’ve spent many afternoons in my studio, surrounded by the sawdust of failed joinery, realizing that a camera is just another tool, much like a chisel or a plane. When you start, don’t overcomplicate things with expensive gear. If you’re working with a phone, focus on smartphone photography tips for artists that prioritize stability over resolution; prop the thing up on a stack of old design books if you have to. The goal isn’t a sterile catalog shot, but a record of the object’s presence.
I often find that the most honest results come from natural light photography hacks rather than fighting with artificial strobes. Find a north-facing window where the light is soft and consistent. Avoid the midday sun—it’s too aggressive, much like a poorly conceived chair leg. If you are documenting the fine grain of a tabletop or the slight imperfection in a hand-turned bowl, lean into macro photography for small items to show the texture that a wide shot misses. It’s in those tiny, tactile details that the viewer actually feels the weight of the wood.
Common Mistakes to Avoid
The biggest trap I see—and I’ve certainly fallen into it during my own long years in the studio—is the urge to sanitize the image. We often think a “good” photo means erasing every sign of life, but when you start editing photos for online shops with too much aggressive smoothing, you lose the soul of the piece. If I’m photographing a chair I spent six months perfecting, I don’t want a sterile, clinical render; I want the grain of the wood to feel tactile. When you scrub away the texture to achieve a “clean” look, you aren’t showing the product; you’re showing a ghost of it.
Another mistake is the obsession with expensive gear over intentionality. I see makers getting paralyzed by the need for complex product photography lighting setups, thinking they can’t start until they own a studio strobe. In reality, the most common error is simply ignoring the nuance of shadow. People often try to blast a piece with light to eliminate shadows, but shadows are what give an object weight and presence in a room. Without them, your furniture looks like it’s floating in a void, disconnected from the very floor it was meant to stand on.
Final Thoughts
At the end of the day, I find myself looking at these images and wondering if I’ve actually captured the object, or just a version of it that looks “correct.” We spend so much time obsessing over composition techniques for makers—trying to find that perfect angle where the grain of the wood or the weight of the steel feels palpable—that we sometimes lose the soul of the piece in the pursuit of perfection. I’ve learned that a photo shouldn’t just be a sterile record of a finished product; it should be a testament to the tension between the material and the maker.
Don’t let the technicalities paralyze you. Whether you are experimenting with complex product photography lighting setups or just trying to make sense of a shadow on your phone, remember that the goal isn’t to mimic a catalog. The goal is to show the world the decisions you made. If a photo feels a little too raw or a little too honest, it’s probably because it’s telling the truth. The best images are the ones that feel earned.
The Ghost in the Frame
A photograph shouldn’t just document the joinery or the finish; it should capture the tension of the choice you made. If your image only shows a perfect object, you’ve missed the soul of the work—the part where you wrestled with the material and barely won.
Jonathan Marin
The Final Frame
At the end of the day, photographing your work isn’t about achieving some sterile, catalog-ready perfection. It’s about managing the technical constraints—the light, the angles, the depth of field—so they don’t drown out the intention behind the object. We’ve talked about avoiding those flat, lifeless shadows and the temptation to over-edit until the soul of the material vanishes. If you can master the basics of composition and light, you stop fighting the camera and start using it as a tool, much like a chisel or a lathe, to translate a three-dimensional reality into a two-dimensional truth.
I often look at the pile of rejected prototypes in the corner of my studio, those pieces that failed because a joint was too ambitious or a proportion felt off. There is a specific kind of honesty in those failures that a perfect, polished photo sometimes misses. As you set up your tripod, don’t just aim for the “hero shot” that looks good on a landing page. Try to capture the tension of the decision—the way the grain meets the edge, or how the light catches a corner you nearly shaved off. The goal isn’t just to show people what you made; it’s to show them why it exists.
