Making a Curve Look Right
I was staring at the side profile of a walnut chair leg last Tuesday, my eyes blurring under the shop lights, feeling that familiar, hollow sense of failure. The line was technically correct, but it felt wrong—it had these microscopic hiccups that caught the light like a stutter in a sentence. Most people will tell you that learning how to fair a curve is just a matter of patience or having the right template, but they’re lying. It isn’t about the tools; it’s about developing the eye to see the tension between where a line is and where it should be. I have a shelf in my studio filled with rejected prototypes that failed for this exact reason: they were mathematically perfect but visually dead.
In this guide, I’m going to skip the lofty design theory and get into the actual, messy work of smoothing out those transitions. We’ll talk about the tactile reality of long-board sanding, how to use light to expose your mistakes, and the specific moment you know you can finally stop. I won’t promise perfection, but I will show you how to fair a curve so that it actually looks intentional, rather than just accidental.
Guide Overview
Tools & Supplies
- Block plane or Spokeshave for smoothing wood surfaces
- Rasp or File for shaping the initial profile
- Sandpaper (various grits) for final smoothing
- Wood stock (curved piece or blank) 1 unit
- Marking gauge or pencil for layout 1 unit
- Calipers or template for consistency 1 unit
Step-by-Step Instructions
- 1. Start by laying out your rough-cut shape. At this stage, the piece usually looks a bit violent—all jagged saw marks and aggressive angles. I like to take a piece of chalk or a soft carpenter’s pencil and draw a preliminary line that roughly approximates the curve you’re chasing. It doesn’t have to be pretty; it just needs to give you a visual anchor so you aren’t just wandering blindly through the wood.
- 2. Don’t reach for the sandpaper yet. If you start with fine grit, you’ll just polish the mistakes. Instead, grab a coarse rasp or a heavy-duty sanding block. You want to work in long, sweeping strokes that follow the direction of the curve rather than cutting across it. The goal here isn’t perfection; it’s about removing the bulk of the material until the general geometry starts to feel intentional.
- 3. This is where most people rush, and it’s where I usually find myself staring at my “rejected” pile. To truly fair a curve, you need a long, straight reference tool—a stiff piece of metal or a long, straightedge. Lay it against your work. If you see light passing through the gap between the tool and the wood, you’ve got a flat spot or a dip. You aren’t looking for a straight line; you’re looking for consistent tangency along the entire arc.
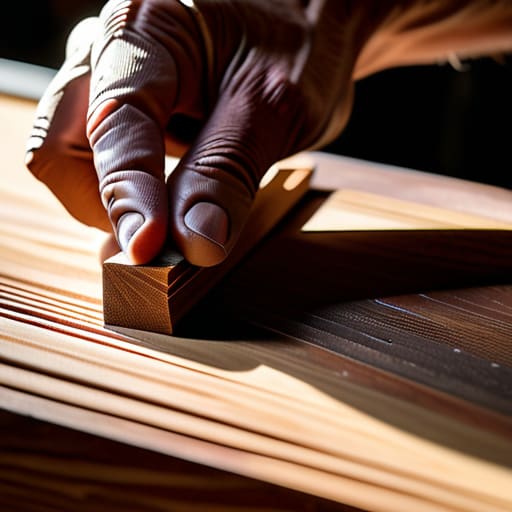
- 4. Once the heavy lifting is done, move to the mid-range grits. I find that using a flexible sanding block is better than just using your hand. When you use your bare fingers, you tend to apply uneven pressure, which creates “valleys” in the wood that are a nightmare to fix later. A block forces you to maintain a uniform contact surface, which is the secret to a curve that actually feels smooth to the eye.
- 5. Now comes the meditative, slightly frustrating part: the final fairing. Switch to a high-grit paper and work with the grain. I often find myself stopping every few minutes to step back five feet. You can’t judge a curve from two inches away; you have to see how it catches the light from a distance. If the light “breaks” or jumps across the surface, you still have a flat spot that needs gentle, rhythmic correction.
- 6. The final check isn’t visual; it’s tactile. Run your entire hand—not just your fingertips, but your whole palm—along the edge. Your skin is a much more sensitive instrument than your eyes. If you feel even the slightest hitch or a moment where the curve feels “stuttery,” go back to the mid-grit. A truly faired curve should feel like a continuous, unbroken thought under your hand.
Understanding How to Fair a Curve
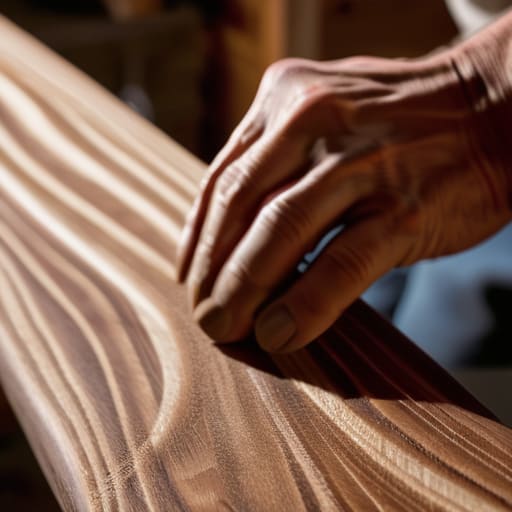
To me, a curve isn’t just a mathematical arc; it’s a tension between the eye and the hand. When I’m working on a chair leg or a tapered edge, I find myself fighting the impulse to make it perfect too quickly. The mistake most people make is treating a curve like a destination rather than a negotiation. If you look at specialized fairing techniques for boat hulls, they rely on long, sweeping motions to prevent “flat spots”—those subtle, jarring transitions where a curve suddenly loses its momentum. In furniture, I apply that same logic. I don’t just sand; I look for the rhythm of the line.
If you find yourself staring at a dip that refuses to disappear, stop fighting the wood and start thinking about the light. Sometimes, achieving a smooth profile requires you to stop sanding the mistake away and instead use a bit of fairing compound to fill the void, effectively re-sculpting the geometry. It’s about the silhouette, not just the surface. I have a drawer full of failed spindles that look “correct” on paper but feel wrong to the eye because the transition was too abrupt. The goal is a curve that feels inevitable.
Key Things to Know

One thing I’ve learned from two decades of moving between studio work and production lines is that you can’t just fight the material; you have to listen to it. When I’m working on a complex sweep, I find myself constantly oscillating between the math of the line and the feel of the wood. It’s easy to get obsessed with achieving a smooth profile, but if you push too hard, you end up losing the very character that makes the piece intentional. I often find myself looking at my pile of rejected prototypes, realizing that the “perfect” line I was chasing was actually too sterile. Sometimes, the slight tension in a curve is what gives it life.
If you are moving into more heavy-duty territory, like woodworking or even looking at fairing techniques for boat hulls, the temptation is to reach for the heavy fillers immediately. I’ve made the mistake of using fairing compound as a crutch for poor layout, only to realize I was just masking a fundamental error in my geometry. Instead, I try to rely on my hands and the right grit of sandpaper first. It’s slower, certainly, but it ensures that the final shape is a result of deliberate shaping rather than just burying mistakes under a layer of resin.
Practical Tips and Steps
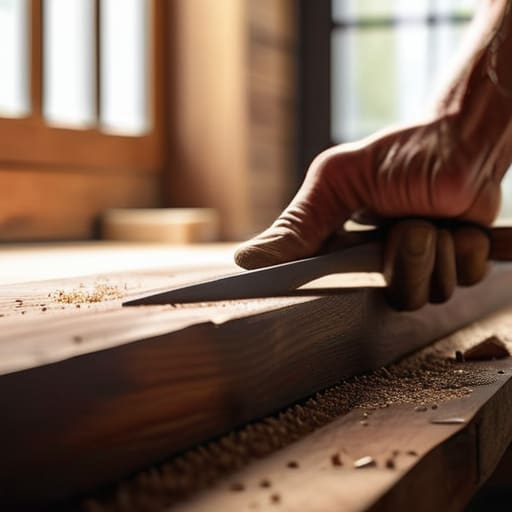
I’ve learned that the best way to avoid a disaster is to stop treating the wood like a math problem and start treating it like a physical presence. When I’m working on a complex radius, I don’t just grab a block of sandpaper; I look for the tension in the line. One trick I’ve picked up over the years is to use a long, rigid straightedge—something much longer than the section you’re working on—to bridge the gaps. It forces you to see the high spots that your eyes naturally want to ignore. If you rely solely on your intuition, you’ll end up with a profile that looks right from a distance but feels “bumpy” to the touch.
Sometimes, no amount of sanding can fix a fundamental mistake in the geometry. In those moments, I’ve had to borrow a concept from maritime work: using fairing compound to fill the shallow valleys that a sander simply can’t reach. It’s a bit of a cheat, I know, but it’s about achieving a smooth profile that honors the original intent of the design. It’s better to add a little material and sand it back to perfection than to keep grinding away at a piece until you’ve lost the very dimension you were trying to save.
The Ghost of the Wrong Line
Fairing a curve isn’t about hitting a mathematical ideal; it’s about the quiet, iterative struggle of sanding away the versions of yourself that were too timid or too aggressive, until you finally land on the one line that feels inevitable.
Jonathan Marin
The Final Line
At the end of the day, fairing a curve isn’t about following a mathematical formula or achieving some impossible, sterile perfection. It’s about the patience to move from the aggressive, jagged marks of a saw to the subtle, flowing transitions that catch the light. We’ve talked about the importance of steady hand movements, the necessity of checking your work against a template, and the discipline required to sand incrementally rather than rushing toward the finish. It is a process of constant correction—a repetitive, almost meditative cycle of adding and subtracting until the tension in the wood finally disappears. If you find yourself fighting the grain, stop. Step back. The goal isn’t to force the material into submission, but to negotiate with it until the line feels earned.
I often look at the pile of rejected prototypes in the corner of my studio—the ones with curves that felt too sharp or transitions that felt forced. They remind me that the most beautiful lines are rarely the first ones we draw. They are the lines we find through a series of small, necessary failures. When you finally step back from a piece and see that curve sweep effortlessly from one point to the next, remember that the beauty isn’t just in the shape itself. It is in the decisions you almost didn’t make—the moments you chose to sand one more time instead of walking away. That is where the craft actually lives.
