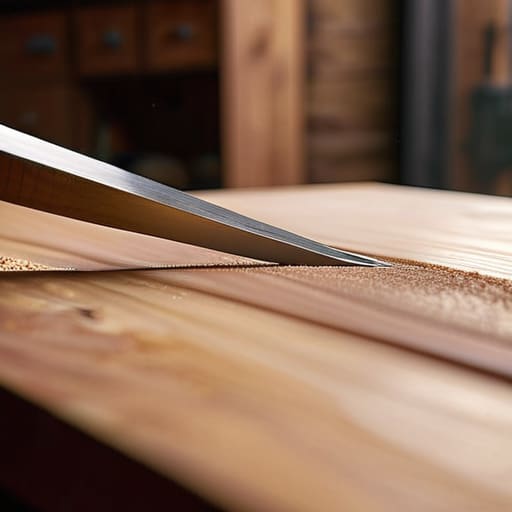
Cutting and Refining a Curve
I was staring at a slab of cherry last Tuesday, my hand trembling just a fraction of a millimeter above the line, paralyzed by the fear of a jagged edge. Most people will tell you that mastering a coping saw is about steady breathing or expensive jigs, but they’re wrong; it’s actually about learning to trust the mistake. I spent years in production lines where perfection was a mathematical certainty, but in my own studio, I’ve learned that knowing how to cut a curve by hand is less about following a path and more about managing the tension between the blade and your own hesitation.
I’m not going to give you a sanitized, theoretical lecture on tool geometry. Instead, I want to walk you through the tactile reality of the work—the specific way you need to pivot your wrist and how to read the grain before the steel even touches the wood. We’ll skip the fluff and focus on the mechanical honesty required to get a clean arc without turning your workpiece into expensive kindling. This is about the grit and the small, necessary corrections that turn a rough cut into something intentional.
Guide Overview
Tools & Supplies
- Coping saw (essential for tight curves)
- Pencil (for marking the line)
- Sandpaper (for smoothing the edge)
- Wood scrap (1 piece)
- Pattern template (1 piece)
Step-by-Step Instructions
- 1. Before you even touch a saw to the wood, you need to mark your path with more than just a pencil. I’ve learned the hard way that a thin line is a dangerous thing; it’s too easy to lose it once the kerf starts eating into the material. Use a marking knife instead. The physical indentation gives your blade a literal track to follow, and it removes the guesswork when you’re staring down a tight radius.
- 2. Once the line is set, don’t just dive in. You have to prepare the “waste” side of your curve. I usually take a drill and pop a few holes along the line, or I use a coping saw to remove the bulk of the material first. The goal is to leave yourself as little resistance as possible. If you try to saw through a solid block of walnut in one go, you aren’t designing; you’re just fighting a losing battle against friction.
- 3. Now, pick up your coping saw and check your blade tension. It should sing a little when you pluck it. If the blade is too loose, it will wander, and once a blade wanders, the piece is usually headed for the scrap pile. I keep a small stack of these “failures” in the corner of my studio—mostly because they remind me that a wandering blade is just a lesson in geometry that went sideways.
- 4. As you begin the cut, remember that you aren’t aiming for the line itself, but rather just outside of it. If you aim directly for the ink, the width of the blade will eat your curve and leave you with something much smaller than intended. I find it’s much easier to sand away a fraction of a millimeter of excess than it is to glue back a piece of wood you accidentally sawed through.
- 5. This is where the rhythm matters. Don’t force the saw; let the teeth do the work. If you feel the saw binding or tugging, you’re likely applying too much downward pressure. You want a steady, glancing motion. I often find myself holding my breath during the tightest turns, trying to keep my wrist fluid rather than rigid. A stiff wrist is the quickest way to turn a graceful arc into a jagged mistake.
- 6. Once you’ve cleared the bulk of the curve, it’s time to face the reality of the surface. You’ll likely have some “stair-stepping” from the saw teeth. Don’t reach for the power sander immediately—that’s how you lose your shape. Instead, use a spoke shave or a rasp to gradually work the wood down to your knife line. It’s slow, tedious work, but it’s the only way to ensure the curve feels intentional rather than forced.
- 7. The final step is the most deceptive: the refinement. Take a sanding block and follow the contour, but watch your edges. It is incredibly easy to over-sand the apex of a curve, flattening out the very character you spent the last hour trying to create. I always check my progress by running my hand over the wood frequently; your fingers will feel a deviation in the curve long before your eyes do.
Understanding How to Cut a Curve by Hand
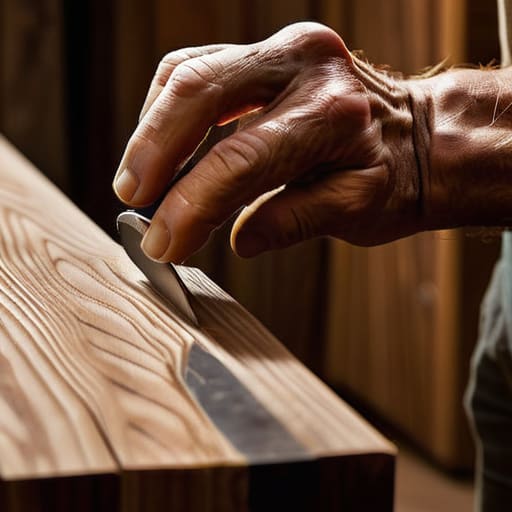
When I look at the pile of rejected scraps in the corner of my studio, most of them failed because I fought the material rather than negotiating with it. Beginners often approach a curve as a mathematical problem to be solved, but it’s actually a physical conversation. If you are shaping wood by hand, you have to respect the grain’s direction. A curve isn’t just a line; it’s a series of micro-adjustments where you are constantly deciding whether to push through or pull back.
I’ve learned that the most effective coping saw techniques rely less on brute force and more on the tension of the blade and the rhythm of your breathing. I used to try and force the saw through the arc in one continuous motion, only to end up with a jagged, unusable mess. Now, I find that using a template for curves provides the necessary boundary, but it’s the slight, almost imperceptible hesitation before a tight turn that prevents the blade from wandering. You aren’t just removing waste; you are finding the shape that was already hiding inside the timber.
Key Things to Know
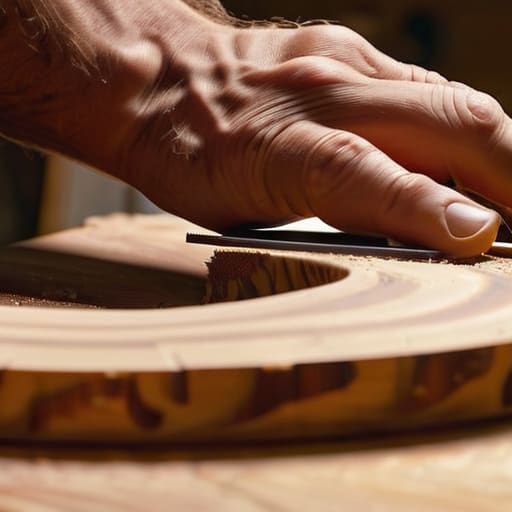
I’ve spent enough time in the shop to know that the tool is rarely the problem; it’s the tension in your own wrist. When you’re working on woodworking curved cuts, there is a seductive urge to rush through the arc to see the final shape. Resist that. I keep a bin of ruined cherry offcuts in the corner of my studio—pieces where I tried to force the saw through a tight radius too quickly. You end up wandering off the line, and once you’ve breached the boundary of your template, you aren’t just cutting wood anymore; you’re performing surgery on a mistake.
The secret lies in anticipating the resistance. If you are using a coping saw, don’t just pull; feel the grain fighting back. I’ve found that using a template for curves is helpful, but it shouldn’t be a crutch. Use it as a guide for your eyes, while letting your hands respond to the actual physics of the blade. It is a constant, microscopic negotiation between the steel and the fiber.
Practical Tips and Steps

I’ve spent enough time in the studio to know that the gap between a drawing and a physical object is usually filled with small, corrective anxieties. When you’re actually in the thick of it, I find that using a template for curves is less about cheating and more about creating a reliable anchor for your eyes. I keep a few of my old, failed templates in the scrap bin—the ones where I miscalculated the radius—just to remind myself that the wood doesn’t care about my perfectionism. It only cares about the pressure of the blade.
When it comes to the actual mechanics, I’ve learned to stop fighting the tool. Effective coping saw techniques aren’t about brute force; they are about a rhythmic, almost meditative, follow-through. If you find yourself tensing up, you’re likely trying to steer the saw rather than letting it dance. I always leave a hair’s breadth of extra material on the waste side. It’s much more forgiving to spend ten minutes smoothing curved edges with a rasp than it is to spend three days trying to explain to a client why their chair leg is two millimeters short.
The Margin of Error
A perfect curve is a mathematical lie; the real soul of the work lives in that slight, nervous tremor where the blade met the resistance of the grain and you had to decide, in a heartbeat, whether to fight it or follow it.
Jonathan Marin
The Ghost of the Wrong Cut
At the end of the day, cutting a curve by hand isn’t really about the perfect arc; it’s about the management of tension and the respect you show to the grain. You have to balance the steady, rhythmic pressure of the saw with the constant, micro-adjustments required to stay true to your line. It’s a process of controlled hesitation, where you learn to listen to the wood rather than forcing your will upon it. If you’ve managed to keep your blade aligned and your pace steady, you’ve done the hard part. The sanding and the refining are just the cleanup; the real work was that moment you decided to pivot rather than push through a difficult knot.
I often look at the rejected prototypes gathering dust in the corner of my studio—the ones where the curve veered too wide or the grain split under too much pressure. Those pieces taught me more than the successes ever did. When you’re standing there with a hand saw, feeling that slight resistance, remember that the goal isn’t to avoid mistakes, but to navigate them. The most beautiful curves in my furniture are often the ones that carry the subtle evidence of a correction. Don’t aim for a sterile perfection; aim for the kind of precision that acknowledges the struggle of the hand against the material.
