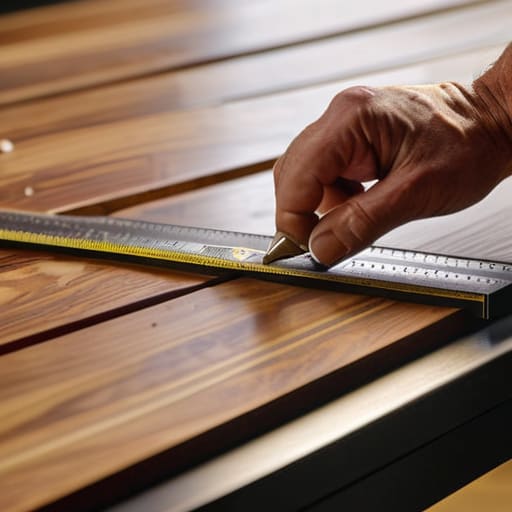
Checking Diagonals During a Glue Up
I can still smell the stale, sweet scent of PVA glue and the metallic tang of those old Bessey clamps from a Tuesday afternoon in 2004. I was working on a walnut dining table—a piece that should have been my breakout commission—and I watched, paralyzed, as a slight misalignment in my clamping pressure turned a perfect tenon into a shattered mess. I had spent weeks obsessing over the grain direction and the joinery, only to lose the entire assembly because I hadn’t mastered the fundamental physics of how to clamp a glue up without racking. It’s a visceral kind of failure; you feel it in your gut before you even see the gap in the wood.
I’m not here to sell you on some expensive, proprietary jig or a complicated mathematical formula that requires a degree in structural engineering. Instead, I want to talk about the tactile reality of the work. I’m going to share the specific, hard-won adjustments I’ve made over twenty years to ensure my joints stay square and my sanity stays intact. We’ll skip the theory and focus on the physicality of the squeeze, learning how to listen to the wood so you don’t end up with a pile of expensive scrap.
The Near Disaster When Clamps Almost Ruined Everything
I remember a walnut dining table project from about five years ago—one of those pieces where the grain was so perfect it felt almost criminal to cut into it. I was halfway through the final assembly, feeling far too confident, when I realized I had been relying on a handful of old pipe clamps that were doing nothing but applying uneven force. As I tightened the last one, I felt that sickening, subtle shudder through the wood. I had inadvertently introduced a lateral force that began to skew the entire frame.
I caught it just in time, but the lesson was etched into my mind. I had completely ignored the importance of maintaining assembly squareness by failing to account for how much force a single clamp can exert on a corner. Instead of a clean, tight fit, I was looking at a trapezoid. I had to strip it all down, clean the excess glue, and start over. It taught me that precision isn’t just about the cut; it’s about the controlled, disciplined way you bring the pieces together. Now, I never trust a single point of pressure without a plan for using parallel jaw clamps to ensure the force stays strictly perpendicular to the joint.
The Subtle Art of How to Clamp a Glue Up Without Racking
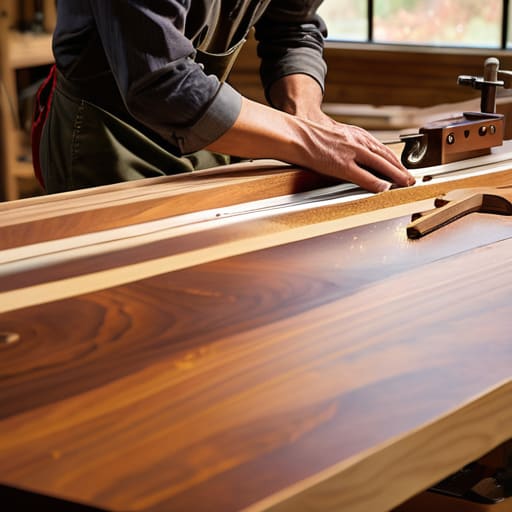
It isn’t enough to just tighten the bolts and hope for the best. I’ve spent too many late nights in the shop staring at a seam that refused to close, realizing my mistake was in the physics, not the glue. The trick lies in the glue up clamping sequence. You can’t just attack the center of a long tabletop with everything you’ve got; that’s a recipe for a bowed disaster. You have to work from the middle outward, or perhaps from the ends inward, depending on the grain, treating the assembly like a living thing that needs to be coaxed into place rather than forced.
I’ve found that using parallel jaw clamps is non-negotiable if you want to avoid the dreaded twist. Unlike the old pipe clamps that can exert uneven force, these keep the pressure strictly perpendicular to the work surface. Even then, I rarely trust a single point of contact. I’ve become a bit of a hoarder of scrap wood for a reason—improvising clamping cauls is my way of ensuring that the pressure is distributed across the entire surface, preventing those localized divots that haunt your finish later.
The Chaos of Preventing Glue Joint Misalignment
The real trouble isn’t just the pressure; it’s the unpredictability of it. I’ve spent enough years in the shop to know that even with the best intentions, a single misplaced clamp can turn a clean joint into a staircase. When you’re dealing with long grain, the forces are rarely symmetrical. You think you’ve achieved equilibrium, but then you notice a hairline gap creeping in on the opposite end. This is where the panic sets in—that frantic realization that your glue up clamping sequence might be working against you rather than for you.
I used to rely too heavily on brute force, thinking more clamps meant more stability. I was wrong. What I actually needed was a better understanding of woodworking clamping pressure distribution. If you concentrate all that energy in one spot, you aren’t just joining wood; you’re actively fighting the geometry of the piece. Lately, I’ve found myself improvising clamping cauls out of scrap poplar just to spread that load more evenly. It’s a messy, tactile way to work, but it’s the only way to stop the wood from bowing under its own tension.
Why Parallel Jaw Clamps Changed My Entire Perspective
For years, I relied on the old F-clamps I’d inherited from my first studio—the kind with those narrow, metal faces that feel like they’re trying to bite through the wood rather than hold it. I used to spend half my time improvising clamping cauls out of scrap pine just to stop those metal jaws from marring a surface or, worse, creating a localized pressure point that would twist the entire assembly. It was a constant battle of attrition against my own tools.
Switching to parallel jaw clamps felt less like an upgrade and more like a realization of what I’d been missing. There is a specific, quiet confidence that comes with using parallel jaw clamps; you aren’t fighting the physics of the tool anymore. Instead of praying that the pressure is even, you can actually feel the stability. It changed my entire approach to maintaining assembly squareness because I stopped treating the glue-up as a moment of high-stakes damage control and started treating it as a controlled, predictable part of the design process. It turned a chaotic scramble into a moment of actual craft.
Mastering the Dance of Woodworking Clamping Pressure Distribution
There is a specific kind of tension in the workshop when you realize that more pressure isn’t necessarily better pressure. I spent years thinking that if a joint felt loose, I just needed to crank the handle another half-turn. That was my mistake. Real mastery comes from understanding woodworking clamping pressure distribution—the realization that you aren’t just squeezing pieces together, you are managing a series of opposing forces. If you concentrate all that force in one corner, the rest of the assembly will inevitably bow or twist to compensate.
I’ve learned to treat the process more like a choreography than a brute-force task. It’s about a deliberate glue up clamping sequence, starting from the center and working outward toward the ends. I often find myself improvising clamping cauls from scrap maple just to spread that load more evenly across the surface. It’s a slow, almost meditative process of checking, adjusting, and re-checking. You have to listen to the wood; if you push too hard too fast, you’ll hear that subtle, sickening creak that tells you the geometry is already lost.
The Magic of Improvising Clamping Cauls to Save Joints
There is a specific kind of panic that sets in when you realize your standard set of clamps simply won’t reach the center of a wide tabletop, or worse, when the pressure from a metal jaw threatens to mar a delicate edge. In my early years, I viewed these moments as failures of preparation. Now, I see them as the moment the design actually begins to breathe. Improvising clamping cauls isn’t just a workaround; it’s a way to extend your reach and your control far beyond the factory specifications of your tool kit.
I often find myself scavenging my scrap bin for the perfect sacrificial blocks—something beefy enough to spread the load, but soft enough to forgive a mistake. By wedging a scrap of poplar between the clamp and my workpiece, I’m not just protecting the finish; I’m actively managing the woodworking clamping pressure distribution across the entire surface. It turns a blunt force into a nuanced, even squeeze. It’s about creating a buffer that allows you to focus on the bigger picture—the alignment and the integrity of the seam—rather than worrying about the localized trauma of a steel jaw biting into a hand-planed surface.
Finding Peace in Maintaining Assembly Squareness and Sequence
There is a specific kind of anxiety that settles in the workshop right before the glue hits the grain. It’s that heavy, quiet moment where you realize that once the chemical bond begins, you’ve lost your ability to negotiate with the wood. I used to rush through this stage, thinking speed was a proxy for efficiency, only to find myself staring at a trapezoid when I had intended to build a rectangle. I’ve learned that maintaining assembly squareness isn’t about brute force; it’s about a disciplined, almost meditative adherence to a strict glue up clamping sequence.
You have to approach the assembly like a choreographed movement rather than a frantic scramble. If you tighten one corner too early, you aren’t just securing a joint; you’re locking in a mistake. I find myself stepping back frequently, checking the diagonals with a level of scrutiny that borders on the obsessive. It’s a mental shift from the “doing” to the “verifying.” When you finally find that rhythm—where the pressure is even and the geometry is true—the chaos of the build finally settles into something resembling order.
The Ghost in the Joint
We talk about clamping as a way to hold things together, but in reality, it’s a negotiation with force. If you aren’t careful, you aren’t just securing a joint; you’re inadvertently rewriting the geometry of the entire piece. I’ve spent more time staring at skewed assemblies than I care to admit, learning that the most important part of a glue-up isn’t the pressure you apply, but the tension you manage to keep from turning a straight line into a lie.
Jonathan Marin
The Final Tightening
At the end of the day, preventing rack isn’t about having a garage full of expensive, high-end parallel clamps; it’s about the discipline of the setup. It’s recognizing that the moment you tighten that first screw, you are initiating a physical chain reaction that can either build a masterpiece or a pile of scrap. Whether you are using improvised cauls to spread the load or carefully sequencing your pressure to maintain squareness, the goal is the same: control the chaos before it controls you. I’ve learned that a successful glue-up is less about the force you apply and more about the intentionality of the distribution.
I often look at the pile of rejected prototypes in the corner of my studio—the ones with the twisted joints and the uneven seams—and I don’t see failures so much as I see lessons in tension. Every time a joint slips, it teaches me something about the stubbornness of the material and the limits of my own patience. Design, much like woodworking, is a series of corrections. Don’t fear the mistake, but rather, respect the physics that caused it. If you can master the subtle tension of the clamp, you stop fighting the wood and finally start working with it.
