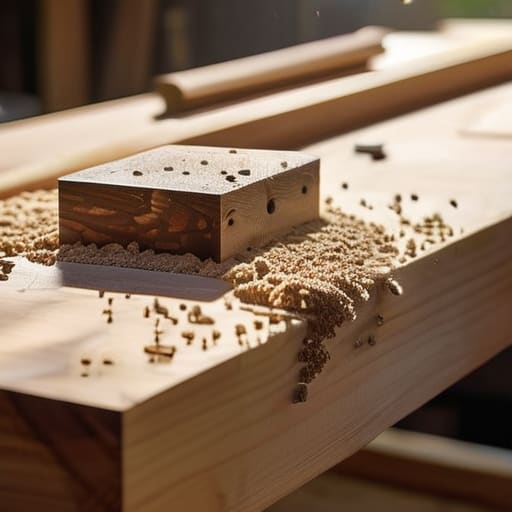
A Jig Used Four Times
I was staring at a pile of expensive walnut offcuts last Tuesday, wondering if I’d just spent forty dollars on firewood. I had a single, oddly shaped component that refused to sit flush against the fence, and my usual setup was doing nothing but creating more friction. It’s a common trap in the shop: we spend so much time building massive, multi-purpose systems that we forget the most elegant solution is often the most specific one. People always ask me about my workflow, but they rarely ask how I make a jig for one piece when the geometry refuses to cooperate. Most tutorials will tell you to build a universal guide, but that’s a lie; universality is often just a mask for inaccuracy.
In this guide, I’m going to skip the grand theories and show you exactly how I approach these singular, frustrating problems. I’ll walk you through my process for designing a dedicated guide that exists for only one task, focusing on the minimalist constraints that actually ensure a perfect fit. You won’t find any high-tech, over-engineered nonsense here—just the practical, sometimes messy logic of how I bridge the gap between a near-miss and a finished, repeatable result.
Guide Overview
Tools & Supplies
- Circular Saw (for cutting base material)
- Drill (for creating guide holes)
- Clamps (to secure the jig during use)
- Tape Measure (for precision alignment)
- Plywood or MDF scraps (1 sheet)
- Wood Screws (small box)
- Wood Glue (1 bottle)
- Sandpaper (assorted grits)
Step-by-Step Instructions
- 1. I start by laying the actual component out on the workbench, but I don’t reach for the saw yet. Instead, I grab a scrap piece of MDF—something sacrificial and cheap. I trace the outline of the piece, but I add a generous margin of about half an inch all the way around. You aren’t building a mold; you’re building a workspace for the tool to breathe.
- 2. Once I have my rough perimeter, I cut it out with a jigsaw. This is where most people go too thin, trying to save material, but I always err on the side of excessive stability. A jig that wobbles is just a fancy way of making a mistake. I want this base to feel heavy and intentional, not like a flimsy template.
- 3. Next comes the part that requires the most discipline: the registration points. I identify the one edge of the component that must be true—the datum. I clamp a straight edge or a dedicated stop block to my MDF base, ensuring it aligns perfectly with that edge. If this registration is off by even a hair, the entire jig becomes a beautiful piece of landfill.
- 4. I then drill a series of shallow, non-through holes into the MDF base. These aren’t for screws, but for cleats or dowels that will act as mechanical stops. I’ve learned the hard way that relying solely on clamps is a recipe for movement, and movement is the enemy of repeatable design.
- 5. Now, I build the “nest.” I use small strips of hardwood to create a physical cradle within the MDF perimeter that matches the specific geometry of my part. I don’t aim for a perfect friction fit; I want it to drop in with a satisfying sense of gravity, held in place by the cleats I drilled in the previous step.
- 6. Before I call it finished, I perform the “dry run.” I place the component into the jig and run my hand over the edges, checking for any interference. I’m looking for that specific moment where the tool’s path meets the jig’s boundary. If it feels tight or precarious, I shave a millimeter off a stop block right then and there.
- 7. Finally, I mark the jig itself with a permanent marker or a small scribe. I don’t just write “Jig for Part A”; I write the specific constraint it solves, like “Use with Router Bit #4 only.” It’s a small habit, but it keeps the logic of the build clear when I’m tired and halfway through a production run.
Understanding How I Make a Jig for One Piece
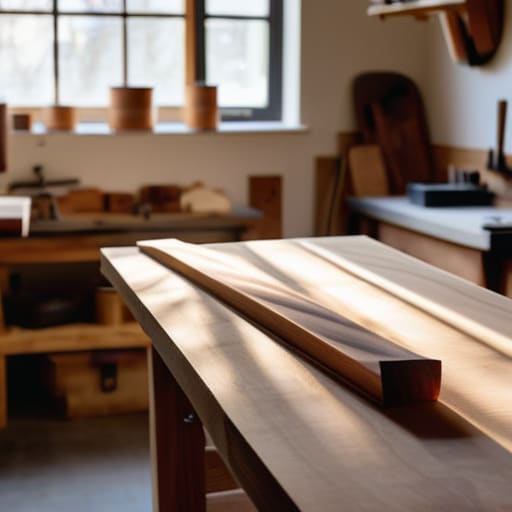
When I sit down to tackle a project that involves a singular, odd-shaped component, I try to avoid the trap of over-engineering. There is a specific kind of temptation in a workshop to build a permanent, heavy-duty fixture for something that will only ever be used once. I’ve learned the hard way that improvising workshop tools is often more efficient than spending three hours building a masterpiece that will eventually just collect sawdust on a shelf. My philosophy is to build just enough stability to ensure accuracy, but not so much that I lose the ability to pivot if the material behaves unexpectedly.
The real trick to custom woodworking jig design for these outliers isn’t about complexity; it’s about finding the path of least resistance to stability. I usually look for ways to use what’s already on my bench—scrap MDF, a few toggle clamps, or even a well-placed wedge—to create a temporary cradle. If I can achieve the necessary alignment without a dedicated tool, I’ve won. It’s about minimizing setup time while respecting the geometry of the piece, ensuring that the jig serves the part, rather than the part being forced to serve the jig.
Key Things to Know
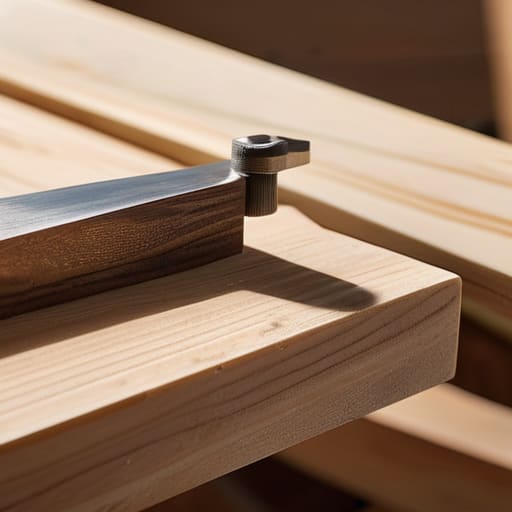
The thing about single-use shop aids is that they carry a certain psychological weight. There is a temptation to over-engineer them, to build something so robust and permanent that it feels like a crime to discard it after one afternoon. I’ve spent years in this habit, crafting these elaborate devices only to realize that true efficiency often lies in simplicity. When I am improvising workshop tools, I try to ask myself if I am building a solution or just building more clutter. If the jig doesn’t solve the specific geometry of the part, it’s just more sawdust in the making.
I also tend to obsess over the margin of error. In my early years, I thought precision meant making everything perfect on the first pass. Now, I understand that custom woodworking jig design is actually about managing the inevitable drift. You aren’t just making a guide; you are creating a way to catch your own mistakes before they become permanent. I’ve learned to leave a little bit of “breathing room” in my layouts—a tiny bit of tolerance that allows for the slight variations in wood grain or a slightly dull bit. It’s the difference between a tool that works and a tool that fights you.
Practical Tips and Steps
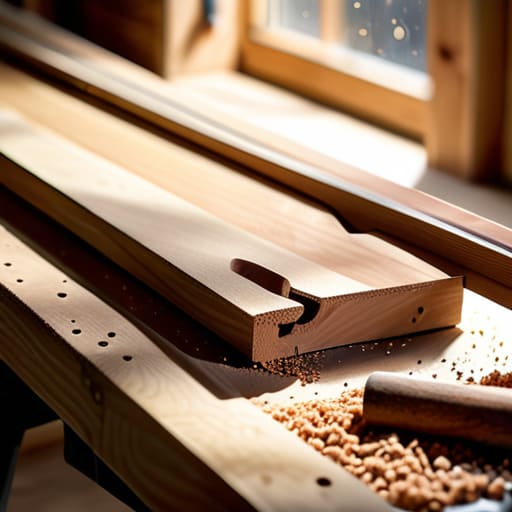
When I’m in the thick of it, I’ve learned that the most dangerous thing you can do is aim for perfection on the first pass. I often find myself improvising workshop tools out of scrap material just to test a concept before committing to a permanent setup. If you’re working on something highly specific, don’t feel pressured to build a masterpiece. A rough-cut piece of MDF that holds your workpiece steady for exactly ten minutes is often more valuable than a polished tool that takes three hours to calibrate.
The real trick to effective custom woodworking jig design is anticipating where the material wants to fight you. I’ve spent many afternoons staring at a pile of rejected prototypes because I assumed the wood would behave predictably. Instead, I’ve learned to build in “fail-safes”—little extra clearances or sacrificial layers that allow for error. If you focus too much on the theoretical math and not enough on the physical reality of the grain, you’ll end up fighting your own setup instead of shaping the piece.
## The Cost of Precision
A jig isn’t just a way to repeat a measurement; it’s a way to settle an argument with your own hands. I spent three hours fighting a design that was too complex, only to realize the most effective tool was the one that let me fail less often, rather than the one that tried to be clever.
Jonathan Marin
The Ghost of the Alternative
Building this jig wasn’t about finding the most elegant mathematical solution; it was about managing the friction between my intent and the reality of the material. We went through the measurements, the bracing, and the stabilization, but the real work was in those moments where I had to decide whether to trust the guide or trust my hands. If you take anything away from this, let it be that a jig is more than just a tool for repetition—it is a physical manifestation of a decision made to prevent a mistake before it happens. It’s about creating a boundary so that you can finally stop worrying about the mechanics of precision and start focusing on the actual craft.
I have a shelf in my studio filled with these little failures—jigs that were too flimsy, too complex, or just plain wrong. I keep them because they remind me that the most successful tool is rarely the first one you sketch. When you finish your own version of this jig, don’t be surprised if it feels slightly awkward or looks a bit utilitarian. That’s usually where the magic happens. The goal isn’t to achieve a sterile, factory-perfect result, but to find that sweet spot of control where you can finally let go. After all, the best work happens in the space between the plan and the pivot.
