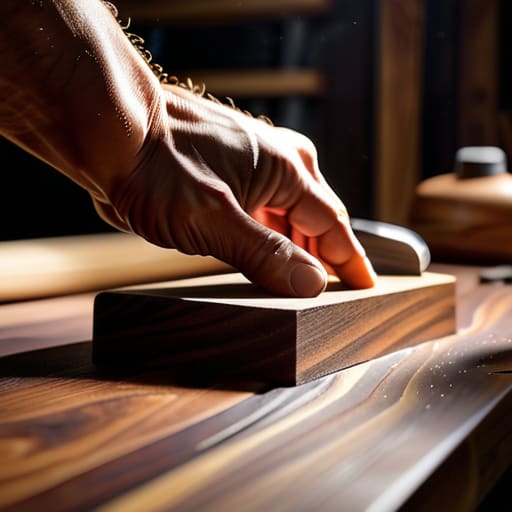
Sanding Without Rounding Everything
I can still smell the burnt cedar from that afternoon in 1998, a scent that signaled the exact moment I’d turned a three-month commission into a pile of expensive kindling. I was leaning a little too hard into a random orbital sander, convinced that more pressure equaled a better finish, until the vibration changed from a hum to a violent shudder. That’s the terrifying reality of the craft: you can spend weeks perfecting a joinery layout only to lose the entire piece in thirty seconds of impatience. Most people think learning how to sand without ruining a surface is about buying the most expensive pneumatic kit on the market, but they’re wrong. It’s actually about developing a specific, almost uncomfortable kind of restraint.
I’m not here to give you a sanitized, step-by-step manual that ignores the chaos of a real workshop. Instead, I want to talk about the tactile reality of grit, the way wood grain fights back, and why your intuition is often more valuable than your equipment. We’re going to look at the actual mechanics of the process—the mistakes I’ve made and the ones I’ve kept in my scrap bin—so you can find that fine line between refinement and destruction.
The Moment of Doubt How to Sand Without Ruining a Surface
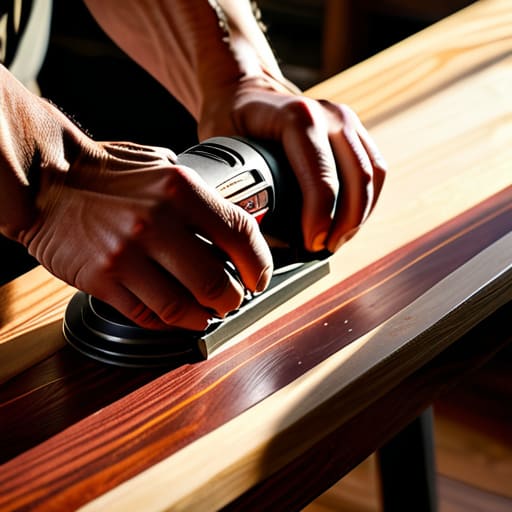
I remember a piece of cherry from three years ago—a small side table that I’d spent weeks perfecting. I was moving through my sandpaper grit sequence, feeling confident, when I let the weight of the machine lean just a fraction too hard into a knot. In an instant, the grain didn’t just feel different; it felt wounded. That’s the thing about sanding; it’s a process of controlled destruction. You are essentially grinding away the history of the wood to find the beauty underneath, but if you lose your rhythm, you lose the piece entirely.
To avoid that specific kind of heartbreak, I’ve learned to treat my orbital sander technique less like a tool and more like an extension of my own breathing. It’s about the pressure, or rather, the lack of it. Most people rush the transition between grits, hoping to reach the finish faster, but that’s exactly how you end up preventing swirl marks from becoming permanent scars. You have to respect the increments. If you skip a step in the progression, you aren’t saving time; you are simply deciding to spend twice as much time later trying to fix a mistake that should never have happened.
Respecting the Grain the Art of Wood Grain Preservation
I spent three weeks on a cherry sideboard last autumn, only to realize I’d been fighting the wood rather than working with it. There is a specific, quiet arrogance in thinking you can force a grain to behave. When you’re moving through a sandpaper grit sequence, it’s easy to get caught up in the mechanical rhythm of the machine and forget that you are interacting with a living history of growth rings and tension. If you rush the transition from a coarse grit to a fine one, you aren’t just cleaning the surface; you’re burying mistakes that will only reappear once the oil hits the wood.
The real trick to wood grain preservation isn’t found in a manual, but in how you manage the pressure of your hand. I’ve seen too many junior designers rely entirely on an orbital sander technique without understanding the physics of the pad. If you don’t respect the direction of the fibers, you end up with those tell-tale, ghostly scratches that no amount of polishing can truly hide. It’s about a disciplined, slow progression—listening to the way the grit bites into the timber rather than trying to overpower it.
The Crucial Sandpaper Grit Sequence That Saves Your Project
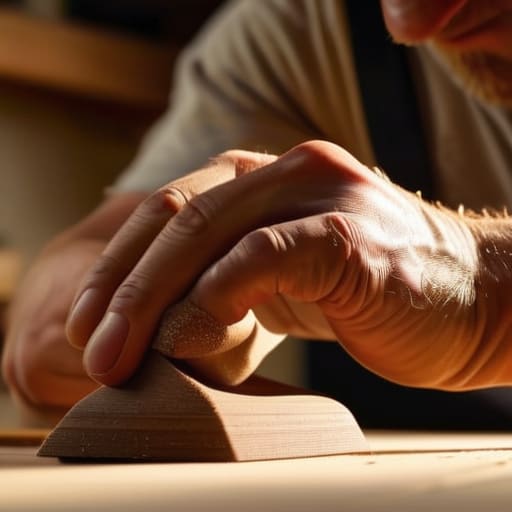
I have a drawer in my studio filled with scraps of cherry and oak that look like they’ve been through a war. Most of them aren’t failures of design, but failures of patience—specifically, the kind of impatience that leads you to skip a step in your sandpaper grit sequence. I used to think that if the wood felt smooth to the touch, I was done. I was wrong. You can’t cheat the physics of abrasion; if you jump from an 80-grit to a 220-grit because you’re eager to see the oil finish, you aren’t smoothing the wood, you’re just burying the deep, jagged scratches under a layer of lacquer.
The secret to a professional surface finish quality isn’t found in the expensive machinery, but in the discipline of the transition. I’ve learned the hard way that preventing swirl marks requires treating every grit as a bridge to the next. You have to respect the math of the progression. If you skip the 120 or the 150, those microscopic valleys left by the heavy grit will eventually catch the light, turning what should have been a deep, lustrous glow into a muddy, distracted mess.
Mastering the Orbital Sander Technique to Avoid Regret
There is a specific kind of anxiety that sets in when you first press a random orbital sander against a piece of expensive cherry. It’s a heavy, vibrating beast that feels like it wants to tear through the wood rather than refine it. I’ve spent many afternoons staring at a piece of timber, wondering if I should just stick to hand-sanding, but the machine is necessary if you want consistency. The trick isn’t in the power of the motor, but in the weight of your hand. You have to treat the tool like a feather, letting the rotation do the work rather than leaning into it.
If you press too hard, you’re not just sanding; you’re gouging. I once lost a beautiful slab of walnut because I tried to rush the transition between grits, and I ended up with deep, permanent pits. Most people struggle with preventing swirl marks, but those marks are usually just the ghost of a previous, coarser grit that you didn’t clear away properly. To maintain true surface finish quality, you have to move with a rhythmic, sweeping motion, always ensuring the pad stays flat. If you feel the machine “digging,” you’ve already lost the battle.
A Sanding Progression Guide for the Perfectionists Soul
I’ve spent many afternoons staring at a piece of cherry, knowing that the difference between a museum-grade finish and a pile of expensive kindling lies entirely in the math of the grits. Most people think a sanding progression guide is just a list of numbers, but for me, it’s more of a disciplined ritual. You can’t just jump from an aggressive 80 grit straight to a fine 220 because you’re in a hurry to see the wood’s true color. If you skip those middle steps, you aren’t just being impatient; you are effectively burying deep scratches that no amount of oil or lacquer will ever truly hide.
The real danger, however, isn’t the coarse grit; it’s the transition. I’ve lost more than one prototype to the subtle, swirling ghosts left behind by a rushed orbital sander technique. To maintain high surface finish quality, you have to treat each grit as a way to erase the mistakes of the one before it. It’s a slow, almost meditative process of erasing the previous layer’s trauma until the wood feels less like a material and more like a continuous, unbroken thought.
The Ghost in the Finish Preventing Swirl Marks Forever
There is a specific kind of heartbreak that only happens under a coat of oil or lacquer. You spend weeks on the joinery, obsessing over the geometry, only to see those tiny, iridescent halos—the dreaded swirl marks—dancing across the surface when the light hits it just right. It’s a ghost that haunts the wood, a visual reminder of a moment where you moved too fast or skipped a step in your sandpaper grit sequence. Most people think these marks are just a surface finish quality issue, but to me, they are a failure of patience.
The secret to preventing swirl marks isn’t about finding a magic tool; it’s about the discipline of the transition. I’ve spent many late nights in the studio staring at a rejected walnut tabletop because I thought I could jump from 180 to 320 grit without properly clearing the previous scratches. You have to treat each grit as a way to erase the history of the one before it. If you don’t fully remove the microscopic valleys left by the coarser paper, you aren’t sanding; you’re just polishing a mistake.
The Final Decision Securing Unrivaled Surface Finish Quality
There is a specific, quiet anxiety that settles in during the final stages of a build. You’ve followed the sandpaper grit sequence to the letter, and you’ve been obsessive about preventing swirl marks, but the surface still feels… unfinished. It’s that threshold where the physical labor of sanding ends and the psychological weight of the final finish begins. I often find myself staring at a piece of cherry for twenty minutes, wondering if I’ve done enough or if I’ve pushed the wood too far.
The truth is, achieving true surface finish quality isn’t just about the grit; it’s about the transition from friction to smoothness. It is the moment you decide to stop sanding and start applying the oil or lacquer. I once ruined a months-long commission by trying to “fix” a microscopic imperfection with a higher grit, only to realize I had actually clouded the cellular structure of the wood. You have to learn to trust the process and embrace the slight imperfections that prove a human hand was involved. Real quality isn’t the absence of struggle; it’s the intentionality behind the final layer.
The Weight of the Sandpaper
We treat sanding like a chore to be finished, but it’s actually a series of negotiations with the material. You aren’t just removing wood; you’re deciding how much of the soul of the piece you’re willing to strip away to reach the surface you imagined. Most people ruin a finish because they stop listening to the resistance of the grain and start following the rhythm of the machine.
Jonathan Marin
The Weight of the Final Pass
At the end of the day, avoiding a ruined surface isn’t about following a rigid checklist; it’s about developing a sense of tactile intuition. We’ve talked about the grit sequences, the careful dance of the orbital sander, and the constant battle against those dreaded swirl marks that haunt a finish. But more than that, it’s about the discipline of the pause—the moment you stop the machine to feel the wood with your bare hands rather than relying solely on your eyes. If you respect the grain and honor the progression, you aren’t just smoothing out imperfections; you are protecting the integrity of the material itself.
I often look at the pile of rejected prototypes in the corner of my studio, the ones with the gouged corners or the scorched veneer. They serve as a quiet reminder that every mistake is a lesson in constraint. Sanding is a deceptive process; it feels like you are merely removing material, but in reality, you are making a series of high-stakes decisions. Don’t aim for a finish that looks machine-perfect and soulless. Instead, strive for that hard-won clarity that only comes when you’ve navigated the tension between perfection and the inevitable slip of the hand. That is where the real craft lives.
