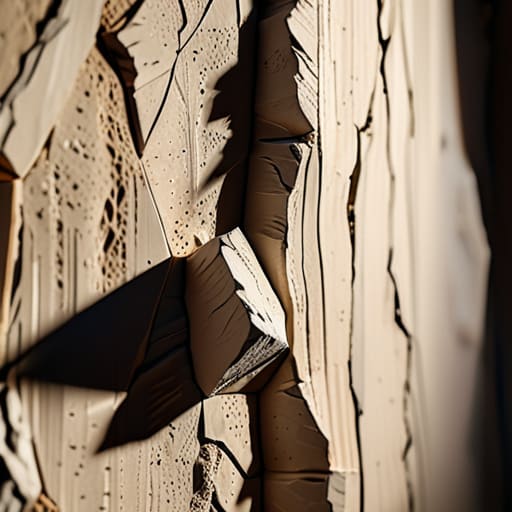
Raking Light Across a Surface
I was staring at a walnut tabletop last Tuesday, the kind of piece that should have been the centerpiece of a commission, but instead, it looked like a crime scene. I had rushed the sanding, convinced that the finish would somehow mask my impatience, only to realize that the oil was highlighting every single microscopic scratch I’d left behind. This is the fundamental lie of the industry: that the finish does the heavy lifting. In reality, the finish is just a witness to your mistakes. When people ask me how I prepare surfaces, they expect a list of grits and chemicals, but they don’t realize it’s actually about learning to sit with the material until it stops fighting you.
I’m not here to give you a polished, commercial checklist that ignores the messiness of actual production. Instead, I want to walk you through the grit and the near-misses of my own process—the specific, unglamorous steps I take to ensure the substrate is ready for whatever comes next. You’ll get a look at the tools I actually use, the mistakes I’ve archived in my scrap bin, and a way of working that prioritizes intentionality over speed.
Guide Overview
Tools & Supplies
- Sandpaper (various grits for smoothing)
- Tack cloth (for removing fine dust)
- Microfiber cloth (for final cleaning)
- Caulk gun (for filling gaps)
- Spackle or wood filler (1 small tub)
- Degreaser or mild detergent (1 bottle)
- Painter's tape (1 roll)
Step-by-Step Instructions
- 1. I start by stripping the history away. Whether it’s a piece of reclaimed walnut or a slab of oak that’s been sitting in the shop too long, the first step is always the most aggressive: a heavy, coarse sanding to remove the surface-level lies. I use an 80-grit disc, and I don’t rush it. You have to be willing to take off a millimeter of good wood just to find the part that is actually worth saving.
- 2. Once the heavy lifting is done, I move into the rhythm of the grit progression. This is where most people try to cheat by skipping a grade, but I’ve learned that if you jump from 80 to 150, you’re just polishing scratches that will show up like neon signs once the oil hits. I work through the 120s and 150s with a deliberate, almost meditative patience, ensuring the transition is completely seamless before I even think about moving up.
- 3. Then comes the part I used to find tedious, but now find essential: the water pop. I take a fine mist and lightly dampen the grain, which forces those stubborn fibers to stand up. It’s a moment of temporary discomfort for the wood, but it’s the only way to see the “fuzz” that a dry sand won’t catch. If you don’t do this, you’ll spend the next three hours wondering why the finish feels like sandpaper.
- 4. After the wood has dried from the misting, I go back in with a very high grit—usually 220 or 320—to knock those raised fibers down. This is a delicate negotiation between the machine and the hand. You aren’t trying to remove material anymore; you are simply smoothing the path for the finish to settle into the pores without catching on the microscopic peaks.
- 5. I always finish the physical sanding by hand, using a sanding block rather than just my fingers. Using your fingertips is a trap; the pressure of your skin is uneven and creates unintentional valleys in the wood. A hard block keeps the plane of the surface true, ensuring that the light will eventually hit the piece in a single, unbroken sheet.
- 6. The final, and perhaps most overlooked, step is the vacuuming and tacking. I use a shop vac with a soft brush attachment to pull the dust out of the grain, followed by a lint-free cloth dampened with mineral spirits. It’s a cleaning ritual that feels almost performative, but it’s the only way to ensure that the “clean” surface I’ve worked so hard for isn’t ruined by a single grain of dust during the first coat.
Understanding How I Prepare Surfaces
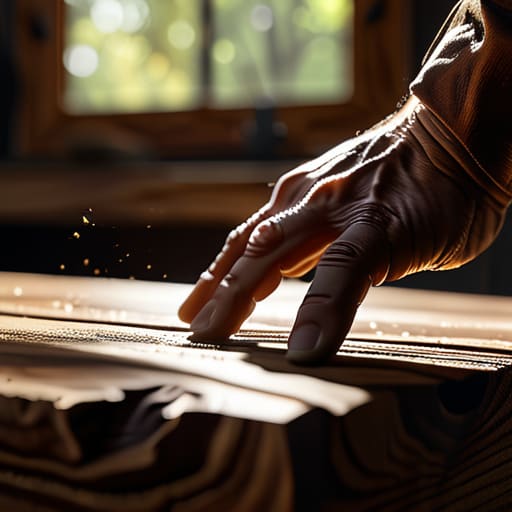
I’ve spent a lot of my career staring at the underside of things—the parts people don’t see, but the parts that dictate whether a piece holds together or falls apart. For me, the process starts with a rigorous surface texture assessment. You can’t just dive in with a sander and hope for the best; you have to read the material first. I find myself running my hands over a piece of walnut or a sheet of steel almost like a blind person would, feeling for the microscopic inconsistencies that a visual check would miss. It’s about understanding the history of the substrate before I try to impose my own will upon it.
There is a certain temptation to rush through the cleaning and degreasing surfaces phase, especially when a deadline is looming. I’ve made that mistake. I once rushed a metal surface treatment on a custom chair frame, only to have the lacquer bubble three days later because of a microscopic film of oil. Now, I treat that stage with as much reverence as the joinery itself. It isn’t just about making something look clean; it’s about creating a neutral ground where the final finish can actually behave the way it was intended to.
Key Things to Know

I’ve spent enough years in the studio to know that a surface is never just a surface; it is a history of every decision made before you arrived. When I’m performing a surface texture assessment, I’m not just looking for flatness. I’m looking for the ghosts of previous finishes. Most people rush straight to the sandpaper, but I’ve learned that the real work happens in the quiet moments of cleaning and degreasing surfaces. If you leave even a microscopic film of workshop oil or old wax behind, your final coat will eventually betray you, bubbling or peeling in a way that feels deeply personal.
There is also the temptation to over-tool. I have a shelf of rejected prototypes where the grain was sanded so aggressively it lost its soul. When you are preparing wood for staining, remember that the goal isn’t perfection—it’s intention. You want to remove the grit and the debris without erasing the character of the material itself. Sometimes, the most important part of the process is knowing when to stop scrubbing and let the material speak for itself.
Practical Tips and Steps
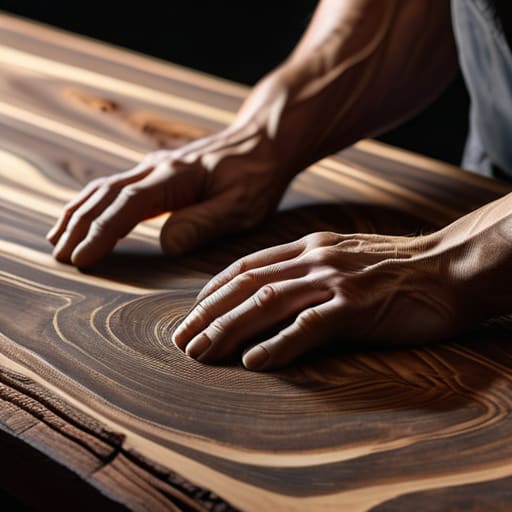
I’ve spent a good portion of my life staring at the underside of workbenches, surrounded by the ghosts of failed finishes. One thing I’ve learned is that you cannot rush the surface texture assessment. I once spent three days designing a walnut chair only to realize my sanding sequence was fundamentally flawed because I hadn’t accounted for the grain’s directionality. If you skip the tactile inspection, you aren’t designing; you’re just hoping.
When it comes to the actual kit, I’ve found that specialized surface preparation tools are often less important than the patience to use basic ones correctly. For instance, when I’m preparing wood for staining, the temptation is to jump straight to the fine grits. But I’ve learned that the real work happens in the transition between the medium and the fine. It’s about the rhythm of the movement, not just the grit number. If you find yourself fighting the material, stop. It usually means you haven’t cleared the path properly, and no amount of high-end polish will fix a foundation that was built on a compromise.
The Ghost of the Wrong Grain
I spent three hours yesterday fighting a piece of walnut because I thought I could sand out a shallow gouge, only to realize that the mistake was actually the only honest thing about the wood. We talk about preparation as a way to reach perfection, but for me, it’s really about deciding which flaws are worth keeping and which ones are just noise.
Jonathan Marin
The Ghost in the Grain
At the end of the day, surface preparation isn’t about achieving some sterile, factory-perfect flatness; it is about the quiet negotiation between the tool and the material. We’ve talked about the necessity of progressive grit, the patience required for proper sanding, and why I refuse to rush the cleaning phase. If you skip the dust removal or try to force a finish over a poorly leveled substrate, the wood will eventually tell on you. It is a matter of respecting the physics of the medium. I’ve spent too many hours in my studio staring at a piece of walnut that looked flawless under the shop lights, only to have the finish reveal every single mistake I thought I had hidden under a layer of grit.
Ultimately, I hope you view these steps not as a chore to be endured, but as the foundation of your own creative intuition. There is a specific kind of peace that comes from knowing the surface beneath your finish is honest. When I look at my shelf of rejected prototypes, I don’t just see failed joinery or bad proportions; I see the moments where I tried to take a shortcut and failed. Don’t fear the friction of the process. The goal isn’t just a smooth object, but the confidence that comes from knowing you didn’t leave anything to chance.
