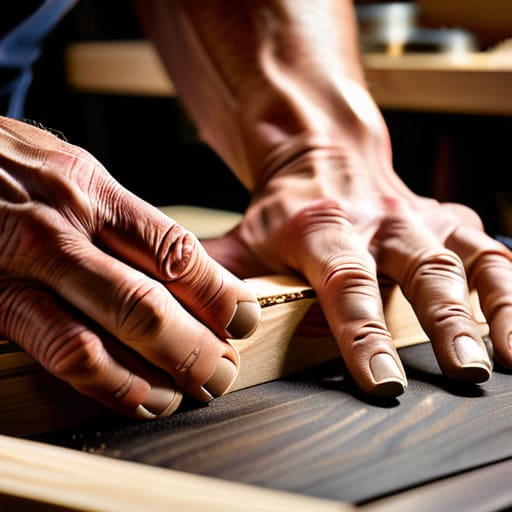
A Stringing Line Done Cleanly
I was staring at a slab of walnut last Tuesday, my chisel hovering just millimeters above a groove I’d spent three hours perfecting, when I realized I had almost made a catastrophic mistake. Most people think the secret to a clean inlay is some high-tech jig or a perfectly calibrated CNC router, but they’re wrong. The real difficulty in learning how to inlay a line isn’t the cutting; it’s the psychological tension of committing to a path that cannot be unmade. I have a shelf in my studio dedicated to these moments—failed attempts where I pushed too hard or misjudged the grain—and honestly, those rejects taught me more than any flawless piece ever could.
In this guide, I’m going to skip the romanticized fluff about “finding your flow” and get straight into the grit of the process. I’ll walk you through the actual mechanics of preparing your channels, selecting the right material, and most importantly, how to handle those nerve-wracking moments where the margin for error disappears. You aren’t going to find a magic shortcut here, but you will learn how to execute a precise, intentional inlay that actually looks like it belongs to the wood.
Guide Overview
Tools & Supplies
- Router or Dremel tool for cutting the channel
- Chisel for cleaning out tight corners
- Measuring tape and marking knife for precision layout
- Inlay material (wood strip, brass wire, or epoxy) 1 unit
- Wood glue or CA glue for securing the inlay 1 bottle
- Sandpaper (various grits) 1 pack
Step-by-Step Instructions
- 1. I start by marking the path. I don’t use a fancy laser guide or a digital readout; I use a sharp marking knife and a straightedge. There is a specific tension in that first cut, a realization that once the steel bites into the grain, the decision is made. You aren’t just drawing a line; you are committing to a boundary.
- 2. Once the path is laid out, I use a router or a fine chisel to clear the channel. I tend to go slightly deeper than the actual thickness of my inlay material, just to give myself a little breathing room. It’s a small bit of calculated excess that prevents the inlay from sitting too high and ruining the surface tension of the wood.
- 3. Then comes the cleaning. I take a scraper to the bottom of the groove to ensure it is perfectly flat. If there is even a microscopic mound of sawdust or a stray fiber left in that trench, the inlay will rock. A rocking inlay is a failed design, and I have a shelf full of those failures to prove it.
- 4. I prep the inlay strip—usually a contrasting hardwood or perhaps a piece of brass—by cutting it to length with a very fine-toothed saw. I don’t aim for perfection here; I aim for structural integrity. The strip needs to be just a hair wider than the channel, because we are going to rely on the pressure of the fit to do the heavy lifting.
- 5. This is the moment of truth: the seating. I apply a very thin, even layer of glue to the channel, then press the inlay into place. I often find myself holding it there, staring at the grain, wondering if I should have gone with a darker wood. It is a brief, heavy hesitation before the clamps take over.
- 6. While the glue sets, I wait. I don’t rush the drying process. I let the chemistry happen on its own terms. If you try to force the timeline, you lose the precision. I treat the drying period as a period of enforced patience, much like waiting for ink to dry on a letterpress plate.
- 7. Finally, I level the surface. I use a block plane or a scraper to bring the inlay flush with the surrounding timber. I move slowly, feeling for the transition. When you run your hand across the seam and can’t tell where the host wood ends and the inlay begins, that is when the constraint of the process finally yields something beautiful.
Understanding How to Inlay a Line
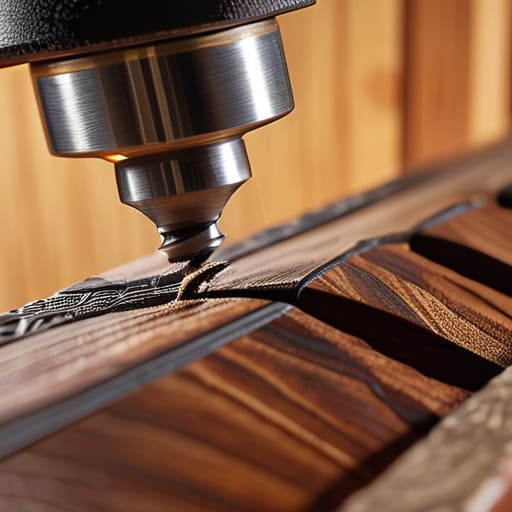
When I first started working with stringing, I thought it was just about following a blueprint. I treated the wood like a math problem rather than a living material. But you quickly learn that precision woodworking joinery isn’t just about the measurement; it’s about the tension between the grain and the tool. If you’re routing decorative lines in wood, you have to respect the direction of the fibers. If you force a router against the grain, the wood won’t just resist you—it will splinter, and that’s a mistake you can’t just sand away.
I have a drawer full of scrap pieces where I tried to rush the process. Most of them failed because I treated the glue like an afterthought. When you’re applying glue to inlays, the goal is a controlled, thin film, not a flood. Too much moisture and you’ll swell the grain; too little and that line will eventually pop out like a loose tooth. I’ve learned to slow down the application and let the material settle. It’s the difference between a line that looks like it was grown into the piece and one that looks like it was merely stuck onto it.
Key Things to Know
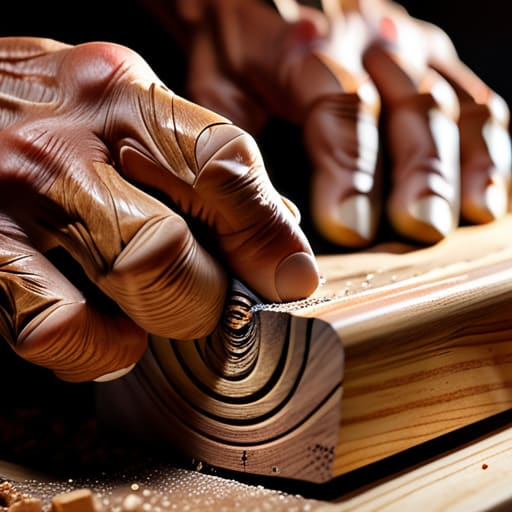
One thing I’ve learned from two decades of watching grain behave unpredictably is that you cannot treat an inlay like a math problem. It’s more of a negotiation. When I’m routing decorative lines in wood, I’ve learned to respect the tool’s tendency to wander just a fraction of a millimeter. If you try to fight that microscopic drift with sheer force, you’ll end up with a jagged mess rather than a clean channel. I usually keep a scrap piece of the same species nearby, not just for testing the bit, but to feel the resistance before I commit to the actual workpiece.
The real tension, however, happens during the assembly. Applying glue to inlays is where most people lose their nerve; if you use too much, you’ll clog the grain and ruin the visual continuity, but too little, and the line will eventually pop out like a splinter. I tend to favor a thin, controlled spread with a dedicated applicator. It’s about that delicate equilibrium between a permanent bond and a clean surface. You have to accept that the material has its own agenda.
Practical Tips and Steps
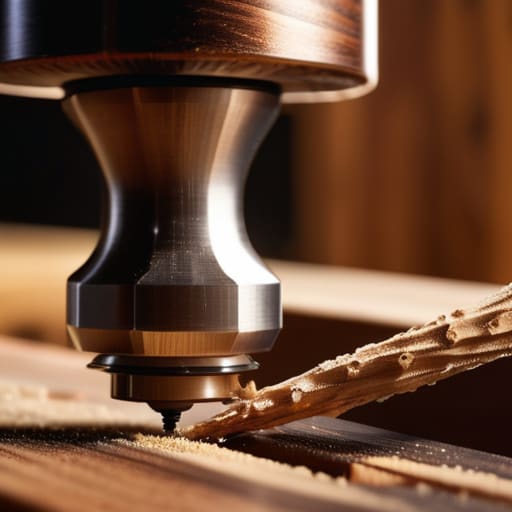
I’ve spent a lot of time looking at my “graveyard” of rejected prototypes, and most of them failed because I treated the process like a math problem rather than a physical negotiation with the grain. When you’re routing decorative lines in wood, the temptation is to seek a mathematical perfection that doesn’t actually exist in organic material. I’ve learned that you have to listen to the resistance of the bit. If the wood starts to chatter or the line feels even slightly hesitant, stop. You aren’t just cutting a path; you are creating a home for a new material, and that home needs to be clean.
When it comes to the actual marriage of materials, the real headache is usually applying glue to inlays without creating a gummy mess that ruins your finish later. I prefer using a thin, even spread with a dedicated applicator rather than just squeezing a bottle into the groove. It’s a small, tedious step, but precision is found in the preparation. If you rush the glue-up, you’ll spend three hours fighting the surface during the final stages. It’s better to spend that time being careful now than fighting a clogged grain later.
The Weight of the Groove
An inlay isn’t just a decorative addition; it’s a permanent record of a moment where you chose precision over convenience. I’ve spent half my life staring at lines that are too thick or too shallow, and I’ve learned that the beauty isn’t in the perfection of the strip itself, but in the tension of that tiny, narrow channel that holds it in place.
Jonathan Marin
The Ghost of the Alternative Path
At the end of the day, inlaying a line is less about the precision of the router or the sharpness of the chisel and more about the discipline of the setup. We’ve talked about the necessity of a clean groove, the patience required for the adhesive to set, and the constant, nagging need to double-check your grain direction before the first cut is made. It is easy to get lost in the technicalities of depth and fit, but if you miss the fundamental preparation, the most expensive veneer in the world won’t save a botched joint. You have to respect the material constraints from the very first measurement, or you’ll spend the rest of the afternoon trying to fix a mistake that should have never happened.
I often look at my shelf of rejected prototypes—those pieces where the inlay was a fraction too wide or the wood split under the pressure—and I realize they taught me more than my successes ever did. There is a specific kind of tension in the moment just before you seat that strip of contrasting wood into the channel; it’s the moment where the design either settles into its purpose or fails entirely. Don’t aim for a sterile, factory-perfect finish that lacks soul. Instead, aim for the kind of work where you can feel the weight of the decisions you made. The goal isn’t just to fill a gap, but to make a choice that stays permanent.
