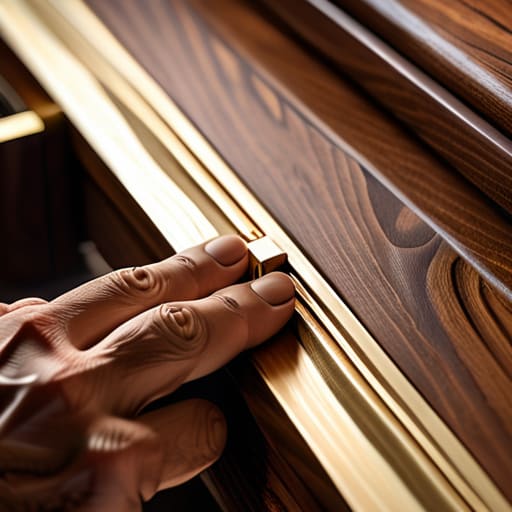
Fitting a Cabinet Lock
I was standing in my workshop three years ago, staring at a hand-carved walnut door that I had spent six weeks perfecting, only to realize I had completely botched the mortise for the latch. The wood was splintering, the alignment was off by a fraction of a millimeter, and I felt that familiar, sinking heat in my chest. Most people think that learning how to fit a lock is about following a blueprint or owning the right drill bit, but they’re wrong. It’s actually about managing the friction between your expectations and the physical reality of the material. If you don’t respect the grain or the slight imperfections in the hardware, the machine will always win.
In this guide, I’m going to skip the polished, theoretical nonsense you find in hardware store manuals and get into the actual grit of the work. We’ll walk through the precise measurements, the specific tools that actually matter, and the small, corrective adjustments that separate a professional installation from a clumsy mistake. I want to show you how to approach this task with the patience of a craftsman, ensuring that when that bolt finally slides home, it feels entirely inevitable.
Guide Overview
Tools & Supplies
- Screwdriver (Phillips head for removing screws)
- Measuring tape (to verify latch and strike plate alignment)
- Lockset kit (includes handles, latch, and deadbolt)
- Replacement screws (usually included in kit)
Step-by-Step Instructions
- 1. I spent a good twenty minutes just staring at the door, measuring the distance between the edge and the latch. It’s tempting to just eyeball it, but with a lock, if you’re off by even a fraction of a millimeter, the whole thing feels unearned. Use a sharp pencil—not a thick carpenter’s lead—to mark your center point. I’ve learned the hard way that a thick line is a lie that leads to a crooked strike plate.
- 2. Once you have your marks, it’s time to create the mortise. I usually reach for my chisel, though I know most people would grab a power tool to save time. There is a specific, rhythmic resistance when you’re carving out the recess for the latch; you want the wood to feel cleanly excavated, not chewed up. If you leave ragged edges in the cavity, the latch will never sit flush, and that’s a mistake you can’t just sand away later.
- 3. Now comes the part where most people rush: drilling the hole for the spindle. I always use a drill bit that is slightly larger than the spindle itself, just enough to allow for a microscopic amount of play. If you force a tight-fitting spindle into a tight hole, you’re essentially building tension into the mechanism that will eventually cause the key to stick. It’s better to have a tiny bit of breathing room than a mechanism that fights you.
- 4. Before you screw anything into the face of the door, hold the lock assembly up to the hole and test the movement. I have a drawer full of rejected prototypes where the internal tumblers were fine, but the housing was just a hair too thick for the cutout. You want to ensure that the mechanism moves with a weighty, certain click. If it feels springy or hesitant, stop immediately and adjust your carving.
- 5. Align the strike plate on the door frame. This is where the “decision that nearly went the other way” usually happens; you can either center the plate perfectly or offset it slightly to account for the door’s natural swing. I prefer to align it with the latch’s resting position rather than the geometric center of the plate. It’s a subtle distinction, but it’s the difference between a door that latches with a satisfying thud and one that requires a shoulder nudge to stay shut.
- 6. Drive your screws in, but do it with intention. I don’t believe in cranking them down until the heads are buried. Instead, tighten them until they are just flush with the surface. If you over-tighten, you risk stripping the wood or warping the metal plate, which creates a tiny, annoying gap that will catch the light every time you walk past.
- 7. The final test isn’t just about whether it locks, but how it sounds. I close the door and listen for that specific, mechanical marriage of metal on metal. A well-fitted lock shouldn’t sound like a struggle; it should sound like an inevitability. If it does, you’ve done the work.
Understanding How to Fit a Lock
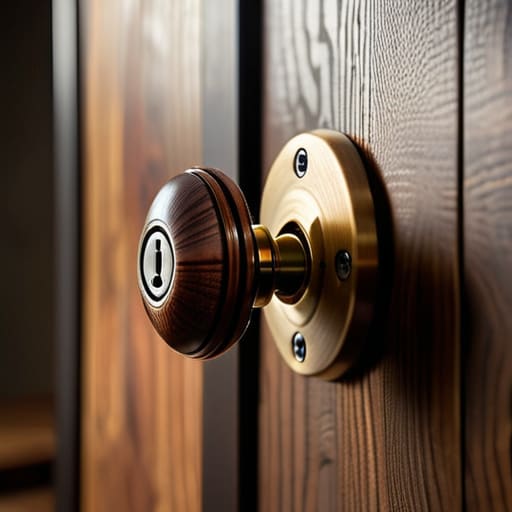
I’ve spent a fair amount of my life looking at the way metal meets wood, and if there is one thing I’ve learned, it’s that hardware is never just an accessory; it’s the mechanical soul of the door. When you are navigating the various door lock installation steps, it is easy to get caught up in the sheer physics of it—the torque, the tension, the measurements. But there is a subtle, almost tactile dimension to it that most manuals ignore. You aren’t just attaching a component; you are negotiating with the grain of the wood and the tolerances of the metal.
I remember a particular project where I spent three hours trying to perfect a flush mount, only to realize that a slightly deeper recess actually gave the mechanism a more decisive, rhythmic click when it engaged. This is why I always advocate for a slow approach to drilling door for lockset preparations. If you rush the bore, you lose the integrity of the material. Precision isn’t about following a line on a blueprint; it’s about listening to how the hardware settles into its new home.
Key Things to Know
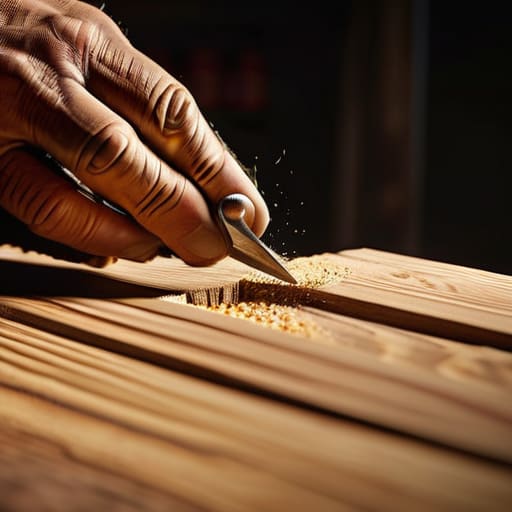
There is a certain tension in the wood when you begin drilling door for lockset components; it’s a moment where the material feels both incredibly stubborn and strangely fragile. I’ve spent years looking at how hardware meets timber, and I’ve learned that the success of the job isn’t just about following the manual, but about respecting the grain. If you force a bit through a dense section of oak without letting the tool do the work, you’ll end up with a splintered mess that no amount of sanding can truly redeem.
When you move into the actual installing door hardware phase, keep a close eye on your tolerances. I once spent three days on a custom sideboard because I ignored a fraction of a millimeter in the latch seating. My advice? Don’t rush the door latch alignment tips you find in the fine print. If the strike plate isn’t perfectly flush, the mechanism will eventually fight itself, leading to that annoying, sluggish click that tells you something is fundamentally wrong. Precision isn’t about perfection; it’s about preventing future friction.
Practical Tips and Steps
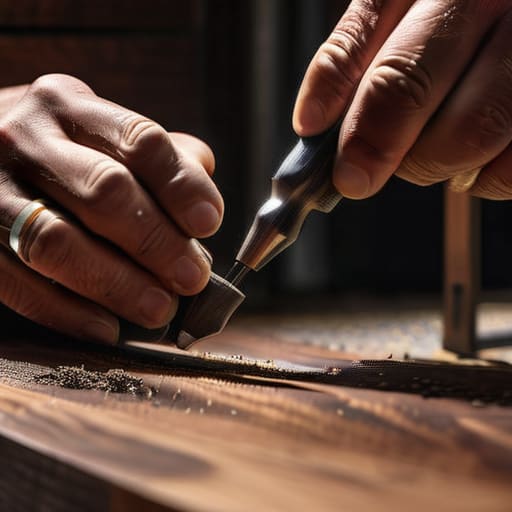
I’ve spent enough time in the shop to know that the most frustrating errors rarely come from a lack of skill, but from a lack of patience. When you’re in the middle of drilling door for lockset preparation, there is a massive temptation to rush the pilot hole. I once ruined a beautiful piece of walnut because I applied too much pressure too quickly, causing the bit to wander. If you want a clean result, treat the wood with respect; slow down, let the tool do the work, and always double-check your measurements before the first bit of sawdust hits the floor.
Another thing that trips people up during the actual door lock installation steps is the subtle physics of the strike plate. It’s rarely about the lock itself and almost always about the alignment. I’ve learned that even a millimeter of deviation can make a high-end mechanism feel clunky or cheap. My best advice is to pay obsessive attention to door latch alignment tips—specifically, ensure the latch meets the strike plate with a clean, centered click rather than a scrape. If it feels resistant, don’t force it; adjust the hardware until the movement feels inevitable.
The Margin of Error
I spent three hours debating whether to align the strike plate perfectly with the center of the jamb, only to realize that a millimeter of misalignment actually compensates for the way the door settles in the evening. A lock isn’t just about security; it’s about negotiating with the inevitable drift of the wood.
Jonathan Marin
The Final Turn
Looking back at the process, it’s easy to view fitting a lock as a mere sequence of measurements and drill bits. But as we’ve walked through, it’s actually a tightrope walk between mechanical precision and the physical reality of the material you’re working with. Whether you were obsessing over the depth of the mortise or double-checking the alignment of the strike plate, the goal was always the same: ensuring the hardware doesn’t just sit in the wood, but becomes part of it. If you’ve managed to avoid those split grains and the frustration of a latch that won’t quite catch, you’ve done more than just install a component; you’ve secured the integrity of the entire piece.
In my own studio, I have a drawer full of failed joinery and misaligned hinges, each one a quiet lesson in what happens when we rush the setup. I’ve learned that the most satisfying click of a bolt isn’t just about the metal being right, but about the intentionality of the fit. Don’t be discouraged if the first attempt feels clumsy or if the measurements seem to fight you. Design, even in the smallest hardware, is often a series of corrections. Once that key finally turns with a smooth, heavy resistance, you’ll realize that the struggle was exactly what made the result feel truly permanent.
