A Sprung Joint and Why
I was standing over a piece of walnut last Tuesday, staring at a bevel that looked more like a topographical map of the Andes than a clean line, wondering why I even bothered. Most tutorials will tell you that mastering how to joint an edge by hand is a matter of following a rigid sequence of steps or buying a more expensive plane, but that’s a lie. The truth is much messier: it’s about learning to listen to the wood and knowing exactly when to stop pushing. I have a drawer full of rejected prototypes—scrap wood with botched angles—that taught me more about grain direction than any textbook ever could.
In this guide, I’m not going to sell you on the romanticism of the craft or pretend that it’s effortless. Instead, I want to show you the actual, unvarnished mechanics of the process. We’ll walk through the setup, the rhythm of the stroke, and how to troubleshoot those inevitable moments when the blade starts to wander. My goal is to give you the practical constraints you need to move from frustration to a clean, repeatable edge, focusing on the small, decisive movements that actually make the difference between a piece of lumber and a piece of furniture.
Guide Overview
Tools & Supplies
- Block plane (for smoothing and squaring)
- Marking gauge (for setting depth)
- Chisel (for cleaning corners)
- Sandpaper (various grits for finishing)
- Wood stock (1 piece)
- Marking pencil (1 piece)
Step-by-Step Instructions
- 1. I usually start by taking a marking gauge and a very sharp pencil to the edge. You can’t trust your eyes when you’re working with grain; you have to trust the tool. I make a line that is dead accurate, even if it feels a bit obsessive. If that line is off by even a hair, the entire joint will feel like a lie once you try to glue it up.
- 2. Once the line is set, I grab my block plane. This is where most people rush, but I’ve learned that speed is the enemy of a clean edge. I set the blade so shallow it’s almost unnoticeable, taking off shavings that are more like translucent skin than wood. You aren’t trying to remove bulk here; you’re trying to find the truth of the line.
- 3. I find myself constantly checking the flatness of the face with a straightedge. It’s easy to get caught up in the edge itself and forget that the surface needs to be just as honest. I tend to work in long, sweeping strokes, moving the plane from one end of the board to the other to prevent any accidental bowing that might happen if I stay in one spot for too long.
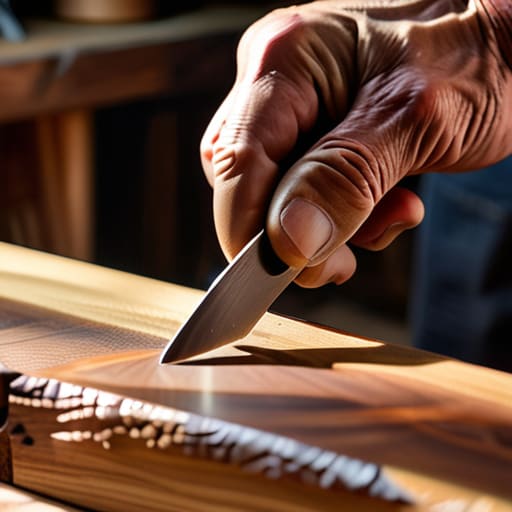
- 4. Then comes the part that used to make me nervous: the corner. I use a chisel to very carefully nick the very tip of the edge, creating a tiny “stop” for the plane to rest against. I used to think this was a way to cheat, but I realized it’s actually about controlling the momentum of the tool so you don’t overshoot the mark.
- 5. After the initial paring, I switch to a finer cutting angle. I’m looking for that specific moment where the wood stops resisting and starts to flow. It’s a strange, tactile feedback that you just can’t get from a machine. If the grain starts to tear, I stop immediately, reset, and rethink my direction.
- 6. The final step is the most humbling: the light test. I hold the edge up to a window or a single lamp and look for any shadows or glints that shouldn’t be there. It’s rarely perfect on the first pass, and I’ve learned to embrace the correction. I just keep shaving, tiny increments at a time, until the edge meets the light exactly how I intended.
Understanding How to Joint an Edge by Hand
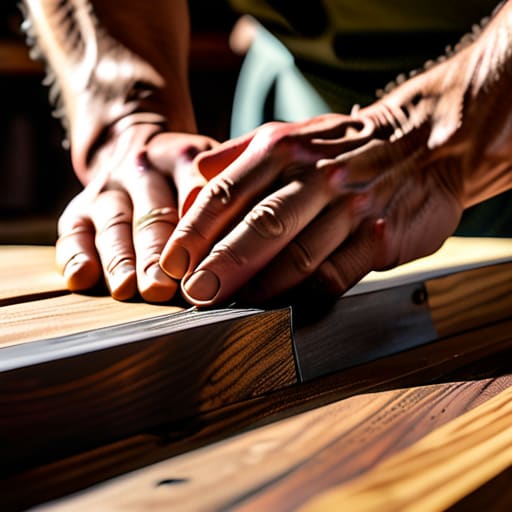
I’ve spent most of my career looking at how objects meet, and I’ve learned that the tension in a joint usually starts long before the glue touches the wood. When you’re working through the actual mechanics, it’s easy to treat the plane like a machine, but it’s more of a conversation. I often find myself checking flatness with a straightedge every few passes, not because I’m perfectionist—though my scrap pile of failed prototypes suggests I am—but because the wood has a way of lying to you. You think you’ve found the level, but the grain tells a different story.
The real trick isn’t just about force; it’s about the rhythm of the stroke. I used to rush, trying to force a squareness that wasn’t there, but I eventually realized that preparing timber for glue-up is actually an exercise in patience. If you try to skip the subtle adjustments, you end up fighting the material rather than guiding it. It’s in those tiny, almost imperceptible corrections where you stop just following a guide and actually start understanding the soul of the timber.
Key Things to Know
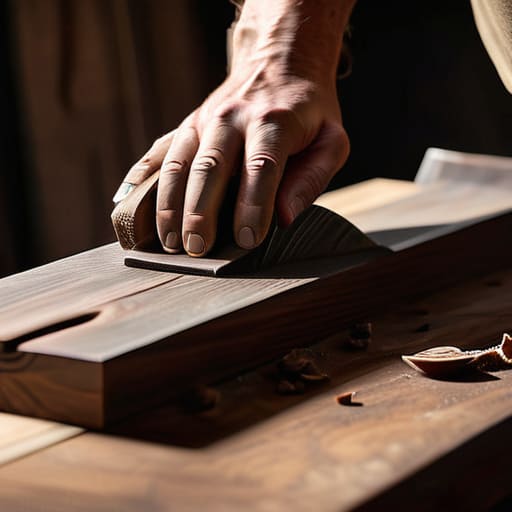
I’ve spent enough years in a studio to know that most mistakes aren’t born from a lack of skill, but from a lack of patience. When you’re working through various hand plane techniques for woodworking, the temptation is to chase the final shape immediately. But if you rush the leveling, you end up fighting the grain instead of working with it. I’ve learned that the real secret to achieving a seamless wood joint isn’t in the strength of your stroke, but in the rhythm of your setup.
One thing I constantly remind my apprentices—and myself, when I’m having a bad Tuesday—is the necessity of constant verification. You cannot trust your eyes alone when you are working on a close tolerance. I always make a point of checking flatness with a straightedge every few passes. It feels repetitive, almost tedious, but that’s where the discipline lies. It’s the difference between a joint that merely holds together and one that feels like a single, continuous piece of timber. If you don’t respect the measurement, the wood won’t respect your effort.
Practical Tips and Steps
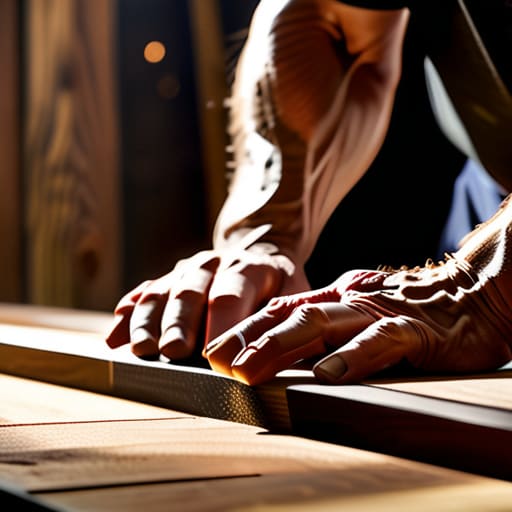
I have a shelf in my studio filled with pieces of walnut and oak that look like mistakes, but they taught me more than the successes ever did. When you are working on the actual movement of the tool, remember that the wood dictates the pace, not your ego. One thing I learned the hard way is that checking flatness with a straightedge shouldn’t be an afterthought; it’s a constant dialogue. If you wait until the end to see if you’ve actually achieved a true plane, you’re likely looking at a pile of expensive scrap.
Don’t be afraid to lean into the rhythm of the work. I used to rush through the initial passes, thinking I was being efficient, only to find I’d created a subtle twist that made achieving a seamless wood joint impossible later on. Instead, I’ve found that taking lighter, more frequent shavings—especially when preparing timber for glue-up—is much more forgiving. It’s about that tension between the blade and the grain. If the tool feels like it’s fighting you, stop. The wood is telling you something, and usually, it’s worth listening.
The Friction of the Decision
People talk about jointing an edge as a way to reach perfection, but for me, the real value is in the resistance. It’s that moment when the plane catches a grain you didn’t see coming, forcing you to stop, breathe, and decide whether to fight the wood or follow it. That tension—the choice between the clean line you planned and the honest line the material demands—is where the actual craft lives.
Jonathan Marin
The Residue of the Process
Looking back at the shavings on the floor, it’s easy to see the process as just a series of technical hurdles—getting the plane angle right, maintaining the grain direction, and managing that inevitable moment of over-cutting. But jointing an edge by hand isn’t just about achieving a perfectly straight line; it’s about the disciplined rhythm of the tool against the wood. You have to respect the sharpness of your iron and the patience required to take off thin, translucent curls rather than trying to force the material into submission. If you rush the setup or ignore the subtle resistance of a knot, the wood will let you know immediately, usually in a way that’s quite permanent.
I often look at the scrap pile in my studio—the pieces where I pushed too hard or misjudged a bevel—and realize that those mistakes taught me more than the successful joints ever did. There is a quiet, almost meditative tension in that space between a perfect cut and a ruined workpiece. Don’t be too discouraged when your first few attempts feel clumsy or imprecise. The goal isn’t just a straight edge; it is the earned intuition that comes from feeling the tool bite into the timber. In the end, the most honest objects are those that carry the subtle weight of the decisions we made while trying not to mess them up.
