A Panel Glue Up That Stays Flat
I was standing over a walnut slab three years ago, watching a bead of PVA glue weep out from a joint that should have been seamless, realizing I had just ruined forty hours of milling. I thought more clamps would solve the problem, but the truth is that more pressure often just forces the error deeper into the wood. Most people approach how to glue up a panel as a mechanical exercise in brute force, believing that if they just squeeze hard enough, the physics will eventually align. They treat it like a construction site task rather than what it actually is: a high-stakes negotiation between moisture, tension, and time.
I’m not interested in giving you a sanitized, textbook version of this process that ignores the reality of workshop mess and material movement. Instead, I want to walk you through the tactile realities of the job—the specific way you should spread the adhesive, the exact moment you know your alignment is slipping, and how to manage the unavoidable chaos of a large glue-up. This isn’t about perfection; it’s about making the right decisions so that when the clamps finally come off, you aren’t left staring at a disaster.
Guide Overview
Tools & Supplies
- Clamps (at least 2-4 depending on panel width)
- Rubber mallet (for seating boards)
- Caulking gun or spreader (for even glue application)
- Straight edge or level (to check flatness)
- Wood boards (cut to size)
- Wood glue (one bottle)
- Tack cloth or microfiber cloth (for cleaning)
- Mineral spirits (for cleaning excess glue)
Step-by-Step Instructions
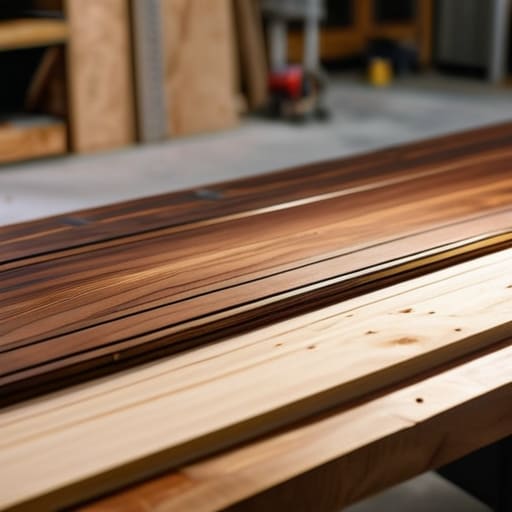
- 1. I always start by laying the boards out on the workbench, not just to check for grain direction, but to feel the rhythm of the wood. You aren’t just matching colors; you’re looking for the way the light hits the cathedral grain. I spend a good ten minutes just sliding them back and forth, looking for that one specific placement where the pattern flows naturally rather than looking like a patchwork quilt. It’s a quiet, almost meditative part of the process, but if you rush the layout, the whole piece will feel fundamentally fractured later on.
- 2. Once the sequence is set, I take a handful of spring clamps and “dry fit” the entire assembly. This is where most people trip up—they assume the boards will sit flush just because they look good. I run my fingers along every single joint, feeling for any tiny lips or unwanted ridges. If a board isn’t sitting perfectly flat against its neighbor now, it’s going to be a nightmare once the glue starts to act as a lubricant and everything starts to slide.
- 3. Now comes the cleaning, which I consider the most tedious but vital step. I take a block plane or a sharp scraper to the edges where the boards will meet, ensuring they are mathematically true. I’ve lost more projects than I care to admit because I was too lazy to clean a bevel, only to find a gap in the center of my panel after the clamps were released. You want a surface so clean that the wood feels like it’s merging rather than just touching.
- 4. When it’s time to apply the adhesive, I tend to over-apply, which is a habit I picked up from years of watching apprentices panic. I use a glue spreader to ensure a thin, even film across the entire surface, making sure to get into the very corners of the edges. The goal isn’t a thick puddle; it’s a consistent, translucent layer that ensures there are no dry spots hiding in the grain.
- 5. As I begin the actual clamping, I follow a specific sequence, working from the center outward. I don’t tighten everything at once—that’s a recipe for a crooked panel. I apply just enough pressure to see a bead of glue squeeze out of the seam, which tells me the coverage is sufficient. I use a series of alternating clamps to distribute the pressure evenly, preventing the whole assembly from bowing or twisting under the mechanical stress.
- 6. I always keep a damp, warm rag nearby for the “squeeze-out” phase. There is a temptation to let the glue dry and just sand it off later, but that’s a mistake that ruins your finish. If you leave dried beads of glue on the surface, they will clog your pores and create ghostly spots that no amount of sanding can truly erase. I wipe the excess away while it’s still tacky, being careful not to wipe so much that I starve the joint of its necessary bond.
- 7. Finally, I leave the panel in the clamps, but I don’t just walk away. I check the alignment one last time after the initial tension has settled. I’ve learned that wood is a living thing, and even under clamps, it can still shift slightly as the moisture from the glue enters the fibers. I let it sit undisturbed for at least twenty-four hours; patience is the only way to ensure that the structural integrity matches the visual intent.
Understanding How to Glue Up a Panel
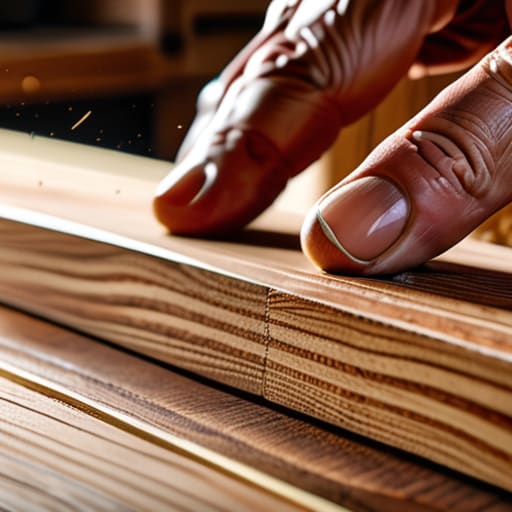
I’ve spent enough years staring at failed joints to know that a panel isn’t just a collection of boards; it’s a living, breathing tension system. Most people treat the process like a simple assembly, but if you aren’t mindful of your edge grain jointing, you’re essentially building a spring that will eventually snap. I remember a walnut tabletop from five years ago—one where I rushed the preparation—that ended up twisting so violently it actually popped a clamp. I still have that piece in the corner of my studio, a permanent reminder that the physics of wood never sleeps.
The real trick lies in the invisible forces. You have to balance your woodworking clamp pressure with a certain level of intuition; too little and you’ll have gaps that no amount of sanding can fix, too much and you’ll starve the joint of the very adhesive meant to hold it together. I’ve learned to rely on a well-placed caul for glue ups to ensure everything stays dead-flat. It’s about managing the squeeze-out and the internal stress simultaneously, making sure the piece settles into its final form rather than fighting against it.
Key Things to Know
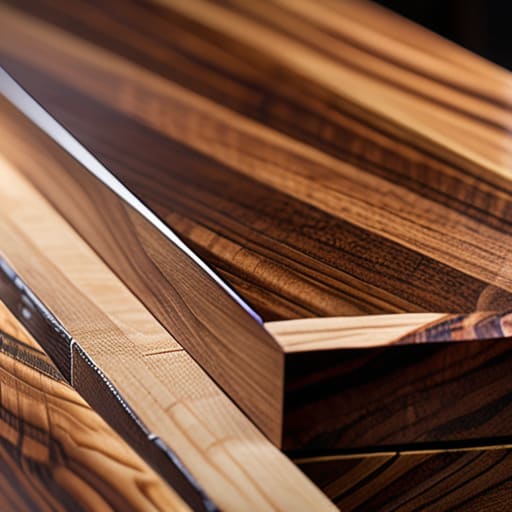
I’ve spent a good portion of my career staring at pieces that failed because I treated the process like a checklist rather than a conversation with the material. One thing I learned the hard way—usually through a very expensive piece of walnut—is that edge grain jointing is where the battle is won or lost. If your edges aren’t perfectly mating, you aren’t just fighting glue; you’re fighting physics. I used to think a little extra glue would bridge the gap, but that’s a lie we tell ourselves to excuse sloppy prep.
When it comes to the actual assembly, I’ve learned to be obsessive about woodworking clamp pressure. It’s a delicate balance. Too little, and you have gaps; too much, and you’re literally squeezing the life out of the joint, leaving nothing but a dry, brittle seam. I always keep a few scrap blocks nearby to act as a caul for glue ups, ensuring the pressure is distributed evenly across the entire surface. It’s that extra layer of defense that keeps a panel from twisting into a shape no one asked for.
Practical Tips and Steps
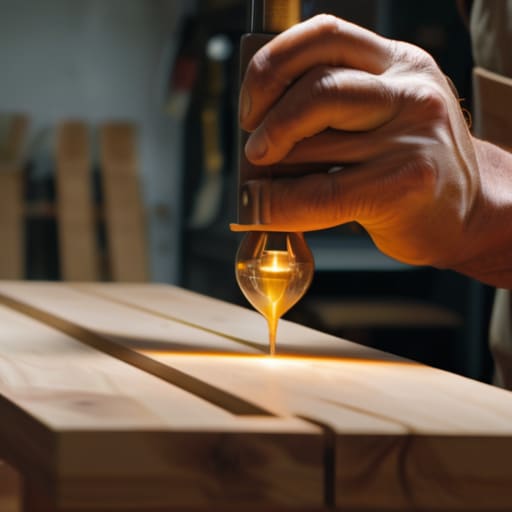
I’ve learned through a decade of failed glue-ups that the real battle isn’t with the wood, but with the physics of the clamp. I used to think more pressure was always better, but I quickly realized that excessive woodworking clamp pressure can actually starve a joint of the very adhesive it needs to survive. I once crushed a walnut panel so thin it felt like parchment, all because I was chasing a “perfect” seal. Now, I focus on a rhythmic, even distribution. If you aren’t using a caul for glue ups—something flat and sacrificial to spread that force—you’re essentially inviting the wood to bow under the stress.
Another thing I’ve added to my ritual is a more disciplined approach to edge grain jointing. You can have the best adhesive in the world, but if your mating surfaces aren’t pristine, you’re just masking a structural flaw. I find myself obsessing over the fit before the glue even touches the grain. And when the squeeze-out happens—and it always does—don’t rush to scrape it. I’ve found that letting it dry slightly, then cleaning it with a damp cloth, prevents that stubborn, gummy residue that ruins a fine finish later.
The Ghost in the Joint
You spend all day obsessing over the grain match and the clamping pressure, but the real work happens in that quiet, terrifying second when you realize the glue is spreading faster than your clamps can move. A perfect glue-up isn’t about following a manual; it’s about managing the anxiety of knowing that once those boards meet, there is no more room for second-guessing.
Jonathan Marin
The Ghost in the Joint
At the end of the day, a successful glue-up isn’t just about the chemical bond; it’s about the discipline of the preparation. We’ve talked about the necessity of clean edges, the strategic placement of clamps, and that frantic, necessary dance of managing drying times before the glue skins over. It is easy to treat these steps as mere chores, but they are actually the foundational constraints that allow the wood to behave. If you respect the moisture content and the mechanical pressure, the panel ceases to be a collection of disparate strips and becomes a single, unified entity. You aren’t just sticking wood together; you are managing the tension between individual pieces to create something structurally honest.
I often look at the scrap pile in the corner of my studio—the ones where I rushed the clamping or ignored a slight gap—and I realize that perfection is often a boring metric. The real craft lies in the tension of the process itself. As you tighten those last clamps, remember that you are making a permanent commitment to the material. Don’t aim for a sterile, factory-perfect seam if it costs you the soul of the grain. Instead, strive for that moment where the assembly feels inevitable, where the decisions you made in the quiet moments of preparation finally manifest in a piece that feels like it was always meant to exist.
