Frame and Panel and Why It Exists
I was staring at a pile of walnut offcuts last Tuesday, wondering why I still felt that familiar knot of anxiety every time I approached a new commission. Most tutorials treat the process like a mathematical certainty, but they ignore the reality that wood is a living, breathing, and often stubborn material. There is a pervasive myth that if you simply follow a diagram, you’ve mastered the craft, but anyone who has spent twenty years at a workbench knows that learning how to make a frame and panel is actually an exercise in managing unavoidable tension. I spent three hours yesterday fighting a single rail that refused to seat properly, a moment of pure frustration that ultimately taught me more about seasonal movement than any textbook ever could.
In this guide, I’m stripping away the polished, showroom-ready nonsense to talk about the actual grit of the work. I won’t give you a perfect, sterile blueprint; instead, I’ll show you how to navigate the specific constraints of wood movement, from selecting the right grain orientation to the precise moment you decide to tighten a joint. We are going to look at the practical, unglamorous steps of how to make a frame and panel that won’t crack when the humidity shifts next winter.
Guide Overview
Tools & Supplies
- Table saw or Router for cutting grooves/dados
- Clamps to hold the frame assembly together
- Wood glue for securing joints
- Measuring tape and square for accuracy
- Hardwood boards for the frame (e.g., Oak or Walnut)
- Plywood or solid wood panel for the center
- Wood glue (small bottle)
Step-by-Step Instructions
- 1. I usually start with the rails and stiles, but the real work begins with the selection of the stock. You can’t just grab any piece of walnut from the rack; you have to look for grain that flows predictably. I spent twenty minutes yesterday just staring at a slab, trying to decide if the figure was too distracting for a structural component. Once you’ve picked your wood, mill it to your final thickness, but leave it a hair proud. I’ve learned the hard way that trying to be perfect on the first pass is a recipe for a piece that never quite fits together.
- 2. Next, you need to layout your joinery, and this is where the tension starts to build. I prefer using a marking knife over a pencil because a pencil line is a suggestion, whereas a knife cut is a physical boundary. Mark your tenon shoulders with absolute precision. I almost went with a simpler butt joint on a previous project to save time, but the moment I saw how much more structural integrity a mortise and tenon provides, I knew the extra labor was non-negotiable.
- 3. Now comes the actual cutting of the mortises. Whether you’re using a drill press or a router, the goal is to create a pocket that is tight but not violent. I tend to work in stages, clearing out the bulk of the waste first and then refining the walls. It’s a bit of a meditative process, provided you don’t rush. If the fit is too loose, you’re looking at a lifetime of glue-filled gaps; if it’s too tight, you’ll split the stile the moment you apply pressure.
- 4. Cutting the tenons is where the real anxiety kicks in. I use a dado stack on the table saw for the bulk of the material, but I always finish the final fit with a hand saw or a shoulder plane. There is a specific, tactile satisfaction in shaving off a paper-thin layer of wood until the tenon slides into the mortise with just the right amount of resistance. It shouldn’t click in, and it shouldn’t require a mallet to force it; it should just exist within the joint.
- 5. While the frame is being prepared, you have to address the panel itself. This is the part that most people treat as an afterthought, but it’s actually the most sensitive component. I cut the panel slightly smaller than the opening of the frame to allow for seasonal movement. If you pin a panel too tightly into a frame, the wood will eventually fight itself, and you’ll see the joints start to pull apart. I keep a small scrap of every failed panel in my workshop—usually because I forgot to leave that crucial bit of breathing room.
- 6. Once the frame and panel are ready, it’s time for the dry fit. This is the moment of truth where all your mathematical assumptions meet the unpredictable reality of wood. I lay everything out on the workbench without any glue, checking for square and ensuring the panel sits centered. If something feels off, don’t force it. Go back to the plane or the saw. It is much easier to remove a fraction of a millimeter now than to try and fix a crushed grain pattern once the glue has dried.
- 7. Finally, the assembly. I apply a thin, even layer of glue to the mortise walls and the tenon faces, being careful not to flood the joint. I slide the pieces together, checking the alignment one last time. As the glue sets, I find myself thinking about the thousands of tiny decisions—the grain direction, the cut depth, the moisture content—that had to go exactly right for this single moment of cohesion. Clamp it up, wipe the squeeze-out immediately, and let the physics of the wood do its work.
Understanding How to Make a Frame and Panel
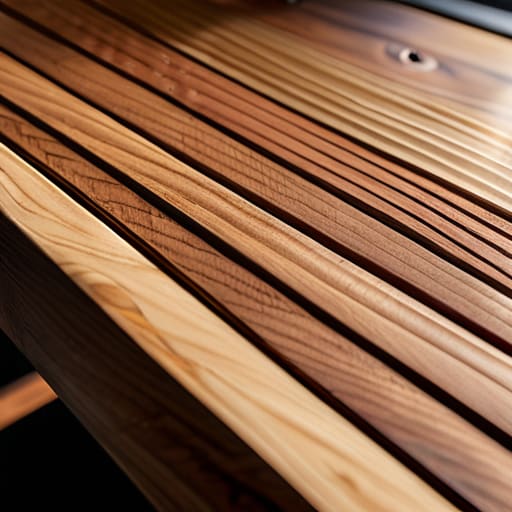
When I first started out, I treated a panel like a piece of stone—something static to be trapped inside a frame. I remember a sideboard I built in my early twenties where I glued the panel directly into the grooves. It looked perfect for a month, and then the seasonal humidity hit. The wood expanded, fought the frame, and eventually split the stiles right down the middle. It was a painful lesson in wood movement compensation. You have to respect that wood is a living, breathing thing; the floating panel technique isn’t just a suggestion, it’s a necessity to keep the piece from destroying itself.
It’s easy to get caught up in the precision of the cuts, but the real soul of the work lies in the tolerances. I often find myself hovering over the router, debating the exact depth of the channel. Choosing the right router bit for panel grooves can be the difference between a clean, professional seat and a messy, uneven mess that requires endless sanding. I’ve kept a rejected rail in my scrap bin from a project last year simply because the groove was a hair too shallow, causing the panel to sit proud. In this craft, the margin of error is where the tension lives.
Key Things to Know
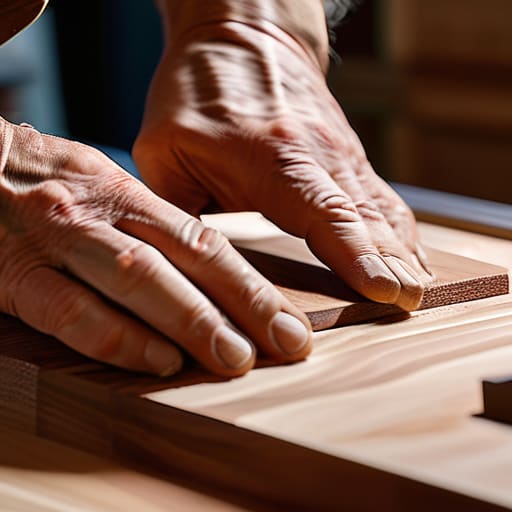
The biggest mistake I see—and one I certainly made in my early years in the studio—is treating a piece of wood like a static object. It isn’t. It’s a living thing that breathes, expands, and contracts with the humidity of the room. If you glue that center panel into the frame, you aren’t building a door; you’re building a ticking time bomb. You have to embrace the floating panel technique, leaving enough breathing room within the grooves so the wood can move without fighting its own skeleton.
I spent a good chunk of last Tuesday staring at a walnut slab, wondering if I’d cut my grooves too shallow. It’s a delicate balance. Using the wrong router bit for panel grooves can leave you with a shoulder that’s too thin, or worse, a gap that looks amateurish. I’ve learned that the goal isn’t just structural integrity through mortise and tenon joinery, but rather a quiet coexistence between the parts. If you respect the physics of the material, the joinery stays silent. If you ignore it, the wood will eventually make all the noise for you.
Practical Tips and Steps
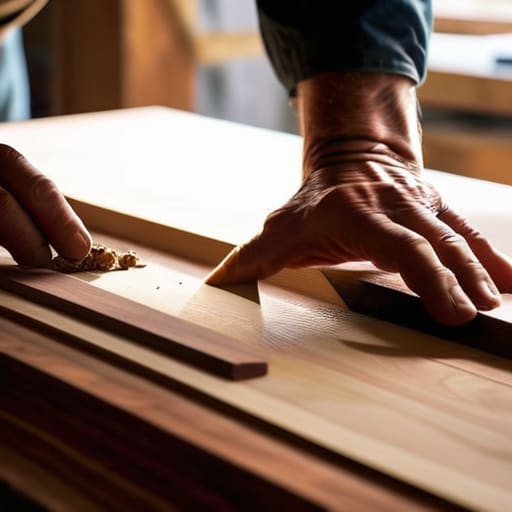
I’ve spent enough years in the studio to know that a project rarely fails because of a lack of skill, but usually because of a lack of foresight. When you’re working on woodworking joinery for doors, the biggest mistake is treating the wood like a static material. It isn’t. If you pin that panel too tightly into the frame, you aren’t building a piece of furniture; you’re building a ticking time bomb. I’ve seen plenty of beautiful walnut doors split right down the middle because the maker forgot about wood movement compensation. You have to give the piece room to breathe, or the wood will find its own way out.
I tend to swear by the floating panel technique for this exact reason. It’s not just about aesthetics; it’s about survival. When I’m setting up my jig, I’m obsessively checking the depth of the groove. I once used a router bit for panel grooves that was just a hair too shallow, and I spent the next three days staring at a seam that refused to close. Now, I always leave a bit of extra “air” in the channel. It’s that small, invisible margin of error that actually makes the final object work.
The Tension in the Wood
A frame and panel isn’t just a construction method; it’s a negotiation with the wood’s refusal to stay still. You aren’t just joining pieces together—you’re building a cage that’s just loose enough to let the panel breathe, but tight enough to feel like a single, honest object.
Jonathan Marin
The Residue of the Work
Looking back at the assembly, it’s easy to see the finished frame and panel as a singular, seamless achievement. But anyone who has spent time at a workbench knows the reality is much messier. It’s a series of small, calculated risks—the decision to tighten a groove just a fraction more, the choice to let the grain of the panel dictate the orientation, or the moment you decided to re-cut a rail because the first attempt felt spiritually hollow. We’ve covered the mechanics, from the precise geometry of the joinery to the crucial importance of allowing for seasonal movement, but the true success lies in managing those tiny tolerances that separate a piece of furniture from a mere assembly of wood.
I often look at the pile of rejected prototypes in the corner of my studio, the ones where the joinery was too tight or the proportions felt off. They aren’t failures; they are the necessary friction required to get to the right answer. As you move forward with your own builds, don’t aim for a sterile, textbook perfection. Instead, strive for the kind of precision that acknowledges the material’s life. The goal isn’t just to follow a guide, but to develop a personal dialogue with the wood. In the end, the most beautiful part of the piece isn’t the joinery itself, but the quiet confidence of a decision made well.
