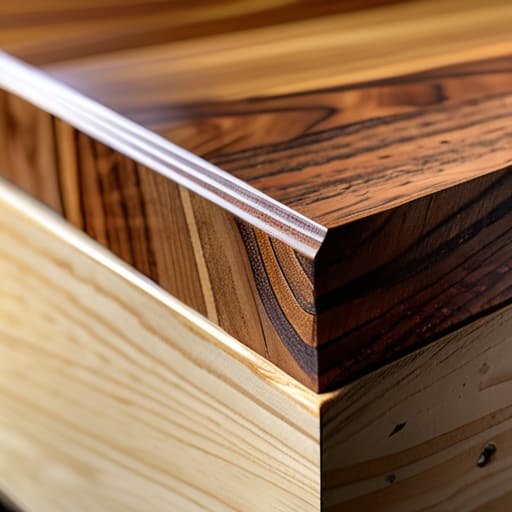
Mitres That Close All Round
I was staring at a pile of expensive walnut offcuts last Tuesday, wondering how a single degree of error could turn a precision frame into a collection of expensive kindling. Most people think the secret to a perfect corner lies in buying a more expensive saw or a digital protractor, but that’s a lie we tell ourselves to avoid the real work. The truth is, knowing how to cut a mitre accurately isn’t about the tool you hold; it’s about the relationship between your eye and the grain before the blade even touches the wood. I have a shelf in my studio dedicated to these failures—slight gaps, crushed fibers, and skewed angles—and they remind me that accuracy is a discipline of patience, not just a setting on a machine.
In this guide, I’m stripping away the glossy, idealized tutorials to give you the grit of real-world joinery. We aren’t going to talk about theoretical perfection; we’re going to talk about managing the physical realities of wood movement, blade deflection, and the tiny, crucial adjustments that happen in the split second before you commit to the cut. You’ll learn how to calibrate your setup, how to read your marks, and how to stop fighting the material so you can finally start working with it.
Guide Overview
Tools & Supplies
- Miter Saw or Mitre Box and Saw for making the angled cuts
- Speed Square or Combination Square for marking precise angles
- Wood or molding material of desired length
- Pencil for marking the cut lines
Step-by-Step Instructions
- 1. First, you have to stop trusting your eyes. I spent my first three years in the studio thinking I could “eyeball” a forty-five-degree angle because it looked right against the light, but the light lies. You need to grab a high-quality digital protractor or a reliable bevel gauge and verify your saw’s calibration against a known square. If your saw is off by even half a degree, that error won’t stay isolated; it will compound at every corner until your frame looks like a warped trapezoid.
- 2. Once you know the tool isn’t lying to you, it’s time to prepare the stock. I’ve learned the hard way that trying to cut a mitre on a piece of timber that isn’t perfectly flat is a recipe for disaster. Run your wood through the planer or sand it down until it is dead level. If the face of the board has even a slight cup or twist, the blade will wander the moment it touches the grain, and you’ll end up with a gap that no amount of wood glue can ever truly hide.
- 3. Now, we get to the marking, which is where most people rush. Don’t just draw a line and hope for the best; use a sharp marking knife instead of a dull carpenter’s pencil. A pencil line has a physical thickness that can throw your cut off by a fraction of a millimeter, which is all the difference between a seamless joint and a visible seam. I like to score a physical groove into the wood so the saw blade has a literal track to follow, effectively “locking in” my intention before the motor even starts.
- 4. When you’re ready to actually make the cut, position yourself so you aren’t fighting the machine. I always tell my apprentices—and I tell myself every morning—to listen to the pitch of the blade. If the saw starts to bog down or the sound changes to a high-pitched scream, you’re pushing too hard. You want to let the teeth do the work, moving through the wood with a slow, deliberate pressure that respects the material rather than trying to conquer it.
- 5. The most critical moment, the one that usually lives in my “rejected prototype” bin, is the final inch of the cut. As you approach the end of the board, the wood tends to want to splinter or “blow out” at the exit point. To prevent this, I often use a sacrificial backing board clamped tightly against the rear of my workpiece. It’s an extra step that feels like a chore, but it ensures the exit grain remains crisp and clean, rather than a ragged mess of fibers.
- 6. Finally, don’t just take the piece off the saw and assume you’re finished. Take your offcut—the scrap piece from the same run—and test the fit immediately. This is the moment of truth where you see if your setup holds up. If the joint is tight, proceed; if there is even a hint of a gap, don’t try to force it. Go back to the calibration step. It is much easier to re-adjust a saw than it is to explain to a client why their custom credenza has gaps in the corners.
Understanding How to Cut a Mitre Accurately
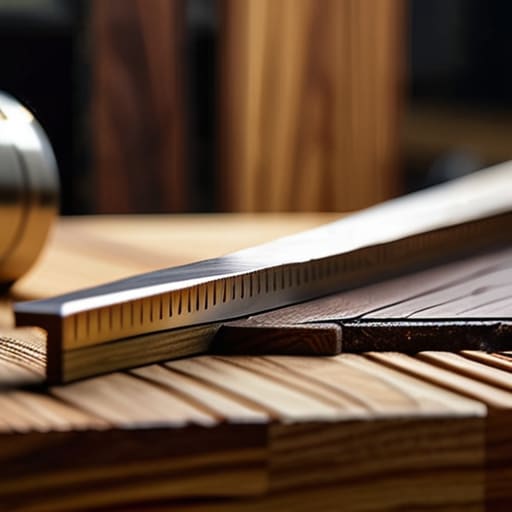
I have a drawer in my studio filled with scraps of walnut and oak, each one a testament to a moment where I thought I had the geometry figured out, only to realize the math was lying to me. When people ask about achieving perfect corner joints, they often think it’s about the steadiness of the hand. It isn’t. It’s about the realization that a saw is only as honest as its last adjustment. I spent three days on a sideboard prototype last year because I neglected basic miter saw calibration; I was chasing a gap that didn’t exist in the wood, but in the machine itself.
Precision in woodworking isn’t a destination; it’s a constant negotiation with your tools. You can follow every tutorial on measuring angles for woodworking, but if you aren’t checking your work against a known square every few cuts, you’re just guessing with expensive lumber. I’ve learned to embrace the slight friction of doubt. If a joint feels even a fraction of a degree off, don’t force it. Stop, recalibrate, and accept that the most important part of the process is the moment you decide to re-verify the angle instead of just hoping for the best.
Key Things to Know
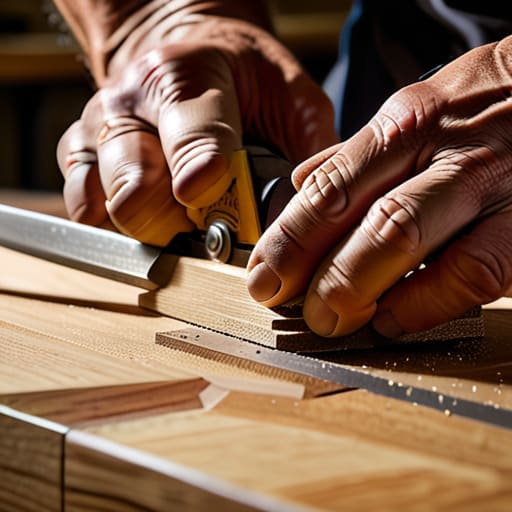
I’ve spent more than a few afternoons staring at a pile of expensive walnut scrap, wondering where the math failed me. The truth is, most people treat their tools as gospel, but a saw is only as honest as its last adjustment. If you aren’t performing regular miter saw calibration, you aren’t really cutting; you’re just gambling. I keep a small, scarred piece of oak in my shop specifically to test my angles before I ever touch the project timber. It’s a tedious habit, but it’s the difference between a seamless transition and a gap that screams of amateurism.
It’s also worth noting that even with a perfect setup, the material itself can be a liar. Wood moves, breathes, and bows, which can throw off your bevel angle precision mid-cut. I’ve learned to stop fighting the grain and start respecting the tension within the board. Sometimes, the most effective woodworking joinery tips aren’t about the machinery at all, but about knowing when to stop, step back, and realize that your setup is fighting you. Sometimes, the most important part of the process is the pause before the blade drops.
Practical Tips and Steps
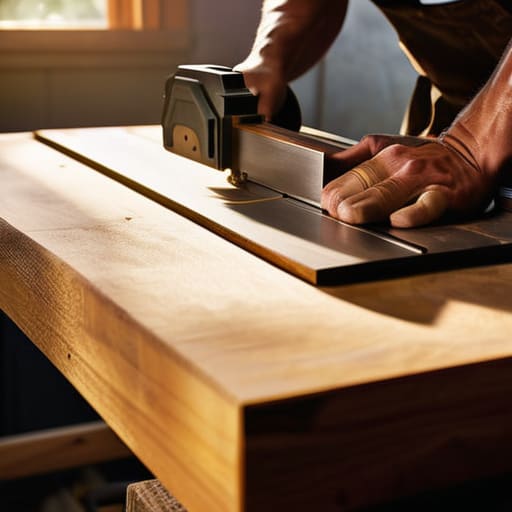
I have a shelf in the back of my studio dedicated to what I call “the graveyard of good intentions.” It’s filled with pieces where I thought I had the math right, only to realize the gap in the corner was wide enough to swallow a coin. Most of those failures came down to a single, overlooked truth: your tools are only as honest as you make them. Before you even touch the wood, you have to commit to miter saw calibration. I’ve spent more afternoons than I care to admit checking my saw against a known square, because if your machine is lying to you, no amount of steady hands will save the joint.
When you finally move to the cut, stop thinking about the line and start thinking about the physics of the blade. I’ve learned that even a slight tremor or a heavy hand can throw off your bevel angle precision, turning a clean corner into a structural mess. If you’re working on something delicate, don’t just rely on the built-in scales. I often find myself using a manual guide or even a simple mitre box usage for smaller, more intricate tasks where the big saw feels too blunt. It’s about respecting the margin of error before it becomes a permanent part of the furniture.
The Ghost of the Wrong Angle
We spend so much time obsessing over the math of a forty-five-degree cut, but the real skill isn’t in the measurement; it’s in the quiet, terrifying moment you realize your saw is a fraction of a degree off and deciding whether to trust your eye or your tool. Accuracy isn’t just hitting a number—it’s the discipline of respecting the margin of error before it ruins the wood.
Jonathan Marin
The Ghost of the Wrong Cut
At the end of the day, getting a mitre right isn’t just about the math or the sharpness of your blade; it’s about the discipline of the setup. It’s the patience to double-check your fence, the willingness to waste a scrap piece for a test cut, and the refusal to rush the final squeeze of the clamp. We’ve talked about the precision of the angle and the necessity of a clean edge, but those are just the mechanics. The real work lies in the preparatory ritual—the quiet moments of calibration before the saw ever touches the wood. If you respect the setup, the cut usually takes care of itself.
I have a drawer in my studio filled with offcuts that failed this exact test, and looking at them reminds me that perfection is often just a series of corrected mistakes. Don’t be too hard on yourself when the grain doesn’t behave or the angle is off by a hair. Every failed joint is just a lesson in how the material actually wants to be worked. In my experience, the most beautiful pieces aren’t the ones that were easy to make, but the ones where the maker refused to settle for “good enough.” Keep cutting, keep adjusting, and eventually, the precision will become second nature.
