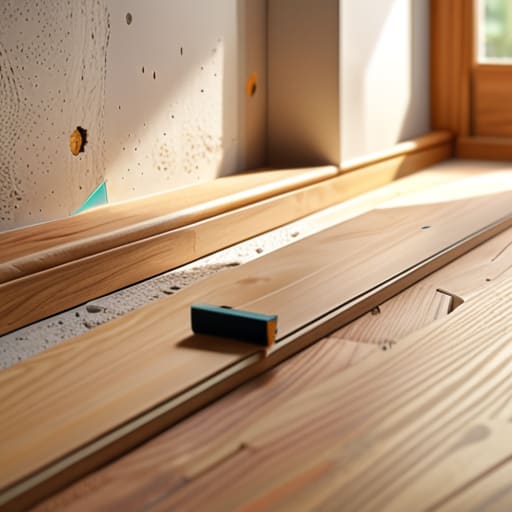
Installing Into a Room That Is Not Square
I was standing in my workshop last Tuesday, staring at a walnut joinery component that refused to sit flush, feeling that familiar, hot prickle of frustration in my neck. I had spent three hours obsessing over the tolerances, convinced that I needed more power tools or a finer grit of sandpaper to solve the problem. But the truth is, most people struggle with how to install a fitted piece because they treat the process like a battle of force rather than a study of alignment. I almost threw the whole assembly in the scrap bin—right next to the dozen other “failures” that actually taught me more than my successes ever did—but it was the decision to stop pushing and start listening to the wood that changed everything.
In this guide, I’m going to skip the polished, theoretical nonsense you find in factory manuals and give you the actual, tactile reality of the work. We aren’t going to talk about “ideal conditions”; instead, I’ll show you how to manage the small, messy adjustments that happen when things don’t go perfectly. You’ll learn the subtle cues that tell you a fit is true, and more importantly, how to fix it when your first attempt feels like a disaster.
Guide Overview
Tools & Supplies
- Measuring tape for accurate dimensions
- Level to ensure straight alignment
- Screwdriver for securing fasteners
- Fitted piece (1 unit)
- Mounting hardware kit (1 set)
- Wall anchors (if mounting to drywall)
Step-by-Step Instructions
- 1. I usually start by clearing a space that’s larger than the piece itself. It sounds obvious, but you need room to move without feeling like you’re fighting your own environment. Lay out your components and, more importantly, examine the edges for any nicks or burs that might have occurred during transit. If a piece is going to sit flush, it needs to be perfect from the jump.
- 2. Before you even think about applying pressure, take a moment to dry-fit everything. I have a shelf in my studio full of prototypes that failed simply because I assumed the tolerances were wider than they actually were. Line the pieces up just to see how they interact; you’re looking for that moment of resistance that tells you something is slightly off-axis.
- 3. Once you’re confident in the alignment, prepare your mounting points or adhesive. If you’re working with mechanical fasteners, I find it best to pre-drill a pilot hole that is just a hair smaller than the screw itself. It’s a small, tedious task, but it prevents the wood from splitting and ensures the structural integrity remains intact once the tension is applied.
- 4. Now comes the part where most people rush: the actual seating of the piece. Apply steady, even pressure rather than one sudden, forceful shove. I’ve learned through years of trial and error that gradual engagement is the only way to ensure the piece doesn’t wedge itself at a microscopic angle that ruins the entire line of the furniture.
- 5. As the piece settles into place, check your work against a square or a level. Don’t trust your eyes; they tend to lie to you when you’ve been staring at a project for three hours. You want to ensure that the transition between the fitted piece and the main body is visually seamless, not just functionally sound.
- 6. Finally, once everything is seated, do a “stress test” by applying light pressure to the corners. If there’s a creak or a slight movement, it means you haven’t fully committed to the fit. It’s much easier to back out and recalibrate now than it is to try and fix a permanent gap once the finish has dried.
Understanding How to Install a Fitted Piece
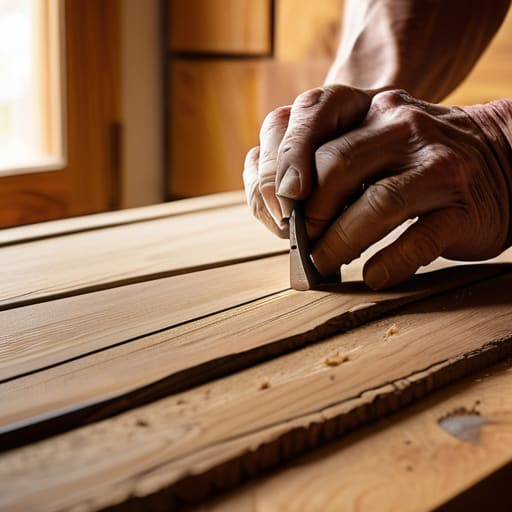
I have a shelf in my studio filled with what I call “the almosts”—pieces where the joinery was a fraction off, or the scale felt wrong. They serve as a constant reminder that a fitted piece isn’t just about following a blueprint; it’s about negotiating with the reality of the room. Most houses aren’t composed of perfect 90-degree angles. If you approach a project assuming your walls are plumb, you’re going to lose that battle quickly. I’ve learned that much of the real work happens in the margins, specifically when you start measuring for custom fitment against surfaces that have spent decades settling into their own unique, crooked shapes.
Before you even reach for a screwdriver, you have to respect the physics of the space. I spent most of last Tuesday using a spirit level for precision on a built-in unit that looked straight to the naked eye but was actually tilting three degrees to the left. It’s a small detail, but it’s the difference between a piece that feels architectural and one that looks like it’s merely leaning against the wall. You aren’t just mounting an object; you are integrating it into an existing environment.
Key Things to Know
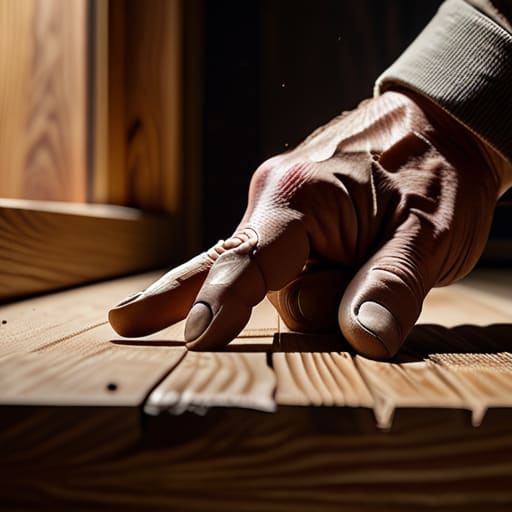
I’ve spent enough years staring at joinery to know that no wall is ever truly straight. It’s a lie we tell ourselves in CAD programs. In reality, you’re almost always fighting a slight bow or a corner that refuses to meet at ninety degrees. I used to think I could force a piece into place through sheer willpower, but I learned quickly that mitigating gaps in fitted furniture requires a much more patient approach. You have to stop fighting the architecture and start working with its flaws.
Before you even reach for a drill, you need to get comfortable with scribing techniques for uneven walls. It’s a tedious, almost meditative process of shaving away tiny slivers of material until the edge finally kisses the plasterwork. It’s the difference between a piece that looks like it was dropped into a room and one that looks like it grew there. I keep a drawer full of failed scribe templates in my studio—reminders that precision is rarely found on the first pass, but rather in the incremental adjustments made when you finally stop rushing.
Practical Tips and Steps
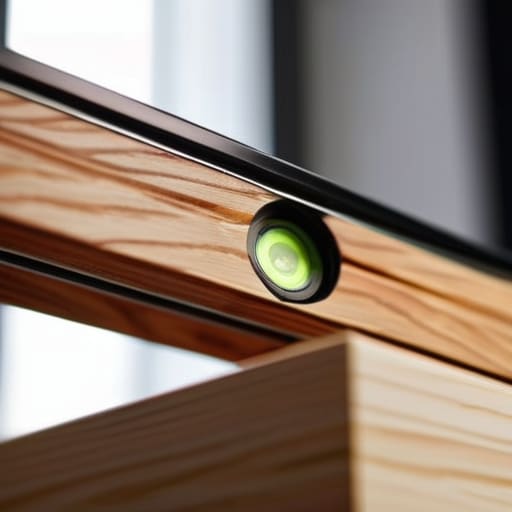
I’ve spent enough time in workshops to know that the “perfect” measurement is usually a lie told by a factory catalog. In the real world, walls bow and floors dip. I remember a sideboard I designed years ago that looked flawless on paper but sat crooked the moment it hit the floor. Now, I never approach a job without using a spirit level for precision at every single stage. You can’t just trust your eyes; you have to trust the bubble. If you aren’t checking for level across both the horizontal and vertical planes, you’re just building a headache for your future self.
When you hit those inevitable architectural hiccups, don’t try to force the piece to conform to a straight line. Instead, lean into scribing techniques for uneven walls. It’s a bit more tedious, and it feels like a setback in the moment, but it’s the only way to achieve that seamless, built-in look that separates professional work from a DIY weekend project. It’s about negotiating with the space rather than fighting it.
The Ghost of the Wrong Fit
You don’t really understand how to install a fitted piece until you feel that split second of panic when the tolerances seem too tight, only to realize that the resistance isn’t an error—it’s the exact moment the design finally becomes a solid thing.
Jonathan Marin
The Final Alignment
Looking back at the process, it’s easy to view the installation of a fitted piece as a mere checklist of measurements and hardware. But as we’ve walked through, it’s really about that delicate tension between the components—the way you check your tolerances, respect the grain, and ensure the alignment is absolute before you commit to the final fix. Whether you were obsessing over the clearance or second-guessing the way the joinery felt in your hands, those moments of doubt are what actually prevent a mediocre result. If you’ve followed the steps, respected the constraints of the material, and double-checked your work, you haven’t just installed a part; you’ve honored the integrity of the object itself.
I often look at the pile of rejected prototypes in the corner of my studio, and I realize that the “perfect” installation isn’t one that happened without struggle. It’s the one where you caught the error just before it became permanent. Don’t be afraid of that slight hesitation when the piece finally meets its housing; that instinct is your best tool. In the end, a well-fitted piece is more than just functional—it is a quiet testament to the fact that you refused to settle for “good enough.” That is where the craft truly lives.
