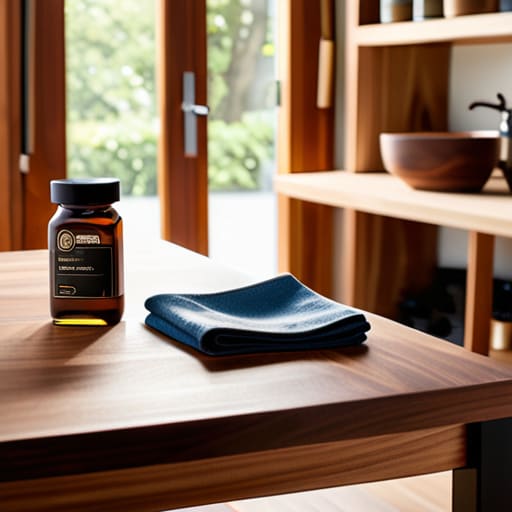
Finishing in a Dusty Workshop
I remember standing over a walnut sideboard last spring, the kind of piece that takes three weeks of careful joinery just to feel worthy of a topcoat. I had just spent forty minutes meticulously wiping down the surface, feeling quite proud of my discipline, when a single, microscopic grain of oak dust drifted from a nearby workbench like a fallen leaf. It landed right in the center of the wet oil, a tiny, raised scar that turned a premium finish into a mediocre mistake. People talk about high-end vacuum systems and airtight seals as if they’re the holy grail, but they miss the point of how to keep a workshop clean for finishing: it isn’t about the expensive gear you buy, it’s about the constant, almost neurotic awareness of the air around you.
I’m not here to sell you a specialized filtration unit or a lifestyle of sterile perfection. Instead, I want to talk about the practical, slightly frustrating reality of managing a workspace where sawdust is a permanent resident. I’ll share the specific, unglamorous habits I’ve developed over twenty years to manage the chaos, focusing on the small, decisive actions that prevent a project from becoming one of the labeled rejects in my prototype corner.
The Ghost in the Grain Why Perfection Demands a Clean Slate
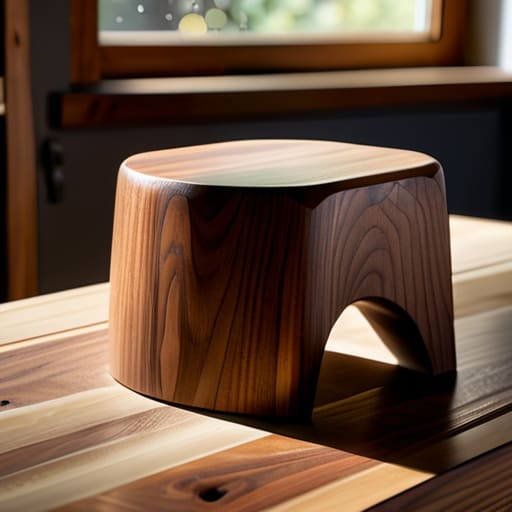
I have a shelf in the back of my studio dedicated to what I call “The Near Misses.” There is a walnut stool there with a finish that looks like it was sprayed with sand; I remember the exact moment I realized my dust extraction system had failed me. It wasn’t a catastrophic mechanical breakdown, but a quiet, systemic laziness. We often think of cleaning as a chore to be completed before the real work begins, but in reality, the cleanliness of your space is the silent partner in every aesthetic choice you make.
When you are deep into the process of preventing airborne particles during staining, you aren’t just fighting visible sawdust. You are fighting the microscopic ghosts that hover in the stagnant air of a closed shop. I’ve learned that a surface might look pristine under the halogen lights, but the moment you apply a wet coat of oil or lacquer, those invisible particles reveal themselves like tiny, jagged intruders. Maintaining a debris-free finishing area isn’t about vanity or following a manual; it is about ensuring that the decision you made regarding the grain becomes the final word, rather than a stray speck of grit.
The Silent Sabotage of Woodworking Dust Extraction Systems
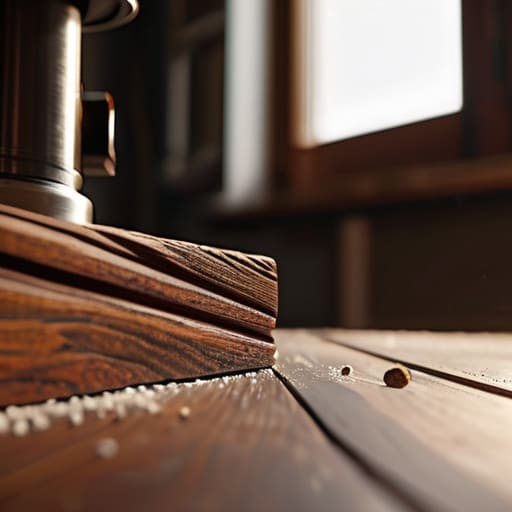
I remember a walnut sideboard I spent three weeks perfecting, only to have the finish ruined by a single, microscopic speck that seemed to materialize out of thin air right as the oil was setting. I had checked the floor, wiped the benches, and even vacuumed the rafters. The culprit wasn’t on the surface; it was suspended in the very air I was breathing. This is the fundamental flaw in how we view woodworking dust extraction systems. We tend to treat them as a way to keep our lungs clear or our floors tidy, but in the context of a high-end finish, they are actually our primary line of defense against invisible sabotage.
Most of us rely on standard shop vacuums or basic cyclones, thinking that if the floor looks clear, we’re safe. But unless you are actively managing workshop air filtration methods that address the fine, buoyant particulate, you’re essentially working inside a cloud of slow-motion debris. A machine that pulls heavy chips away from a table saw does nothing to stop the microscopic haze that settles on a wet lacquer finish ten minutes later. It’s a quiet, persistent failure of logic that turns a masterwork into a lesson in frustration.
Mastering the Art of Maintaining a Debris Free Finishing Area
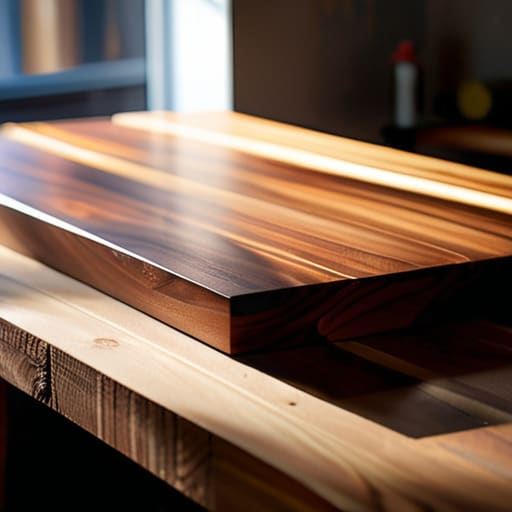
I have a shelf in the back of my studio dedicated to “near misses”—joints that didn’t seat, or surfaces where a single speck of grit turned a smooth wipe into a cratered mess. Most people think maintaining a debris-free finishing area is about the big sweep at the end of the day, but it’s actually about the micro-management of momentum. You can’t just clean once; you have to manage the environment as you work. I’ve learned that the real battle is won in the transition between the heavy sanding and the first coat of oil.
If you aren’t careful, the very air becomes your enemy. I’ve spent more time than I care to admit researching various workshop air filtration methods, only to realize that even the best HEPA unit can’t stop a rogue particle if your workflow is chaotic. It’s about creating a vacuum of stillness. Before I even open a tin of stain, I treat the space like a surgical theater. It isn’t just about tidiness; it is about preventing airborne particles during staining from settling into the grain like tiny, unwanted fossils.
How to Keep a Workshop Clean for Finishing Without Compromise
I’ve spent enough years staring at a ruined walnut tabletop to know that cleanliness isn’t a chore; it’s a defensive posture. You don’t just sweep once and call it a day. Real discipline lies in the transition between tasks. I’ve learned that the most dangerous moment for a finish isn’t the sanding itself, but the lull afterward when you think the work is done. To truly succeed, you have to implement rigorous cleaning protocols for lacquer application that feel almost obsessive, because the moment you relax, a microscopic layer of grit settles into your wet film.
It’s also about the invisible stuff. You can scrub the floor until it shines, but if your workshop air filtration methods are neglected, you’re just fighting a losing battle against gravity. I always tell my junior designers that a clean bench is a lie if the air is heavy with suspension. You have to manage the environment as much as the surface. It’s about that tension—the constant, quiet struggle to ensure that when the brush finally meets the wood, the only thing landing on that grain is the pigment you intended.
Defeating the Invisible Preventing Airborne Particles During Staining
There is a specific kind of heartbreak that only a designer understands: the moment you pull a piece of walnut out of the drying rack, only to find a tiny, microscopic cluster of grit embedded in the stain like a flaw in a diamond. It’s never the sawdust you can see; it’s the stuff that’s been dancing in the rafters since Tuesday. I’ve learned the hard way that preventing airborne particles during staining isn’t about a single cleaning sweep, but about managing the invisible currents of the room.
I used to think my extraction system was enough, but I was wrong. True control requires a layered approach—what I call the “settling period.” After the heavy sanding is done, you have to let the air go still. This is where most people fail; they rush the finish while the air is still thick with ghosts. Implementing strict workshop air filtration methods is a start, but nothing replaces the discipline of a timed stillness. You aren’t just cleaning a surface; you are actively negotiating with the atmosphere to ensure that the decision to use a specific oil or lacquer isn’t undermined by a stray speck of dust.
The Crucial Choice Between Workshop Air Filtration Methods
I remember a mid-sized walnut sideboard I was finishing back in my early studio days. I had spent weeks obsessing over the joinery, only to have a single, microscopic speck of dust land in the wet lacquer, creating a crater that felt like a canyon. It wasn’t a failure of the finish, but a failure of the environment. This is where the debate over workshop air filtration methods becomes more than just a technicality; it becomes a philosophical choice between passive hope and active control.
You can opt for the high-end, ceiling-mounted units that promise to scrub the air, or you can lean into the more rigorous, manual cleaning protocols for lacquer application that involve constant, vigilant sweeping and wiping. The high-end systems are efficient, certainly, but they can sometimes create a false sense of security. I’ve found that the most successful designers don’t just rely on a machine to do the heavy lifting; they treat the air itself as a material that must be managed, much like the wood grain or the viscosity of the oil. It’s about deciding whether you want to fight the dust or simply outsmart it.
Controlling Humidity and Strict Cleaning Protocols for Lacquer Application
I once spent three days sanding a walnut sideboard, only to have the final lacquer coat look like it had been hit by a light dusting of snow. It wasn’t the floor; it was the air itself. When you move into the realm of spraying, you realize that controlling humidity for wood finishes is just as vital as the cleanliness of your workbench. If the air is too heavy with moisture, the solvent in your lacquer won’t flash off correctly, leaving you with a surface that feels tacky or, worse, one that traps microscopic droplets of water beneath the film.
It’s a delicate balance of environmental variables. You can have the most sophisticated workshop air filtration methods in place, but if your hygrometer is swinging wildly between 30% and 70%, you’re fighting a losing battle. I’ve learned that strict cleaning protocols for lacquer application must extend beyond the physical surfaces to the very atmosphere of the room. You aren’t just cleaning a space; you are attempting to stabilize a microclimate where the only thing moving is the spray from your gun.
The Cost of a Single Grain
We talk about cleanliness as if it’s a matter of aesthetics or discipline, but in finishing, it’s actually a matter of consequence. I have a shelf in the back of my studio filled with sanded walnut panels that look perfect from three feet away, but are ruined by a single, microscopic speck of grit caught under the lacquer. That speck isn’t just dust; it’s the physical manifestation of the moment I decided a quick wipe-down was enough when I should have spent another twenty minutes obsessing over the floor.
Jonathan Marin
The Final Polish
At the end of the day, maintaining a workshop isn’t about achieving some sterile, laboratory-grade vacuum of space; it’s about managing the chaos that threatens your intent. We’ve talked about everything from the mechanical necessity of dust extraction to the invisible, heavy battle against humidity and airborne particles during a lacquer run. It is a discipline of constant vigilance, where the difference between a piece that lives in a gallery and one that ends up in my “rejected” pile is often just a single, stray grain of grit. You have to respect the environment as much as you respect the timber, because once the finish begins to set, the window for correcting a mistake closes forever.
I often look at my shelf of failed prototypes—those jagged, dust-speckled ghosts of what should have been—and I realize they weren’t failures of design, but failures of preparation. We tend to romanticize the “eureka” moment of a new silhouette or a perfect joinery detail, but the real craft lies in the tedious, unglamorous work of clearing the path for that moment to exist. Cleanliness isn’t a chore to be completed before the real work starts; it is the foundation of the work itself. When you finally step back from a finished piece, you shouldn’t just see the wood; you should see the quiet triumph of a workspace that stayed out of your way.
