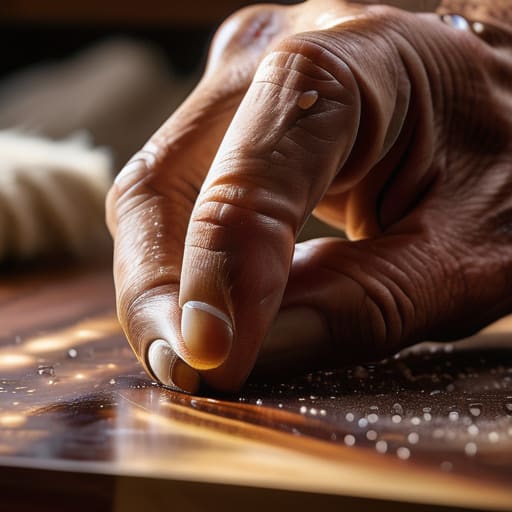
An Oil Finish Applied Thinly
I was standing over a walnut tabletop last Tuesday, staring at a patch of wood that looked more like plastic than timber, realizing I had completely botched the application. Most people think that learning how to apply an oil finish is about following a recipe to the letter, as if you’re baking a sponge cake, but that’s the lie that kills good design. In reality, the process is less about precision and more about learning when to stop. I spent years in production lines where “perfect” meant “uniform,” but in my own studio, I’ve learned that the most beautiful surfaces come from the moments where you almost overdid it, but caught yourself just in time.
This isn’t going to be a sterile, step-by-step manual written by someone who has never felt the grit of sandpaper under their thumb. Instead, I want to show you the actual, messy mechanics of the craft. I’ll walk you through the nuances of grain preparation, the timing of the wipe-on, and—most importantly—how to read the wood so you don’t turn a masterpiece into a tacky, blotchy mess. This is about how to apply an oil finish that actually lives with the furniture.
Guide Overview
Tools & Supplies
- Lint-free cloth for applying and wiping oil
- Fine-grit sandpaper for smoothing between coats
- Tack cloth or vacuum for dust removal
- Wood oil (Tung, Linseed, or Danish) 1 quart
- Sandpaper (220 to 400 grit) 1 pack
- Nitrile gloves 1 box
Step-by-Step Instructions
- 1. You can’t just dive in. If there is even a microscopic trace of dust or a stray fingerprint on that surface, the oil will find it and magnify it. I spent three hours on a walnut tabletop last week just sanding through the grits—from 120 all the way to 220—because I knew that if the grain wasn’t perfectly even, the finish would look like a topographical map of a disaster zone. Grab a tack cloth and wipe it down until you’re sure nothing is left to hide under the oil.
- 2. This is where most people rush, and it’s where they fail. You need to check your lighting. I always pull my workbench toward the window or set up a single, harsh lamp at a low angle across the wood. You aren’t looking for beauty here; you are looking for scratches and imperfections that the naked eye misses in standard light. If you see a swirl mark from a random sanding pad, fix it now, or you’ll be staring at it for the next twenty years.
- 3. Pour a small amount of the oil into a lint-free cloth or a dedicated applicator. I used to use cheap rags, but they leave behind tiny bits of fuzz that turn into permanent bumps once the oil cures. Now, I use high-quality cotton or even a dedicated felt pad. Apply the oil in long, continuous strokes following the direction of the grain, not across it. If you go against the grain, you’re essentially tattooing a mistake into the wood.
- 4. Don’t be afraid to be generous, but don’t drown it. You want the wood to look “wet,” as if it’s just been pulled from a pond. Let it sit for about fifteen to twenty minutes. This is the critical window where the wood actually drinks the oil. If you see certain spots looking bone-dry while others are still glossy, it means your grain density is uneven, and you need to add a bit more to those thirsty patches.
- 5. This is the part that feels counterintuitive: you have to wipe it all back off. Take a clean, dry cloth and buff the surface until it no longer feels tacky or greasy. I once thought that leaving a thick layer would result in a “deeper” glow, but all I ended up with was a sticky, dust-magnet mess that took weeks to dry. The goal is to leave the oil inside the fibers, not sitting on top of them like a puddle.
- 6. Patience is a design constraint, whether you like it or not. You might be tempted to do a second coat immediately, but I’ve learned the hard way that the wood needs to breathe. Wait at least 24 hours. If the wood feels particularly thirsty, you can repeat the process, but always remember that the final sheen is a result of cumulative layers, not one heavy-handed application.
- 7. Once it’s fully cured—and I mean truly, chemically cured, not just “dry to the touch”—give it a final, very light buff with a clean cloth. This is when the magic happens. You’ll see the chatoyancy, that depth where the light seems to bounce around inside the wood fibers. It’s the moment where the wood stops looking like a piece of lumber and finally starts to look alive.
Understanding How to Apply an Oil Finish
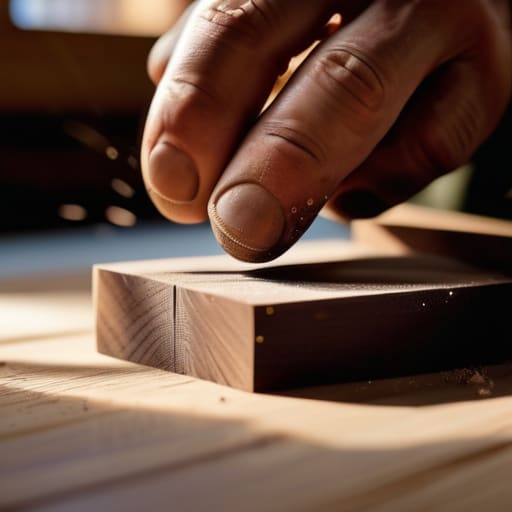
I’ve spent enough years in the shop to know that the difference between a piece that looks professional and one that looks amateur often comes down to the quiet, unglamorous prep work. People tend to rush straight to the liquid, but the real battle is won or lost during sanding before oiling. If you leave even a microscopic layer of dust or a stray scratch from a coarse grit, the oil won’t just sit on the surface; it will find those flaws and highlight them like a spotlight on a crime scene. I remember a walnut sideboard I worked on years ago that looked disastrous because I’d been too impatient with the grit progression.
Then there is the perennial debate of linseed oil vs tung oil. It’s easy to treat this like a simple chemistry choice, but it’s really about how you want the wood to age. Linseed is forgiving and warm, but it can be temperamental with drying times. Tung oil offers a harder, more water-resistant barrier, though it requires a bit more patience. I used to think the “best” oil was the one that dried fastest, but I’ve learned that the quality of the finish is dictated by the patience you show the drying process.
Key Things to Know
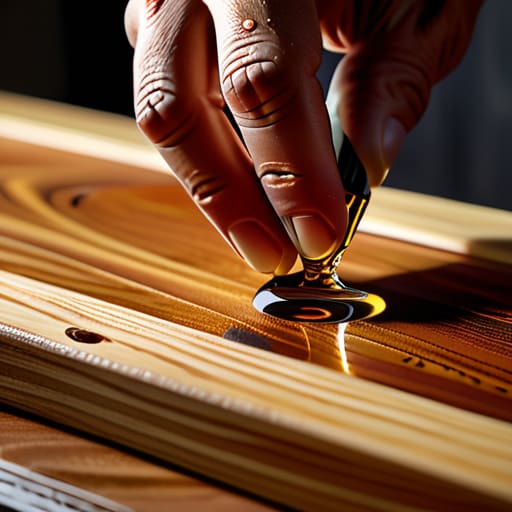
I’ve spent enough years in the studio to know that the chemistry matters less than the patience. One mistake I see constantly—and one I made myself during my first decade of production—is rushing the sanding before oiling phase. If you leave a single microscopic scratch from a heavy grit, the oil won’t just sit there; it will find that valley and pool, creating a dark, muddy spot that no amount of sanding can fix. It’s a lesson in humility. You have to treat the surface like a landscape, ensuring every grain is even before the first drop hits the wood.
Then there is the eternal debate of linseed oil vs tung oil. In my shop, I don’t look for the “best” one, but rather the one that fits the specific tension of the piece. Linseed is forgiving and warm, but it can be temperamental with its drying time. Tung oil, on the other hand, feels more permanent, almost structural. The real trick isn’t just picking the oil, but respecting the clock. You can’t force a finish to dry faster just because you want to see the final result; you have to let the wood take what it needs.
Practical Tips and Steps
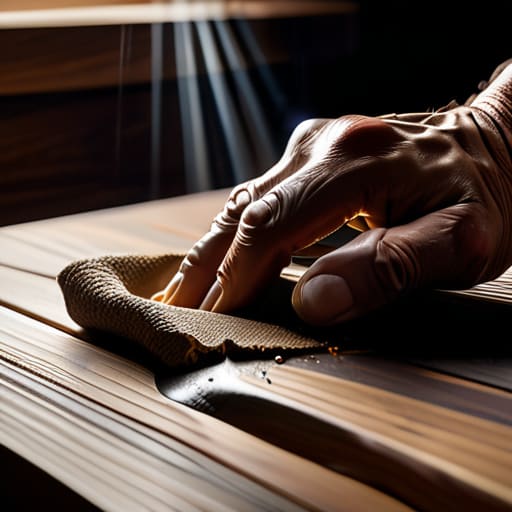
I’ve spent enough years in the shop to know that the most frustrating mistakes aren’t the ones you can see, but the ones you can only feel under your fingertips. I once ruined a walnut tabletop because I rushed the sanding before oiling stage, thinking a quick pass with 320 grit would suffice. It didn’t. If you don’t respect the progression of the grit, the oil will find every microscopic scratch and highlight it like a neon sign. It’s a humbling lesson in patience; you have to be willing to slow down to the speed of the wood itself.
Another thing I’ve learned through trial and error—and a drawer full of ruined samples—is the importance of managing the absorption. If you’re working with something porous like cherry, you’ll find yourself constantly preventing oil blotchiness by applying very thin, controlled layers rather than one heavy soak. I used to favor a heavier hand, thinking more was better, but that just leads to a gummy, unfinished mess. It’s about finding that middle ground where the grain is saturated but the surface remains clean.
The Weight of the Wipe
I used to think the finish was about the product you bought in a tin, but after twenty years of watching grain react to light, I’ve realized it’s actually about the rhythm of the wipe; if you rush the removal, you aren’t finishing the wood, you’re just suffocating it.
Jonathan Marin
The Final Layer
At the end of the day, applying an oil finish isn’t about following a rigid recipe; it’s about managing the tension between the wood and the product. You’ve learned that the preparation—the sanding, the dust removal, the patience—is just as vital as the application itself. It’s easy to rush the second coat or skip the buffing, but those are the exact moments where a piece goes from looking merely “finished” to looking truly integrated. Whether you are working with a dense hardwood or something more temperamental, remember that the goal is to feed the grain, not just coat it. It’s a process of controlled repetition that requires you to stop looking at the clock and start looking at how the light hits the surface.
I often look at the rejected prototypes in my studio—the ones where I pushed the oil too far or let it sit too long—and realize they taught me more than my successes ever did. Don’t be afraid if your first attempt doesn’t look like a showroom floor sample. Design, much like craft, is a series of small, necessary corrections. The most beautiful objects I’ve ever built weren’t the ones that went perfectly according to the manual, but the ones where I had to listen to the material when it told me something wasn’t quite right. Trust your hands, embrace the mess, and let the wood tell you when it’s done.
