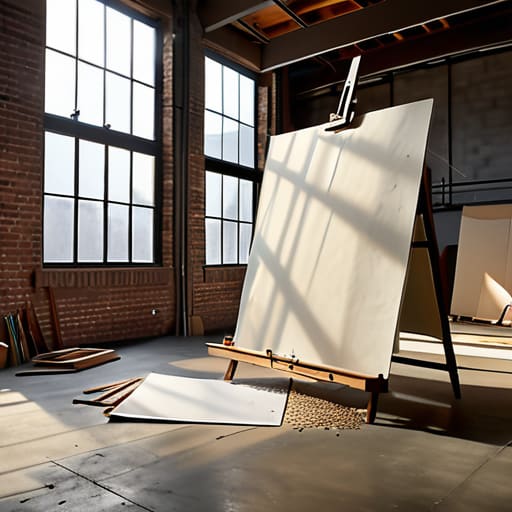
Setting Out at Full Size
I remember standing in my studio ten years ago, staring at a sheet of plywood that felt far too large to be useful, paralyzed by the sheer scale of it. Most people think that learning how to make a full size drawing is about mastering a grand, sweeping gesture or having some innate sense of spatial geometry, but that’s a lie. In reality, it’s much more about managing the intimidation of the blank expanse. It’s about the moment you stop treating the paper like a sacred monument and start treating it like a piece of material that needs to be wrestled into submission.
I’m not here to give you a lecture on academic proportions or some lofty theory that only works in a classroom. Instead, I want to walk you through the actual, messy mechanics of the process—the kind of stuff you only learn when you’re too deep in a project to turn back. We’re going to look at the tools that actually hold up under pressure and the specific, unsexy techniques for scaling up your vision without losing the soul of the original sketch. This is about the grit of the work, not the inspiration.
Guide Overview
Tools & Supplies
- Graphite pencils set for varying line weights
- Eraser for highlights and corrections
- Ruler for measuring proportions and margins
- Sharpener to maintain precise points
- Full size paper roll or large format sheets (1-2 rolls)
- Masking tape to secure paper to surface
- Drawing charcoal or graphite sticks
- Fixative spray to prevent smudging
Step-by-Step Instructions
- 1. Start by clearing a space that doesn’t feel like a graveyard of half-finished ideas. You need a flat surface, ideally something larger than the final piece, because the biggest mistake is thinking small too early. I’ve spent years staring at 1:10 scale models only to realize the actual proportions feel completely different when they occupy your entire field of vision.
- 2. Secure your substrate with more intention than you think is necessary. Whether it’s a heavy sheet of vellum or a piece of plywood, use masking tape to anchor the edges. If the paper shifts even a millimeter while you’re working, you’ll end up with a drawing that feels fundamentally dishonest to the object you’re trying to capture.
- 3. Lay down your primary datum lines using a hard, light pencil—something like a 4H. Don’t try to draw the object yet; just establish the boundaries of the space it will inhabit. I always find myself wanting to jump straight into the silhouette, but if you don’t establish the grid or the baseline first, you’re just guessing, and guessing is the enemy of good design.
- 4. Introduce your measuring tools, but treat them as extensions of your eyes rather than absolute masters. Use a long steel rule or a plumb line to check your verticality. There is a specific tension in the moment when you realize your eye was lying to you about where a joint or a curve actually sits, and you have to correct it before it’s too late.
- 5. Begin the actual tracing or sketching process, working from the center outward. If you are working from a physical prototype, keep the object slightly elevated so you can see the shadow it casts; that shadow is often a more accurate guide than the object itself. It’s in these micro-adjustments that the drawing actually begins to breathe.
- 6. Layer in your technical details, but do so with a sense of restraint. This is where most people fail—they try to document every single screw head and grain pattern. Instead, focus on the lines that define the structural integrity of the piece. I keep a drawer of rejected drawings where the mistake was always the same: too much noise, not enough signal.
- 7. Step back. I mean really step back, until you are at least six feet away from the paper. This is the most uncomfortable part of the process because it forces you to confront the reality of the scale. You’ll see the one line that is slightly off, the one curve that feels almost right but not quite, and that is exactly where the real work begins.
The Tension of Scale How to Make a Full Size Drawing
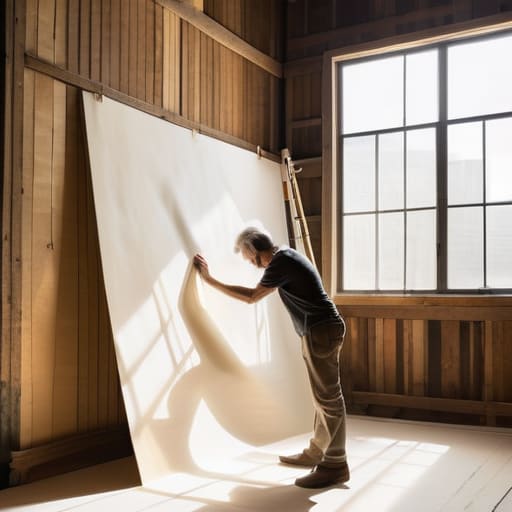
There is a specific kind of vertigo that sets in when you step back from a small sketchbook and realize you are now staring at a piece of plywood or a massive sheet of drafting paper. When I’m working on a new chair profile, the transition from a palm-sized sketch to a life-sized template feels less like drawing and more like navigating a landscape. You lose the safety of the margins. I’ve often found that the most common mistake is trying to maintain the same level of control you had at the desk; you can’t. You have to learn to work with the physical reach of your arms and the way light hits a vertical surface.
I usually lean on the grid method for large scale work, not because it’s elegant, but because it’s honest. It forces you to stop looking at the “object” and start looking at the relationships between coordinates. If you try to eyeball the proportions while scaling up sketches accurately, you’ll find your lines drifting by inches—a distance that, in furniture design, is the difference between a balanced silhouette and a structural failure. It’s about managing the error before it becomes the design.
The Near Miss Choosing the Right Scale Drawing Methods
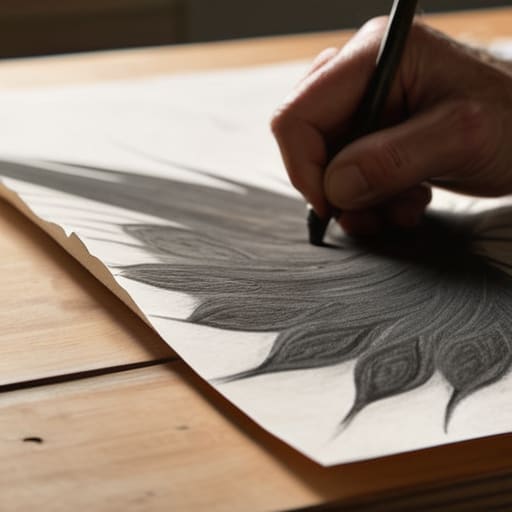
I have a drawer in my studio filled with half-finished sketches, most of them casualties of a failed attempt at scaling up. I remember a particular chair profile I tried to enlarge last spring; I spent three hours obsessing over the grid method for large scale work, only to realize the grid itself was distorting the very geometry I was trying to preserve. It’s a humbling reminder that more precision doesn’t always equal more accuracy. Sometimes, you lean too hard on the math and lose the soul of the line.
When you are transitioning from a handheld sketchbook to something that demands your entire body’s movement, the choice of scale drawing methods becomes a philosophical one. You can rely on the clinical certainty of projection techniques for artists, which feel almost too sterile for my taste, or you can embrace the grit of manual measurement. Personally, I find that scaling up sketches accurately is less about the tools you hold and more about the moments you decide to trust your eye over the ruler. It’s about finding that sweet spot between the technical constraint and the original intent.
The Pivot Scaling Up Sketches Accurately Without Losing Soul
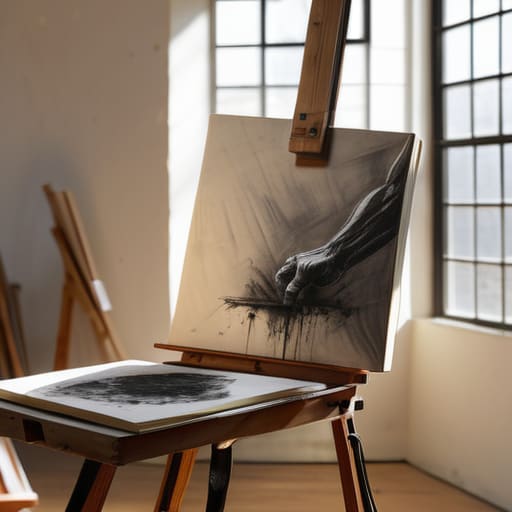
There is a specific kind of panic that sets in when you realize your small, confident sketch is about to meet a piece of plywood six feet wide. It’s the moment where the gesture risks becoming a measurement. I’ve spent many afternoons staring at a corner of my studio, paralyzed by the fear that scaling up sketches accurately would somehow turn my fluid lines into something clinical and lifeless. When you move from a sketchbook to a full-scale surface, you aren’t just enlarging an image; you are fighting the urge to let the math kill the feeling.
I’ve found that the most successful transitions happen when you treat the grid method for large scale work not as a cage, but as a scaffolding. If you lean too hard on the geometry, the piece ends up looking like a technical manual rather than a design. I usually start with a loose charcoal ghost of the original, using basic projection techniques for artists to find the major masses first. The goal isn’t to replicate every millimeter of the small drawing, but to capture the intent behind the line before the scale becomes an obstacle.
The Ghost in the Scale
A full-size drawing isn’t just an exercise in math or a way to check if a chair leg hits the floor; it’s the moment you realize that when you blow up a sketch, you also blow up every mistake you were trying to hide. The real work isn’t in the measurement, but in deciding which of those magnified flaws are actually part of the design.
Jonathan Marin
The Final Measure
Scaling up a sketch isn’t just a mathematical exercise in transferring coordinates from a notebook to a drafting board; it is a confrontation with the physical reality of your idea. We’ve moved through the technicalities of grid systems and the precision of projection, but the real work lies in the translation of intent. Whether you are using a traditional pantograph or a digital projection, the goal is to ensure that the energy of that initial, small-scale stroke isn’t lost in the transition to a larger medium. You have to manage the tension between the rigid accuracy of the measurements and the organic spirit of the original design, making sure the scale serves the object rather than suffocating it.
I often look at the rejected prototypes in my studio—the ones where the scale felt wrong or the lines felt too clinical—and I realize they taught me more than my successes ever did. A full-size drawing is a heavy responsibility; it is the moment an idea stops being a thought and starts becoming a physical presence. Don’t be afraid of the errors that happen when you go big. Those slight deviations, those moments where the scale almost broke the design, are often where the most honest character is found. In the end, we aren’t just drawing lines; we are negotiating with space.
