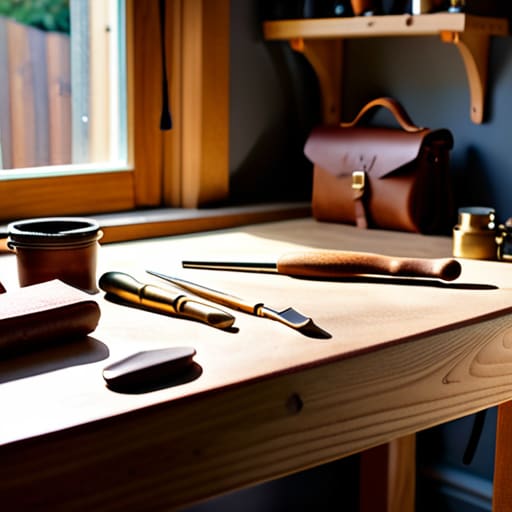
Photographs Taken in the Workshop
I’ve spent most of my career watching people try to turn product photography into some sort of high-stakes cinematic event, complete with rented lighting rigs and studio assistants that cost more than the furniture itself. It’s a ridiculous waste of energy. Most people think they need a professional set to document their work, but they miss the point entirely. For me, the real value isn’t in the polished perfection; it’s in the documentation of the object’s final, physical reality. I’ve realized that how I photograph before delivery is less about creating a marketing asset and more about witnessing the conclusion of a long, often painful design process.
I’m not here to sell you on expensive lenses or complicated software. Instead, I want to talk about the practical, slightly messy way I capture these pieces in my own studio. I’ll show you how I use natural light and simple angles to document the specific textures and joinery that actually matter. My goal is to share a process that focuses on the honesty of the object, ensuring that what you see in the frame is exactly what the client receives—including those tiny, beautiful imperfections that tell the true story of how the piece came to be.
The Tension of the Final Frame How I Photograph Before Delivery
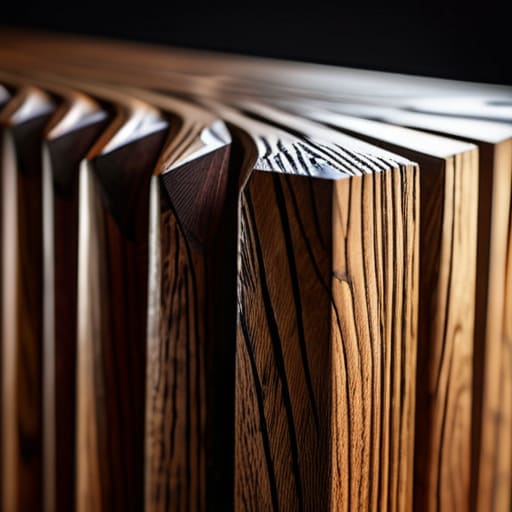
When I set up my product photography lighting setup, I’m not just looking for a clean shot; I’m looking for the truth of the object. There is a specific kind of anxiety that settles in during this stage. After weeks of sanding, joinery, and the constant negotiation between material and form, the piece is finally “done.” But as I position the lights, I find myself scrutinizing every grain pattern and every slight variation in the finish. I’m essentially documenting order quality control, but through a lens that is far more unforgiving than any client’s eye.
I tend to avoid the sterile, overly polished look you see in big-box catalogs. Instead, I prefer using natural light for products whenever the afternoon sun hits the studio just right. It creates shadows that feel honest. I want to capture the way the light catches a bevel that I spent three hours perfecting, or the way a certain wood species reacts to a specific oil. It’s about finding that sweet spot where the image doesn’t just show what the piece is, but reveals the weight of the decisions that led to its existence.
Chasing the Ghost of the Wrong Light Product Photography Lighting Setup
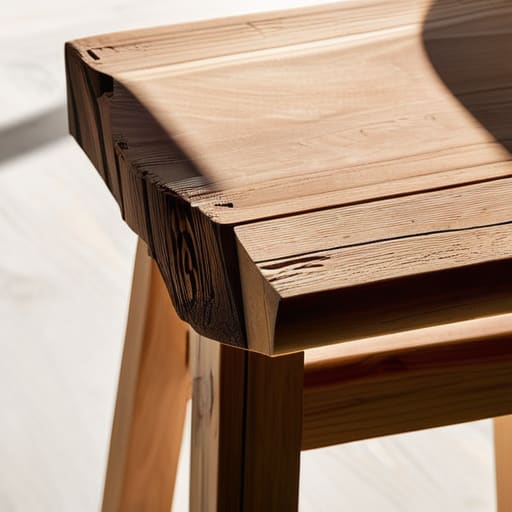
I’ve spent years trying to tame the shadows, but my product photography lighting setup is less about perfection and more about managing the chaos of a studio. I don’t aim for that sterile, hyper-real glow you see in big-box catalogs; that feels dishonest to the grain of the wood. Instead, I find myself constantly negotiating with the sun. I usually start by using natural light for products, positioning the workbench near the north-facing window, but I always keep a heavy diffusion sheet nearby. There is a very fine line between a soft, inviting glow and a flat, lifeless image that strips the furniture of its character.
The real struggle happens when the afternoon light shifts too quickly. I’ll be mid-sequence, trying to ensure I’m documenting order quality control properly, and suddenly a harsh beam hits a joint or a lacquer finish. It’s a frantic moment of adjusting reflectors to catch that specific edge. I’m not just looking for a pretty picture; I’m trying to capture the exact tension between the material and the light, making sure the photo reflects the physical reality of the piece before it leaves my sight.
The Beautiful Mistake Using Natural Light for Products

There is a specific, quiet anxiety that comes with using natural light for products. Unlike the controlled, almost clinical environment of a studio rig, sunlight is a fickle collaborator. It moves. It shifts. It breathes. I often find myself standing by the studio window, waiting for that precise moment when the light hits a walnut grain just right, without washing out the texture I spent weeks sanding. It feels less like a technical task and more like a negotiation with the afternoon.
I’ve learned that the best shots often happen when the light is “imperfect”—that soft, diffused glow that filters through a thin curtain. It mimics some of the professional food photography techniques I’ve observed in high-end journals, where the goal isn’t to blast the subject with brightness, but to reveal its soul. If I rely too heavily on a sterile product photography lighting setup, I risk stripping away the very character that makes the piece feel human. I want the customer to see the slight, beautiful irregularity in the wood, the same way I see it sitting on my workbench.
Documenting Order Quality Control Through the Lens
For me, these final images aren’t just marketing assets; they are a form of documenting order quality control. In my studio, a piece of furniture isn’t truly “finished” until it has survived the scrutiny of a high-resolution lens. I use the camera to look for the things my eyes might overlook when I’m too close to the work—the slight unevenness in a hand-rubbed oil finish or a joint that sits a fraction of a millimeter off. It’s a rigorous part of my workflow for small business photography, acting as a final gatekeeper before anything leaves my workshop.
If I spot a flaw through the viewfinder, the piece goes back to the bench. There is no shame in that; in fact, I find a certain comfort in it. I’ve learned that capturing high quality product shots is less about finding the perfect angle and more about interrogating the object. I want to see the grain, the tension, and the truth of the construction. If the photo doesn’t feel honest, the piece isn’t ready to be shipped.
The Near Misses in Professional Food Photography Techniques
When I move from furniture to the more ephemeral world of food, the stakes feel different. With a chair, a mistake is a structural failure; with food, it’s a matter of perceived life. I find myself applying professional food photography techniques not to make things look “perfect,” but to capture the tension of the moment before the steam vanishes or the glaze sets. I’m looking for that split second where the composition feels precarious—where the tilt of a spoon or the shadow of a sprig of rosemary suggests a human hand was just there.
Often, my workflow for small business photography involves a lot of trial and error with textures. I’ve learned that the most honest shots happen when I stop trying to control every variable. Instead of a rigid, sterile studio environment, I lean into the chaos of a single window. It’s about capturing high quality product shots that don’t feel like they were manufactured in a vacuum. I want the viewer to see the slight imperfection in the crumb or the way a sauce catches a stray beam of light, because that’s where the actual story of the meal lives.
Refining the Workflow for Small Business Photography
I’ve learned that a sustainable workflow for small business photography isn’t about finding a single, magical setting; it’s about building a repeatable ritual that respects your time without sacrificing the soul of the piece. When I’m working in the studio, I try to avoid the trap of perfectionism that leads to paralysis. Instead, I treat the camera as a final checkpoint—a way of verifying the tactile reality of the wood grain or the joinery before it leaves my sight. It’s less about a high-gloss marketing campaign and more about a disciplined way of capturing high quality product shots that actually reflect the object in hand.
The trick is to stop treating photography as a separate, daunting task and start seeing it as the final stage of production. I’ve found that if I integrate the documentation into my packing process, the friction disappears. It becomes a way of documenting order quality control while simultaneously creating the assets I need for the shop. By setting up a permanent, predictable station, I’m not chasing inspiration; I’m simply honoring the labor that went into the piece by making sure its digital twin is just as honest as the physical one.
Capturing High Quality Product Shots That Defy the Default
There is a particular kind of laziness that settles into a studio when you’ve been working for twenty years. It’s the urge to just “get the shot” so you can move on to the next build. But when I’m capturing high quality product shots, I find myself fighting that instinct. I don’t want the sterile, overly-sanitized look that most e-commerce sites demand. That default setting—the bright, shadowless, soul-less glow—tells a lie. It suggests that the object exists in a vacuum, rather than in a room with history and texture.
I prefer to lean into the friction. Instead of fighting every shadow, I look for the way a grain of wood or a seam in leather catches a stray beam of sun. It’s less about a rigid product photography lighting setup and more about a conversation with the object itself. I want the viewer to feel the weight of the decision-making that went into the piece. If a shot feels too perfect, I usually push back; I want to see the character of the material, not just a digital rendering of a product.
The Final Audit
I don’t photograph these pieces just to show the client what they bought; I do it to prove to myself that the tension I felt during the build—that moment where a joint felt too loose or a finish looked too heavy—has finally resolved into something intentional.
Jonathan Marin
The Last Look
At the end of the day, this ritual isn’t about creating a perfect marketing asset; it’s about the documentation of intent. Whether I’m wrestling with the temperamental shifts of natural light or setting up a controlled studio environment to catch a specific grain texture, the goal remains the same: to freeze the object at its absolute peak of integrity. We’ve talked about lighting setups, quality control, and the workflow required to keep a small studio from drowning in its own logistics, but it all boils down to one thing. I photograph these pieces because I need to prove that the decisions I made in the workshop actually held up once the object left my hands.
My studio is full of rejected prototypes, ghosts of what might have been, and it has taught me that perfection is often just the successful navigation of a dozen near-disasters. When I click the shutter one last time before a piece is crated and shipped, I am looking for that precise moment where the design meets the reality of the material. Don’t just aim for a clean shot that looks like a catalog; aim for the shot that tells the truth about the struggle. After all, the most compelling part of any finished work is the quiet tension of the choices that almost went the other way.
