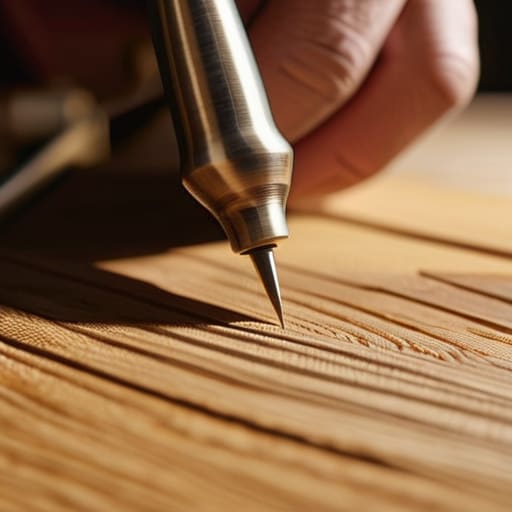
Marking Everything From One Face
I was standing over a slab of walnut last Tuesday, pencil lead snapped, feeling that familiar, hollow knot of dread in my stomach. I had already cut the tenons for a client’s sideboard, only to realize that my layout was off by a fraction of a millimeter—a mistake born from rushing the most tedious part of the process. Most people think precision is about the quality of your tools, but after twenty years in this trade, I’ve learned that precision is actually about how I set out joinery before the first blade ever touches the wood. It’s not about the fancy marking gauges or the expensive calipers; it’s about the quiet, often frustrating mental discipline of measuring twice and doubting yourself a third time.
In this guide, I’m skipping the romanticized nonsense about “finding your flow” and getting straight into the grit of the layout bench. I want to show you my specific, somewhat obsessive system for marking lines, managing grain direction, and—most importantly—the moment of hesitation that prevents a costly error. You won’t find any high-speed shortcuts here, just the practical constraints and repetitive habits that turn a pile of lumber into something that actually holds together.
Guide Overview
Tools & Supplies
- Marking knife for precise, clean lines
- Combination square for accurate 90 and 45 degree angles
- Sliding T-bevel for transferring non-standard angles
- Marking gauge for consistent shoulder depths
- Pencil (hard lead) for light layout lines
- Timber workpiece (1 unit)
- Layout paper or scrap wood (for practice)
Step-by-Step Instructions
- 1. I start by stripping everything back to the raw stock, but I don’t just look at the dimensions; I look at the grain. Before a single line is drawn, I spend a good deal of time rotating the boards to see how the figure interacts with where the joints will live. You can’t just treat wood like a mathematical constant; you have to respect that it’s a living material that’s going to fight you if you ignore its direction.
- 2. Once I’ve settled on the layout, I reach for my marking knife rather than a pencil. A pencil line is a suggestion, a fuzzy approximation that invites error, but a knife cut is a physical trench that tells the saw exactly where to go. I find that there is a certain psychological weight to the scratch of steel on wood—it makes the commitment feel permanent, which is exactly what you want when you’re about to remove material.
- 3. Then comes the layout of the actual joinery, and this is where I usually have my first moment of doubt. I use a marking gauge to set my depths, but I always double-check the thickness of my stock against the gauge setting. I’ve learned the hard way that a “quarter-inch” board is rarely a true quarter-inch, and if you don’t calibrate your eyes to the actual reality of the timber, your joints will end up with gaps that no amount of glue can hide.
- 4. After the lines are set, I move to the waste removal. I don’t go straight for the fine chisels; I use a saw to hog out the bulk of the material first, leaving just a hair of wood on either side of my knife lines. This is the part of the process that requires a specific kind of disciplined patience. If you try to rush the removal, you’ll wander past your marks, and once you’ve taken too much, there’s no going back.
- 5. The real work begins with the paring. I take my sharpest chisel—the one I spend far too much time honing on the stones—and I begin to shave away those tiny, microscopic layers of wood to meet the knife line. I’m not looking for a “tight” fit in the sense of forcing it; I’m looking for a fit that feels like the two pieces are becoming one. If you have to hammer it home, you’ve failed the geometry.
- 6. Finally, I perform the dry fit. This is the moment of truth where I stand back and look at the assembly without any glue. I’m checking for light passing through the seams and making sure the entire structure sits square on the bench. It’s a nervous stage, honestly, but it’s the only way to ensure that the decisions I made during the marking phase actually hold up under the scrutiny of the physical object.
Understanding How I Set Out Joinery
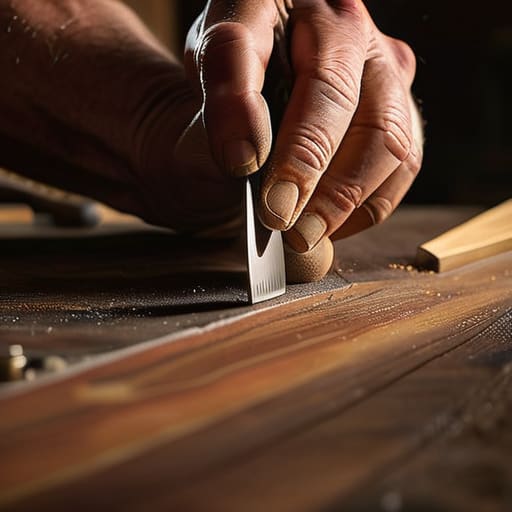
For me, setting out isn’t just about transferring a dimension from a drawing to a piece of walnut; it’s a mental rehearsal of the entire build. I’ve learned that the biggest mistake isn’t a wrong measurement, but a lack of orientation. I always start by establishing datum lines—those single, unwavering reference points that act as the north star for every subsequent mark. If your datum is even a hair off, the error doesn’t just sit there; it migrates, compounding with every joint until the whole carcass refuses to close.
I’ve also realized that my choice of gear dictates my level of anxiety. I used to rely on a standard pencil, but I quickly found that a pencil line is more of a suggestion than a command. Now, I lean heavily on precision marking tools for joiners, specifically my marking knife. There is a psychological shift that happens when you slice the fibers rather than crushing them; it forces a level of intentionality. When you use a knife, you aren’t just marking a line—you are committing to a cut. That distinction is where the craft actually lives.
Key Things to Know
There is a specific kind of anxiety that sets in when the saw is already sharpened. You realize that once the first cut is made, the window for correction slams shut. To mitigate this, I’ve learned to rely heavily on establishing datum lines before I even touch a pencil to the wood. It isn’t just about finding a flat edge; it’s about creating a constant, unshakeable reference point that travels with the piece. If your datum is off by even a fraction of a millimeter at the start, that error will compound through every subsequent joint until the whole assembly feels “soft” or, worse, refuses to close.
I also tend to over-invest in my kit. I used to think a standard carpenter’s pencil was sufficient, but I’ve since realized that true precision marking tools for joiners are non-negotiable for the kind of work that lasts. I find myself constantly reaching for a marking knife rather than a pencil; a line you can feel with your fingernail is infinitely more reliable than a graphite smudge that might spread under the pressure of a chisel. It’s about reducing the margin for human error through the tools you choose.
Practical Tips and Steps
I’ve learned the hard way that you can’t just rely on a standard ruler and a prayer. If you want to avoid the kind of drift that ruins a week’s worth of work, you have to get obsessive about establishing datum lines early on. I usually pick one edge—the cleanest, straightest one I can find—and treat it as my absolute truth. Everything else is measured from that single source. It’s a bit tedious, and it feels like overkill when you’re staring at a fresh plank of walnut, but it’s the only way to ensure that your joinery reference points actually align when you finally bring the pieces together.
I also tend to lean heavily on using marking rods in woodworking rather than just a pencil. A pencil line has a physical width that can swallow a millimeter of error if you aren’t careful, but a knife wall is definitive. There is a certain quiet satisfaction in the way a chisel seats itself into a scored line; it’s a tactile confirmation that your layout is actually working. Don’t rush the marking phase. I’ve spent more time staring at a piece of timber with a marking gauge than I have actually cutting it, and honestly, I think that’s where the real design happens.
The Ghost in the Grain
When I’m marking out a joint, I’m not just looking for where the wood meets; I’m looking for the line I almost drew instead, because that’s where the real design lives—in the tension between the cut I made and the mistake I narrowly avoided.
Jonathan Marin
The Ghost in the Joint
At the end of the day, setting out joinery isn’t about following a rigid blueprint or achieving some mathematical perfection. It’s a messy negotiation between the geometry in your head and the stubborn reality of the timber in front of you. We’ve talked about the precision of the layout, the necessity of sharp marking tools, and the patience required to measure twice and cut once, but the real work happens in that uncomfortable gap between the plan and the execution. If you find yourself second-guessing a line or hesitating over a layout, don’t view it as a failure of technique. Instead, recognize it as the moment where the design actually becomes real.
I often look at the scrap pile in the corner of my studio—the prototypes that failed or the pieces where I misread the grain—and I realize those mistakes taught me more than any successful build ever could. A perfect joint is a triumph of instruction, but a joint that survives a moment of doubt is a triumph of intent. Don’t aim for a sterile, error-free process that leaves no room for the human hand. Aim to make decisions that you can stand behind, even the ones that felt like they might break the piece. That tension, that tiny bit of risk, is exactly where the soul of the craft resides.
