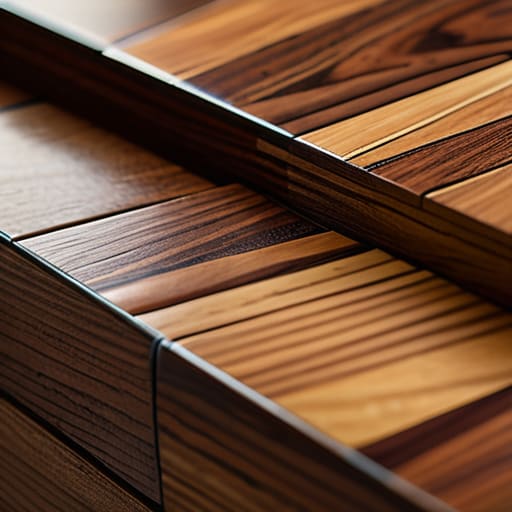
Pairing Two Woods Without Stripes
I was staring at a slab of walnut and a piece of white oak last Tuesday, wondering why the hell I was still second-guessing a connection I’ve made a thousand times. There is this pervasive myth in the workshop that the “perfect” way to join wood is some high-minded, complex feat of joinery that requires a degree in engineering. But the truth is, knowing how to combine two timbers isn’t about finding the most impressive way to hide a seam; it’s about understanding how those two different grains are going to fight each other once the humidity shifts. Most people focus on the strength of the bond, but I’ve learned that the real work is in managing the tension between the two materials.
In this guide, I’m stripping away the academic fluff to talk about what actually happens on the workbench. We aren’t going to chase perfection, but we are going to look at the mechanical reality of different joinery methods and when to use them. I’ll show you how to navigate the trade-offs between speed and stability, giving you the practical logic you need to decide how to combine two timbers without second-guessing your tools. This isn’t about inspiration; it’s about making the right decision before the glue dries.
Guide Overview
Tools & Supplies
- Saw (for cutting timber to size)
- Drill (for creating pilot holes)
- Sandpaper (for smoothing joints)
- Measuring tape (for accuracy)
- Timber pieces (2 units)
- Wood glue (1 bottle)
- Screws or Nails (1 small box)
Step-by-Step Instructions
- 1. First, you have to get honest about the wood in front of you. I’ve learned the hard way that you can’t treat a piece of figured walnut the same way you treat a slab of white oak. Before you even touch a saw, spend a few minutes just looking at the grain direction. If you’re trying to join two pieces where the grains are fighting each other, you’re basically setting a timer on when that joint is going to fail.
- 2. Once you’ve mapped out the grain, it’s time to prep your surfaces. This is where most people try to rush, but I’ve always felt that a joint is only as good as the contact it makes. I use a hand plane to ensure both faces are perfectly flat and square. If there’s even a microscopic gap between the two timbers, no amount of high-end glue is going to save you from a structural headache later on.
- 3. Now, you need to decide on your mechanical connection. For the project I’m working on now, I was leaning toward a simple dowel, but I decided to go with a blind mortise and tenon instead. The dowel felt too much like a shortcut, whereas the tenon gives the joint a sense of intentionality. Whatever you choose, mark your lines with a sharp knife rather than a pencil; a pencil line is a suggestion, but a knife cut is a physical boundary that your tools can actually follow.
- 4. The actual cutting of the joinery requires a certain kind of patience that I find most people lack. If you’re cutting a mortise, take it slow. I prefer to hog out the bulk of the waste with a chisel, leaving just a hair of material for the final, precise passes. You want a fit that is firm but not forced. If you have to hammer the pieces together with everything you’ve got, you’re likely going to split the grain of the receiving timber.
- 5. Apply your adhesive, but don’t treat it like magic. I tend to use a standard PVA, but I apply it sparingly to both faces. The goal isn’t to create a thick layer of glue that fills gaps—it’s to create a chemical bond between two surfaces that are already perfectly mated. If you see too much squeeze-out, you’ve probably applied too much, which can lead to a messy, uneven finish later.
- 6. Finally, you have to clamp it, and this is where the discipline really shows. Don’t just throw a few clamps on and walk away. You need to apply pressure evenly across the entire seam to ensure the two timbers are being pulled together without any twisting. I always keep a small scrap piece of wood between the clamp and my workpiece; it’s a small precaution that prevents those ugly, permanent indentations that I’ve spent many nights regretting in my workshop.
Understanding How to Combine Two Timbers
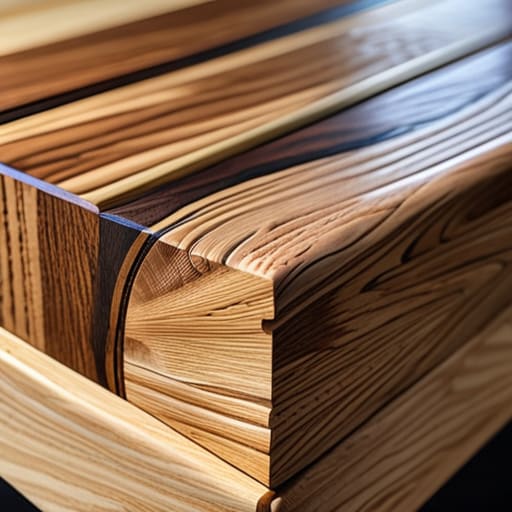
When I’m looking at two different pieces of wood laid out on my workbench, I’m rarely just looking at the color. I’m looking at how they’re going to fight each other over time. It’s easy to get seduced by the immediate visual of wood grain patterns meeting at a seam, but if you ignore how the fibers move, that seam will eventually become a canyon. I’ve spent many afternoons staring at a failed joint, realizing I hadn’t accounted for the way one piece expands while the other stays stubbornly still.
The real trick lies in understanding timber species compatibility before you ever touch a saw. You can’t just pair any two woods and expect them to behave; a dense, oily teak paired with a temperamental pine is a recipe for a structural headache. I often find myself obsessing over the internal tension of the wood. It isn’t just about the joinery itself, but about respecting the biological reality of the material. If you don’t respect the movement, the most beautiful piece of furniture in the world will eventually pull itself apart.
Key Things to Know
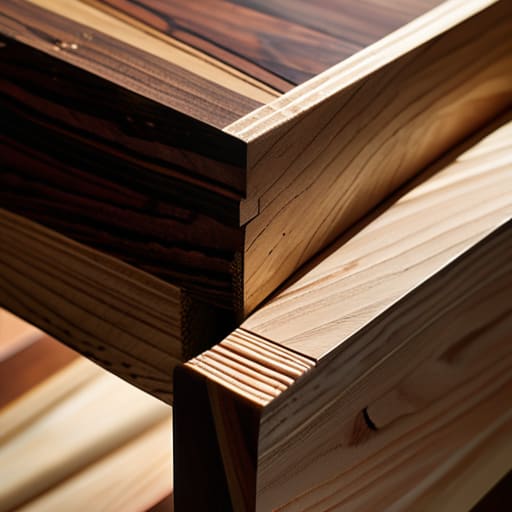
One thing I’ve learned from a drawer full of failed prototypes is that you can’t treat every piece of wood like it’s playing by the same rules. When you’re looking at timber species compatibility, you’re essentially managing two different personalities. If you pair a temperamental, high-tannin hardwood with a more forgiving softwood, the way they react to moisture or even a bit of glue can be unpredictable. I once spent three weeks on a coffee table only to realize the different expansion rates were going to tear my joinery apart within a year. It’s a lesson in respecting the movement of the material rather than trying to force it into submission.
Then there is the visual tension. It’s tempting to try and force a seamless look, but I’ve come to prefer the honesty of a contrast. When you’re working with different wood grain patterns, you have to decide if you want them to dance together or exist in opposition. I used to obsess over wood stain matching to make everything look uniform, but that often felt dishonest. Now, I look for how the natural wood aesthetics interact under light. Sometimes, the most successful marriage of materials is the one where you can clearly see where one ends and the other begins.
Practical Tips and Steps
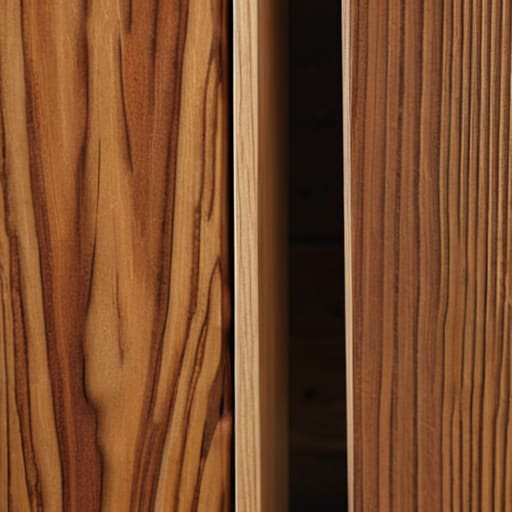
I’ve spent a good portion of my life staring at the scraps in my workshop—the ones that didn’t make the cut. One thing I’ve learned is that you can’t just look at the color of a piece of wood and assume it’ll play nice with another. I once tried to marry a dense walnut with a particularly temperamental cherry, only to realize too late that their expansion rates were fighting each other like siblings in a backseat. When you’re navigating timber species compatibility, you have to respect the physics of how they breathe. If one moves and the other stays rigid, your beautiful joint becomes nothing more than a slow-motion wrecking ball.
Before you commit to a final glue-up, I always suggest a “dry run” with your chosen woodworking joinery techniques. Don’t just assume the fit is perfect because it looked good on the workbench. Take a moment to observe how the wood grain patterns interact under a single light source; sometimes, a slight shift in the orientation of the grain can turn a clash into a conversation. It’s those tiny, almost invisible adjustments that prevent a piece from feeling like two separate entities forced into a marriage of convenience.
The Tension of the Connection
I have a shelf in my studio filled with failed joinery—pieces where I chose the easy path and watched the wood fight back. You eventually realize that combining two timbers isn’t about forcing them into submission; it’s about respecting the movement they’re going to make long after you’ve walked away from the workbench.
Jonathan Marin
The Ghost of the Alternative
At the end of the day, combining two pieces of timber is less about following a rigid recipe and more about managing the tension between structural necessity and aesthetic intent. Whether you settled on a robust mortise and tenon or opted for the cleaner, albeit more temperamental, biscuit joint, the success of the connection depends entirely on your respect for the material’s movement. You have to account for the grain, the moisture, and the sheer physical reality of how wood breathes. If you’ve respected the preparation—the clamping pressure, the alignment, and the choice of adhesive—you aren’t just sticking two things together; you are integrating them into a single, cohesive entity.
I often look at the rejected scraps in my studio—the pieces where I chose a dowel instead of a spline, or where I overthought a mitre—and I realize that the “correct” way is rarely the only way. Design isn’t found in the manual; it’s found in the friction of the decision. As you move forward with your own work, don’t be afraid of the moment of hesitation when two pieces don’t quite want to meet. That hesitation is where the real craft happens. The goal isn’t perfection, but rather a piece of work that carries the weight of a deliberate choice.
